


Updated: October 2026
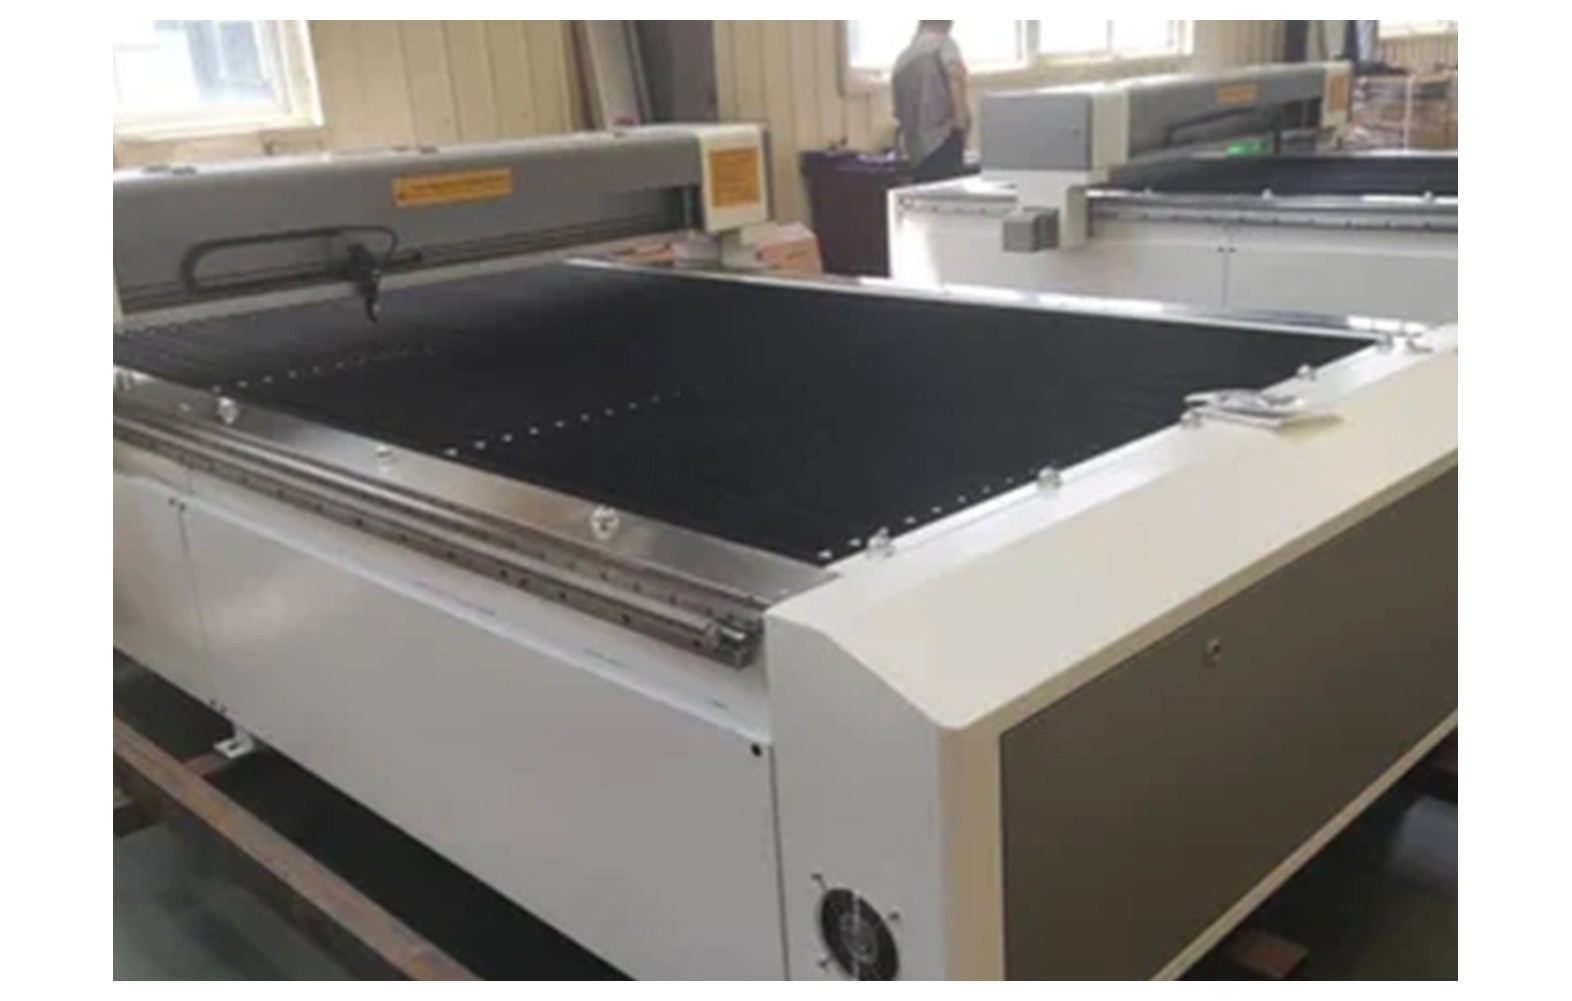
The first week decides the next five years of a CO2 laser. A machine that ships well but installs carelessly – on a weak floor, dusty socket line, or misaligned beam – delivers blame-filled months; the same machine installed by checklist becomes the boring profit-maker it was bought to be. This guide is the installation playbook: room, power, water, alignment, first cuts and the 7-day checklist. All figures are estimates (est.).
Before the Truck Arrives – Room Ready
| Requirement | Spec | Why it matters |
|---|---|---|
| Floor | level concrete, no vibration sources beside machine | a rocking bed ruins alignment forever |
| Space | machine plus 1 m all sides, material rack near | sheets must pass the bed without bending |
| Power | dedicated 16A earthed line, plus stabilizer if voltage swings | PSU and tube hate sags |
| Exhaust route | 4-6 inch duct path to outside pre-planned | fume has exactly one legal exit |
| Temperature | 15-35 C room, shade from afternoon sun | chillers earn their compressor here |
Day 1: Unloading and Physical Setup
- 4-6 people or a proper trolley – a 1390 machine weighs 250-350 kg; tilt beyond shipper limits and mirrors drift.
- Transit locks off FIRST: shipping screws on gantry and laser head must be removed before any power – this is the most common day-one machine murder in India.
- Level the machine with a bubble level on the bed frame, shim with metal strips, re-check after rolling it into final position.
- Fill the chiller with distilled water, connect IN/OUT correctly, bleed air; connect exhaust blower and check pull at the nozzle by tissue strip.
Day 2-3: Electrical and Beam Verification
- Verify earthing AT THE SOCKET with a tester – Indian laser electronics die on floating grounds more than anywhere else.
- Pulse test at each mirror: tape-shot before mirror 1, then at mirror 2, then mirror 3, then through the nozzle – each spot near-centre, adjusting one mirror screw quarter-turn at a time, tube to head direction.
- Focus: use the gauge block, then confirm by ramp test on scrap acrylic – the thinnest point of the burn line is true focus.
- Air assist: feel strong airflow at nozzle; this prevents flames and keeps lens clean from the first hour.
Day 4-5: First Test Cuts and Calibration
| Test | Pass mark |
|---|---|
| 100 mm square in 3 mm acrylic | measures 99.8-100.2 mm, walls near-vertical |
| Circle test at 3 bed corners | round within 0.3 mm everywhere, else re-level bed |
| Engrave sweep: text at several power levels | pick the sweet-spot power and photograph it |
| Speed-power grid on planned materials | your own settings chart is born this week |
The 7-Day Checklist Before Production
| Day | Gate to pass |
|---|---|
| 1 | machine placed, levelled, transit locks out, chiller and exhaust running |
| 2 | earthing verified, PSU voltages normal, all fans spinning right way |
| 3 | beam path aligned, tape shots centred through nozzle at all corners |
| 4 | focus ramp done, first clean cuts on scrap |
| 5 | calibration squares and circles pass |
| 6 | operator runs 3 full jobs supervised, including shutdown procedure |
| 7 | fire drill: extinguisher located, hands-on rule set – machine never runs unattended |
Our Verdict
Do not skip steps to start earning early: a half-aligned machine produces scrap at production speed, and scrap costs more than any week of patience. When buying, demand guided-install or on-site commissioning from the seller – it is worth more than a price discount. Browse CO2 laser machines and dust collectors, and plan the full launch with the all-India printing business startup guide.
FAQs – CO2 Laser Installation and First Week Checklist
How long does CO2 laser machine installation take?
One proper week: placement and utilities day 1, electrics and alignment days 2-3, calibration days 4-5, supervised trial production and safety drill by day 7. Rushing to production in 2 days means months of mystery cut-quality complaints.
What power connection does a CO2 laser need in India?
A dedicated earthed 16A line with correct polarity; add a stabilizer where grid voltage swings, and never run compressor plus laser plus chiller on one multi-plug. Verify earthing at the socket – floating grounds kill electronics.
How do I align laser mirrors after delivery?
Tape-shot the beam before mirror 1, then at mirrors 2, 3, and through the nozzle: every spot should sit near-centre. Adjust the upstream mirror quarter-turn at a time, always working tube-to-head, and verify at all four bed corners.
Do lasers need on-site installation from the seller?
Strongly recommended for a first machine (est. Rs 3,000-8,000 for technician visits where offered). Video-guided self-install works for experienced shops; beginners should buy from sellers who include commissioning support.
More laser and CNC machine guides: CO2 Laser Machine Price Guide 2026, CNC Router Machine Price Guide 2026, Fiber Marking Machine Price Guide 2026, Laser Engraving Business Ideas, CNC Router Business Ideas, CO2 Laser vs CNC Router, CO2 Laser Wattage Guide, Acrylic Cutting Settings Chart, MDF Jali Cutting Business Guide, CO2 Laser Tube Life and Replacement Guide, CNC Router Bits Guide, 12 Common CO2 Laser Problems and Fixes, CNC Router Maintenance Schedule, Dust Collector and Fume Extractor Guide, CO2 Laser Materials Chart, CO2 Laser Speed and Power Settings Chart, ACP Grooving and Cutting CNC Guide, Stone CNC Router Guide, CO2 Laser Chiller Setup Guide, Galvo Laser vs Bed Laser, Laser Home Business Starter Guide, Chinese vs Indian Laser Machines, ATC CNC Router Upgrade Guide, CO2 Laser Rotary Attachment Guide, CNC Router Vacuum Table Guide, Stone Jali vs MDF Jali: Rates and Margins, CNC Router File Formats Explained, CO2 Laser Lens and Mirrors Guide, CNC Router vs Plasma Cutter.
Share your material, thickness and target buyers on the contact page – we reply with an exact machine quote, freight and installation plan for your city, with on-site training across India.
