



Updated: October 2026
Print a design, then cut around it exactly – that simple combo turns a vinyl printer into a sticker factory and a decal plant in one corner. Yet half the print-and-cut errors in Indian shops are setup errors repeated daily: wrong marks, wandering registration, cut drift. This guide is the complete workflow: how registration works, the daily setup, and the failure table. All figures are estimates (est.).
How Print and Cut Actually Works
- The RIP places registration marks – usually crop squares or barcodes – around the printed job while printing.
- The printed sheet or roll moves to the plotter; the optical sensor hunts and reads those marks.
- From the marks the plotter calculates position, rotation and scale, then follows the contour cut line exactly over your printed shapes.
- Any error in mark placement, media stretch or sensor reading lands as a cut that walks off the design – the three failure roots behind every wasted sheet.
The Setup Bill (est.)
| Component | Role | Cost (est.) |
|---|---|---|
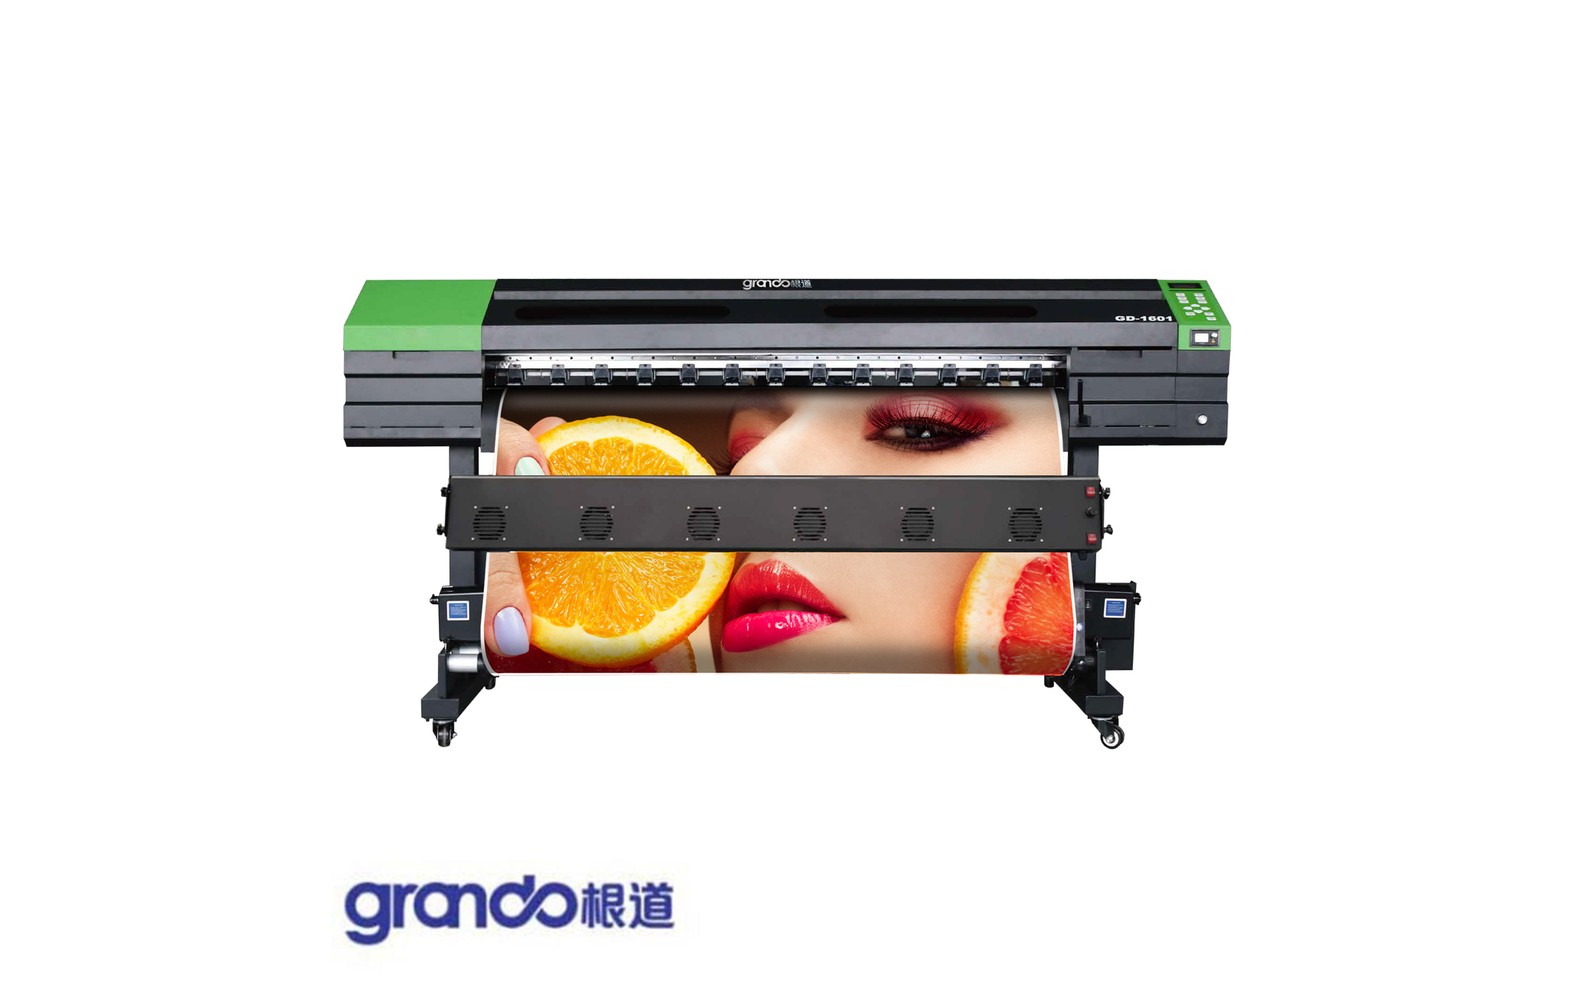
| Eco solvent printer 1.6m | prints the artwork and marks | Rs 2.2-9 lakh by head class |
| Servo plotter with optical eye, 24-48 inch | reads marks, contour-cuts shapes | Rs 18,000-90,000 |
| RIP with print-cut module | generates marks and cut paths in one workflow | usually bundled; module upgrades Rs 10,000-30,000 |
The Daily 8-Step Workflow
| Step | Action |
|---|---|
| 1 | print job with the RIP’s registration marks – never hand-drawn boxes |
| 2 | laminate first if outdoor-rated; cutting after lamination seals edges |
| 3 | let solvent gassing settle 2-4 hours on heavy-coverage prints before cutting – fresh prints shift dimension |
| 4 | load sheet or roll square on plotter with consistent tension |
| 5 | run the plotter’s mark-search routine; confirm the sensor reads ALL marks, not most |
| 6 | run one test contour on the job’s corner design before the full sheet |
| 7 | cut at production speed only after the test contour sits inside its bleed line |
| 8 | weed immediately, tape, sheet and log – cut stacks left overnight curl and misfeed for rework |
Cut Drift – The Failure Table
| Symptom | Usual cause | Fix |
|---|---|---|
| Cut walks progressively off-design down the sheet | media feed slip or roll tension change | re-square load, tension steadied, pinch pressure checked |
| Cut rotated off by a degree or two | marks misread or media loaded skewed | reload square, clean optical sensor, re-search marks |
| Cut offsets uniformly everywhere by same amount | wrong mark-to-cut origin setting or file placed shifted | recheck RIP origin and job placement, re-mark print |
| Cuts fine small, drifts on big 1m+ decals | media stretch from aggressive print heat | lower heater temperature per media spec, reprint with cure profile |
| Sensor fails to find marks | marks too light, smudged, or wrong mark type for the plotter | reprint darker or bigger marks, import the plotter’s own mark style |
Rules That Keep Yield High
- Always add 2-4 mm bleed beyond the artwork edge – even a half-millimetre drift trims into color otherwise.
- Keep mark-to-design distance consistent per your RIP template; custom layouts each job breed operator mistakes.
- Cut test contour on every new media batch – thickness and stiffness change blade needs more than operators expect.
- Blade-replacement log by linear metres cut, not by days: a dull blade tears corners long before it looks dead.
Our Verdict
Print-and-cut reliability is habit, not hardware: same mark template, same load discipline, same corner test on every sheet – and the plotter behaves like a photocopier. One bad-load morning wastes more vinyl than a blade costs. See contour workflows inside the Rs 1 Cr sticker and decal house case study and the Rs 2 Cr digital label factory case study, browse eco solvent printers, and plan with the all-India printing business startup guide.
FAQs – Print and Cut Guide: Eco Solvent + Plotter 2026
How does print and cut work on a vinyl printer?
The RIP prints your design with registration marks; then an optical-eye plotter reads those marks, calculates position and rotation, and contour-cuts exactly around the printed shapes. Mark quality, square loading and this discipline decide cut accuracy (est.).
Which machine cuts printed stickers?
A servo cutting plotter with an optical sensor (est. Rs 18,000-90,000 depending on width). It reads the registration marks printed alongside your artwork and follows the contour path – pairing with any eco solvent printer to make a print-and-cut cell.
Why does my plotter cut off the printed design?
Cut drift roots, in order: media loaded skewed or slipping, optical sensor dirty or marks misread, prints still dimensionally gassing from fresh solvent, or media stretched by print heat. Test-cut a corner contour on every sheet before full runs (est.).
Do I need to laminate stickers before cutting?
For outdoor-rated stickers yes – laminate the printed sheet first, then contour-cut, so edges seal against weather and peel (est.). Indoor and short-run promo stickers can cut straight after the 2-4 hour solvent settling window.
More vinyl printing guides: Vinyl Printing Machine Price Guide 2026, Vinyl Printing Rate Card Per Sqft, Vinyl Sticker Printing Business Guide, Eco Solvent vs Solvent Printing, XP600 vs i3200 Printheads, Die-Cut vs Kiss-Cut Sticker Guide, Vehicle Wrap and Fleet Branding Business, Vinyl Roll Materials and Rates, Eco Solvent Running Cost Math, Glass and Wall Vinyl Branding Business, Second-Hand Eco Solvent Printer Checklist, 15 Common Eco Solvent Printer Problems, Vinyl vs Flex Printing Difference, Eco Solvent Printer Maintenance Schedule, Types of Vinyl Media and Machines Required.
Share your target products and buyers on the contact page – we reply with an exact machine quote, freight and installation plan for your city, with on-site training across India.
