



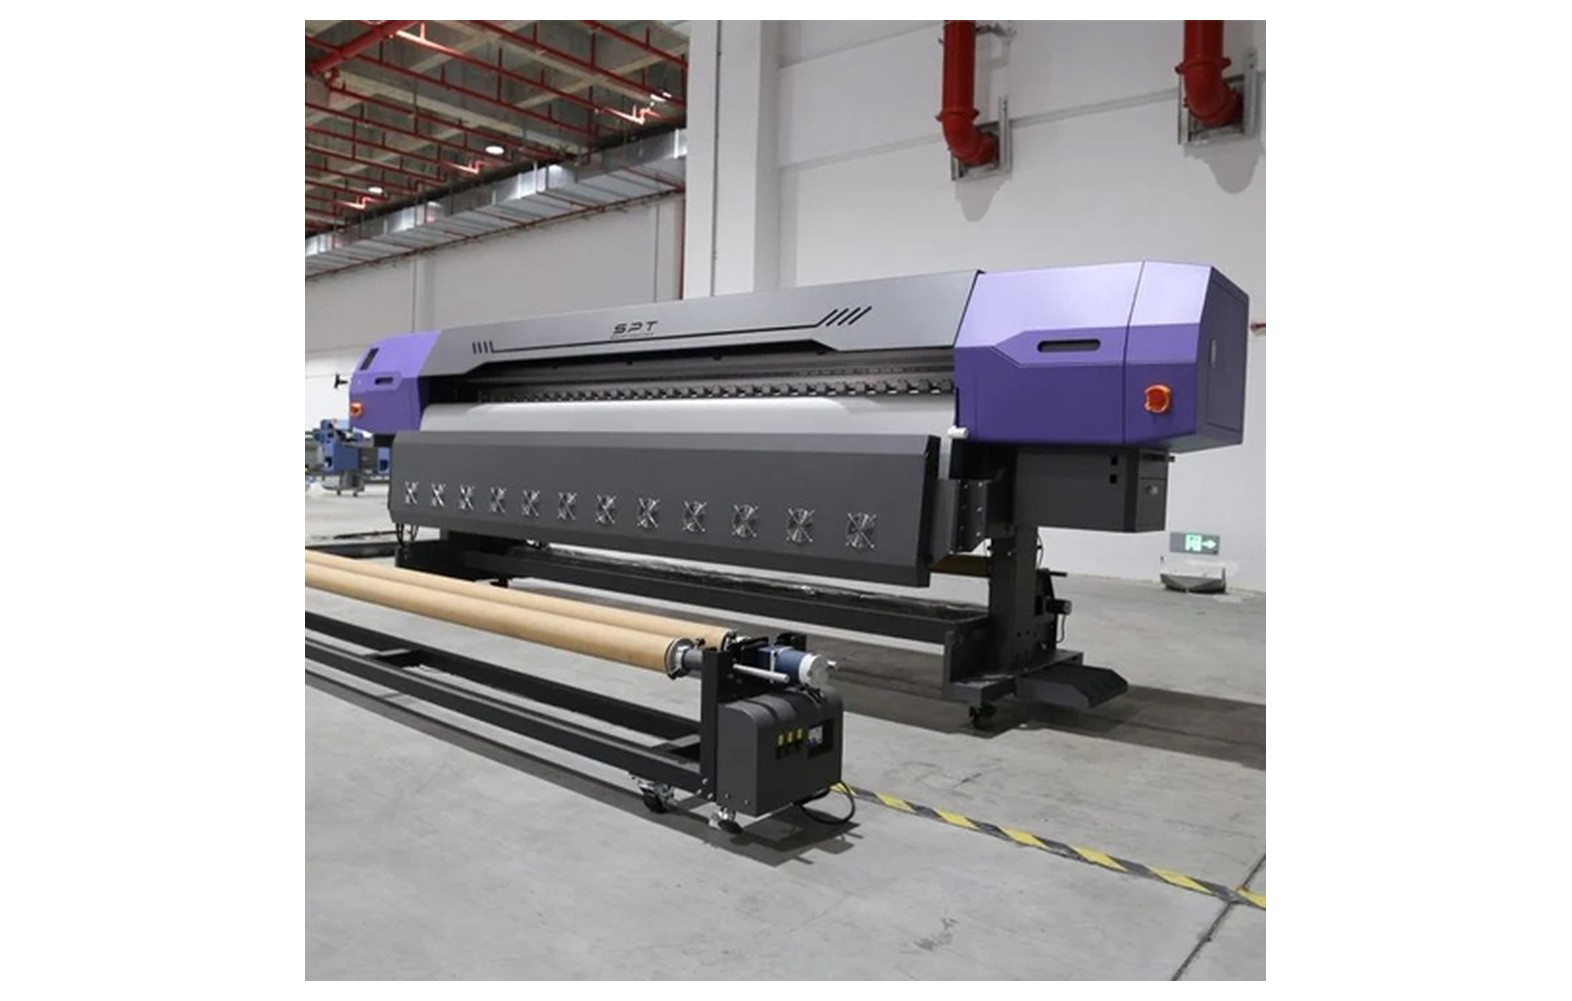
Direct answer: Flex printers can use different sensors to detect media, travel limits, position or other operating conditions. The exact type, location and function depend on the model. An alarm or misfeed does not prove a sensor has failed: record the symptom, use the manufacturer’s approved checks and involve authorised service before replacing, adjusting or bypassing anything.
Why sensors must be understood in context
A printer controls carriage movement, media feed, take-up, maintenance and other functions through a combination of mechanical parts, electronics, software and feedback. Sensors provide information to that system, but not every printer uses the same layout or component names. Obtain the exact model’s diagram and manual.
Record the printer model, serial number, revision, installed options and any previous modifications. A sensor advertised for the same printhead family or printer width is not automatically compatible. Ask the manufacturer or authorised service provider to identify the part and its function in the installed configuration.
This guide supports owner-level observation and purchasing. It is not a universal sensor wiring, cleaning, adjustment or bypass procedure. Guarded-area and electrical work belongs to trained and authorised personnel using the manufacturer’s service instructions.
Media detection
A media sensor may help a machine detect the presence, position or other characteristic of material, depending on the design. The operator manual should describe supported media and any approved setup. Different materials, widths, surfaces or loading methods can affect a system’s expected operation.
A media-not-detected message can have several causes, including an unsupported or incorrectly loaded roll, settings, sensor condition or another system issue. Record the exact message, media construction and setup. Do not assume the sensor failed or defeat the detection function to continue printing.
Follow only authorised operator checks and keep clear of moving media. If the roll wrinkles or approaches the head, stop safely and escalate. The technician should determine which additional test is appropriate for the exact machine.
Limit and travel detection
Some machines use limit or home-related sensors to support a controlled range of movement. Their location, purpose and relationship with the control system are model-specific. A carriage alarm may involve a sensor, mechanical obstruction, drive, cable, electronics or another condition.
Do not bypass a limit device, move the carriage by force or repeatedly reset a protective alarm. If movement is unsafe or unusual, stop using the manual’s procedure. An authorised technician should assess the system before operation resumes.
Record when the alarm appears and any recent transport, maintenance or software change. An event preceding a fault is useful context, but it is not proof of cause. The technician should use the manufacturer’s approved diagnostics.
Position and encoder feedback
Some printers use an encoder strip and sensor or another feedback arrangement to support carriage positioning. A shifted print or registration error can also involve artwork scale, media feed, alignment or mechanical components. A visible defect alone does not establish a sensor failure.
Preserve the approved file, print settings and a marked sample showing orientation and location. Compare with the last accepted output. A safe reference test can help service personnel understand the symptom, but the exact test and adjustment must follow the manufacturer’s instructions.
Do not touch, clean or reposition an encoder strip with an unapproved tool or chemical. It may be delicate and near moving or electrical parts. Refer work beyond operator authority to qualified service.
Other model-specific sensors
A printer may also have sensors associated with covers, take-up, temperature or maintenance functions. Their presence and role depend on the configuration. Ask the manufacturer for the exact function and part number rather than assuming that a generic sensor list applies.
Protective and interlock functions are especially important to safety. Never defeat an interlock or substitute an unverified component to make the machine run. If a required guard or sensor is damaged, stop under the site’s procedure and request authorised service.
A spare must be suitable for the exact machine, connection and control system. A visually similar sensor may have different electrical or operating characteristics. Written compatibility and the manufacturer’s service instructions are essential.
Safety before inspection
Moving carriages, rollers, heated components and electrical systems can create hazards. Do not reach into moving equipment, remove guards, probe live circuits or disconnect components without authorisation. Qualified personnel should use the manufacturer’s safe stop, isolation and service procedures.
If there is smoke, a burning smell, a leak, damaged cable or unsafe movement, stop and notify the responsible supervisor. Do not repeatedly reset a protective alarm or reproduce a hazardous condition to obtain a video.
Use the safety data sheets and the site’s qualified ventilation, fire, spill and waste controls for actual inks and cleaning products. Do not clean a sensor with an improvised solvent or tool. The exact manufacturer’s approved method takes priority.
Record the symptom
Capture the complete displayed message, machine and software configuration, material, job, settings and operating stage. Note the last accepted output and any recent service, transport, media or software change. Keep a physical sample marked with orientation if the defect is visible on print.
Describe what occurred rather than naming a failed part. For example, record that a media message appeared after loading a particular roll rather than stating that the sensor is defective. The technician can use the timeline to choose the appropriate test.
Where the issue is intermittent, note whether it appears at startup, at a certain position or later in a long run. Do not collect evidence by reaching into moving equipment or operating with a damaged guard.
Check the approved workflow
Confirm the correct job, RIP settings, media and loading procedure. A roll that fits in width may exceed the supported weight, diameter or core specification. Follow the manufacturer’s approved guide and sensor setup for the particular material.
Compare the artwork and RIP preview with the accepted file when the issue affects print position or dimensions. A scale error or missing asset may not be a sensor problem. Use an approved reference file and record one authorised change at a time where feasible.
Do not force media, add improvised weights or change protected settings to silence an alarm. If operator checks do not resolve the issue under the manual, stop and escalate to authorised service.
Diagnose before replacement
Provide the technician with the machine record, error, sample, service history and relevant material details. Ask which tests distinguish a sensor, cable, control, media or mechanical cause. The correct test depends on the printer and must be carried out safely.
Request a written diagnostic and repair scope. A sensor, cable and board may be related, but replacing several components at random can increase cost without establishing the cause. If uncertainty remains, agree the next authorised test and its cost before purchasing parts.
A pre-qualified backup printer or subcontractor can protect urgent work while the fault is investigated. Confirm quality and delivery terms in advance. A deadline does not justify bypassing a protective device.
Choose the exact replacement
Confirm the manufacturer part number, machine serial and revision, sensor function, connector and approved configuration. Ask whether an offered number is an authorised supersession and whether related cables or mounting hardware are included. Similar appearance does not establish electrical or mechanical compatibility.
Ask whether the part is genuine, compatible, refurbished or used, and how identity is verified. A genuine sensor for a different revision can still be wrong. For an aftermarket part, obtain written compatibility and the printer manufacturer’s support and warranty position.
Do not remove a guarded part merely to photograph it. An authorised technician may identify it from machine records or a safe inspection. Store approved spares according to supplier guidance and label the machine and part number.
Service and acceptance
- Record the baseline: alarm, operating stage, file, media and machine configuration.
- Verify the part: function, exact number, condition and written compatibility.
- Perform authorised work: follow model-specific isolation, installation and configuration procedures.
- Restore safety: confirm guards and protective systems under the service process.
- Run approved checks: test the relevant sensor and control functions using the manufacturer’s instructions.
- Print representative work: inspect the original symptom at the required dimensions and quality.
- Document release: retain the technician’s report, sample and any limitation.
A short successful test shows performance at that time, not a guarantee of future sensor life. For an intermittent fault, agree a safe observation and follow-up plan with the service provider before committing a long customer run.
Cost and support
Compare diagnosis, part, related cable or hardware, freight, taxes, authorised labour, configuration and downtime using current quotations. A low component-only price may omit the work required to restore the complete system. Clarify warranty, return conditions and acceptance testing.
For a hypothetical example, a sensor costs Rs 1,500, freight Rs 300 and service labour Rs 1,200. The illustrative subtotal is Rs 3,000 before taxes and other costs. These invented figures are not market prices. Use your own quotations and retain any diagnostic uncertainty.
Review spare inventory according to machine configuration, lead time and storage guidance. A sensor stocked for an older revision may not be suitable after an authorised upgrade. Update the equipment record and keep obsolete parts separate.
Common mistakes
Replacing a sensor from an alarm alone: diagnose media, settings, mechanical and control causes under the approved procedure.
Bypassing a limit or guard: stop and involve authorised service; do not defeat protective functions.
Cleaning with an unapproved fluid: use only the model-specific instructions and trained personnel.
Ordering by appearance: confirm function, part number, revision and written compatibility.
Skipping the acceptance test: verify the original symptom and representative output before production resumes.
Questions for the supplier
- What function does this sensor perform in our exact printer?
- What part number and revision are approved for this serial?
- What evidence supports the proposed diagnosis?
- Which checks may operators perform and which require authorised service?
- What related cables, mounting, configuration and warranty are included?
- How will the repair be verified safely?
For position feedback see encoder strips and sensors. For general purchasing read the spare-parts buyer guide.
Conclusion
Choose sensor spares by verified function, machine configuration and part number. Preserve the symptom, follow approved checks and involve qualified service. Never bypass protective functions to meet a production deadline.
Handling an intermittent sensor message
An alarm may appear only with one material, after a certain amount of travel or following an idle period. Record those conditions and the exact displayed message. Avoid repeatedly resetting the machine without recording the sequence, particularly if the alarm relates to a protective function.
For a media-related complaint, identify the roll construction, width, core, batch and approved loading position. If another supported roll is tested, record that difference. A changed result can help the technician investigate, but it does not prove that the first roll or the sensor is defective.
For a carriage-related complaint, record the operating stage and any position that can be observed safely. Do not follow the carriage inside the guard or run a machine with unusual movement to create a demonstration. The authorised service provider chooses a safe test.
Distinguish approved cleaning from service
The manual may permit a trained operator to perform certain external checks or cleaning. It may reserve other tasks for an authorised technician. Ask the supplier to identify the exact task, stop procedure, approved material and required training for the installed configuration.
Do not use a generic solvent, compressed air or tool merely because another printer permits it. A sensor or nearby component may be delicate, and the actual ink or cleaning product can introduce safety hazards. The manufacturer’s instructions and site risk assessment determine what is allowed.
Record the approved action and result. If the message persists, escalate rather than repeating cleaning indefinitely. A brief improvement is not proof that the underlying cause has been resolved or that a protective device can be ignored.
Managing a changed configuration
A printer may have been upgraded, repaired or fitted with a different take-up unit. Document the installed options and service history before ordering a sensor. The original catalogue may not describe the current configuration, while an undocumented change can affect support and warranty.
For an approved modification, update the machine record, supplier contacts, operator instructions and spare inventory. Ask the authorised technician whether any part number or configuration requirement has changed. Keep previous records for traceability rather than overwriting the history.
If no reliable configuration record exists, request an authorised assessment. Do not guess from a photograph or swap sensors between machines as an experiment. Such a swap can introduce a new fault or obscure the evidence needed for diagnosis.
Customer work after service
Define the acceptance file, media, dimensions and quality mode with the technician before the work where practical. Inspect the original symptom over the relevant width and length. A successful startup is not necessarily a complete test of a sensor used later in a job.
For interrupted panel work, reconcile the output printed before and after service. Compare dimensions, alignment and colour with the customer-approved sample before joining. Record which panels were replaced and communicate a revised delivery date where necessary.
Keep the technician’s report, part identification and test record available to each shift. If the alarm returns, use the safe stop and escalation procedure and provide the new evidence. Do not allow an unverified workaround to become a permanent operating instruction.
Review the supplier’s scope
Ask whether the quotation includes the exact sensor, any related cable or mounting, travel, authorised labour, configuration and acceptance test. Confirm the part condition and the evidence needed for a warranty claim. A component-only quote should not be compared as if it included complete service.
If the technician finds a different cause, require a revised scope and approval before additional work. Keep the original alarm and diagnostic report with the machine record. After the repair, ask for a clear explanation of any remaining uncertainty and the conditions under which the test was performed.
For urgent production, maintain a pre-qualified alternative where practical. This helps the business protect a customer deadline without defeating a protective function or running an unsafe machine.
Frequently Asked Questions
Does a media alarm always mean the sensor failed?
No. Media, loading, settings, wiring and other factors may contribute. Follow the manufacturer’s approved checks and seek qualified diagnosis.
Can a limit sensor be bypassed to finish a job?
No. Do not defeat protective devices. Stop under the site procedure and have authorised service assess the machine.
Are all position sensors interchangeable?
No. Function, connector, electrical characteristics and control configuration vary. Confirm the exact machine revision and part number.
Can I clean a sensor with any solvent?
No. Use only the manufacturer’s approved method and materials within your training. Unapproved fluids can damage components or create hazards.
Does a shifted print prove an encoder sensor fault?
No. Artwork, media feed, drive, settings and other components can also affect registration. Preserve a sample and use model-specific diagnostics.
Can an operator inspect a live sensor circuit?
Electrical testing and guarded-area work require appropriately qualified and authorised personnel following the manufacturer’s isolation procedure.
How is a sensor repair verified?
Restore protective systems, run approved model-specific checks and inspect representative output, retaining the technician’s report and limitations.
