



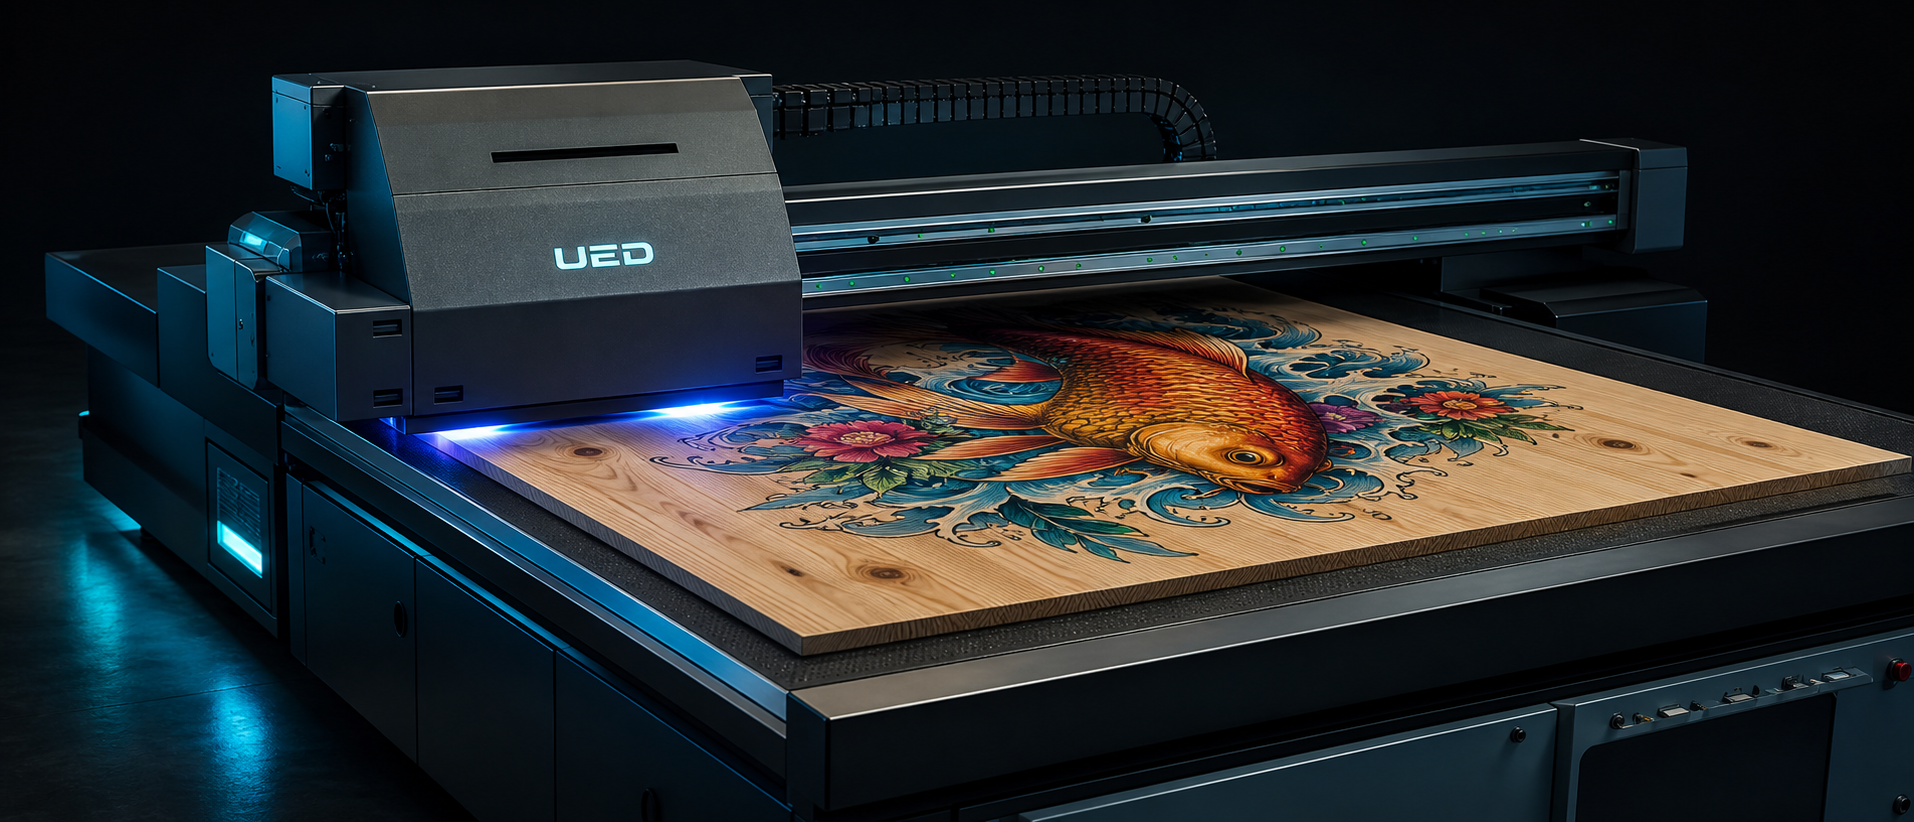
Printing directly on wood — solid timber, ply, veneered panels and engineered boards — lets a print shop sell bespoke décor, furniture, signage and gifts that no laminate catalogue can match. UV ink sits on the surface and cures instantly, so it works on wood without the soaking and drying problems of liquid inks, and it reproduces grain-on-grain, photographic and branded artwork with real impact. But wood is a living, variable substrate: it moves with humidity, it has open grain, and it carries oils and resins. This guide shows how to print on wood reliably and profitably.
Wood is not one substrate
The word “wood” covers an enormous range: dense hardwoods like teak and oak, softwoods like pine, ply and blockboard, veneered MDF, and reclaimed timber with cracks and character. Each behaves differently under print. Hardwoods with tight grain print crisply; open-grained woods show texture through the ink, which can be a feature or a flaw; oily woods (teak, some tropical hardwoods) resist adhesion; and any wood will expand and contract with moisture, stressing a brittle ink film. The first professional step is therefore to identify the species and moisture state, then choose prep and ink accordingly.
Preparation: sand, seal, and respect the grain
- Sand to a consistent grit (around P180–240) and remove all dust; wood dust under ink shows as rough specks.
- Seal open or oily grain with a compatible clear sealer or primer to give a uniform, stable print surface and control ink absorption.
- On oily woods, wipe with a solvent recommended for the species and test adhesion before production.
- Let boards acclimatise to the print room so they do not move after printing.
- Decide whether the grain should show (print colour directly, letting grain read through) or be hidden (lay a white or solid base first).
Working with the grain, not against it
One of wood printing’s unique joys is using the grain as part of the design: a semi-transparent print lets the natural figure glow through, ideal for rustic signage, menu boards and décor. For a solid photographic image, lay white or a base first to mask the grain. A varnish pass can then add a satin or matte protective coat that also evens the sheen between printed and bare areas. The choice between “grain showing” and “fully opaque” is a design decision that should be made with the customer, because it changes both the look and the ink cost.
Adhesion and flexibility: wood moves
Wood expands and contracts across the grain with every humidity swing, and it flexes under load. A brittle rigid ink can micro-crack over time on a board that moves. For wood that will live indoors in a stable environment, a well-cured UV ink on sealed wood is fine. For anything structural, exterior-adjacent, or likely to flex (signage that travels, furniture that is moved), choose a flexible UV ink set and a good sealer so the ink film moves with the substrate. Always do a simple flex and cross-hatch test on an offcut of the actual board.
Applications that pay
The list is broad and margin-rich: bespoke furniture fronts and table tops, wall panelling and feature walls, wooden signage for cafés, boutiques and farms, awards and plaques, coasters, chopping-board-style décor (decorative, not food-surface), guitar and instrument accents, crate and pallet branding, and personalised gifts. Reclaimed-timber signage with the grain showing is a particularly strong seller because each piece is visibly unique. Corporate branding on wood — reception desks, office feature walls, restaurant menus — reads as warm and premium and commands good prices.
Machine choice for wood work
Wood pieces vary from small gifts to large panels, so a versatile UV flatbed printer is the right tool: a vacuum bed for panels, enough Z-height for thick timber and fabricated pieces, and a white channel for opaque work on dark or reclaimed wood. Shops that pair wood décor with flexible signage often choose a UV hybrid printer. Because wood dust is abrasive and must never enter a printer, keep cutting and sanding in a separate, extracted area — this single workshop-layout decision protects your machine more than any other.
Durability, finishing and care advice
A printed wood piece for indoor use, sealed and varnished, will last for years. For table tops and high-touch surfaces, add a protective varnish or a clear top-coat and advise the customer on care (no abrasives, no prolonged water). For exterior wood signage, expect the print to behave like any exterior graphic: use a UV-protective varnish, prefer flexible inks, and set fade expectations. Being honest about interior versus exterior service life builds trust and avoids callbacks.
Cost and pricing
Wood substrates range from cheap pine offcuts to expensive hardwood slabs, so pass substrate cost through transparently and take your margin on design and print. Small personalised items are priced per piece from a menu; larger panels by the square foot with premiums for white under-base and varnish. Because each wood piece is unique, personalised and reclaimed-wood work supports especially strong margins — customers pay for one-of-a-kind.
Common mistakes to avoid
- Printing on un-sanded, dusty or oily wood and blaming the ink for poor adhesion.
- Ignoring moisture movement and using brittle ink on a board that flexes.
- Letting sanding dust live anywhere near the printer.
- Expecting opaque colour on dark wood without a white base.
- Quoting exterior work without varnish and a fade disclaimer.
Frequently asked questions
Can I print on oily woods like teak?
Yes, with the right solvent wipe, sealer and adhesion test. Oily species are the hardest case; always prove it on an offcut first.
Will the print survive a table top?
With a protective varnish and sensible care, yes for decorative and light-use tops. For heavy dining use, recommend a physical top-coat or glass over the print.
Do I print before or after finishing the wood?
Seal first, print, then apply the final protective finish. Printing on raw, unsealed wood wastes ink and dulls colour.
A repeatable step-by-step wood workflow
Begin by identifying species and moisture; reject or re-dry boards that are damp. Sand to a consistent grit, extract and wipe all dust, and seal open or oily grain with a compatible clear sealer. Let the sealer cure, then set the board on the vacuum bed and confirm head height across the piece, because sawn timber is rarely perfectly flat. Decide grain-showing versus opaque and load the matching profile; print; then apply the protective varnish or leave a natural matte as specified. Finally, finish edges — oil, wax or painted — so the piece reads as crafted, not just printed. Logging the recipe per species lets you reprint a customer’s table top or sign years later and match it exactly.
Reclaimed and character timber: the premium niche
Reclaimed beams, scaffold boards and barn wood carry cracks, nail holes and weathered colour that customers love, and UV printing is uniquely suited to them because it adds graphics without hiding the character. Print a logo or menu semi-transparently so the history shows through, or place a crisp design on a planed section while leaving the rough edges natural. Each piece is one-of-a-kind, which removes price comparison and supports strong margins. The cautions are real, though: reclaimed wood moves more, may carry old finishes that resist adhesion, and its uneven surface needs careful head-height management. Test and seal thoroughly, and price for the craft.
UV printing versus laser engraving and CNC on wood
Laser engraving burns the surface for a tactile, monochrome mark; CNC carves depth. UV printing adds full colour and photography that neither can. They are complementary, not competing: many shops engrave or route an outline or logo recess and then UV-print colour into or beside it, producing effects no single technology achieves. Offering the combination — engraved edge detail plus printed colour — is a powerful differentiator for signage and awards. Know your local engraving partner if you do not own a laser, and sell the finished piece rather than the process.
Finishing: oil, wax, varnish and how they interact with print
After printing, the protective finish must be compatible with the cured ink. Water-based polyurethane or a UV-compatible varnish are safe choices; some penetrating oils can soften or smear a fresh print, so test any oil on a cured sample before using it over print. For a natural feel, a matte varnish preserves the wood’s look while protecting the ink; for table tops and high-touch pieces, build two or three coats and de-nib between them. The finishing stage is where a printed wood product crosses from “print on wood” to “finished piece,” and it is worth investing time in getting right.
Sectors and repeat business in wood
Hospitality leads: cafés, restaurants and bars want menu boards, wayfinding and feature walls with warmth. Retail and boutiques use branded wood fixtures and signage. Corporate offices commission reception branding and meeting-room names in timber. The gift and homeware market buys coasters, plaques and décor. And furniture makers outsource printed fronts and panels rather than buying a printer. Because wood décor suits a brand’s whole identity, a single happy hospitality client often generates a venue-wide order and then repeats across new locations — the compounding account every print shop wants.
Machine care around wood dust
Wood dust is abrasive and hygroscopic; near a printer it degrades rails, cures into ink paths and settles on beds. The single most important layout decision is separating machining from printing with proper extraction. Vacuum the bed and surrounding floor regularly, keep covers on the machine when idle, and include rail cleaning in the weekly maintenance schedule. A well-kept machine holds the tight head gaps that wood’s uneven surface already challenges; neglect turns a variable substrate into an unreliable one.
Designing artwork that belongs on wood
The best wood printing respects the material rather than fighting it. High-contrast photographic prints suit smooth, light boards; rustic and vintage designs suit knotty or reclaimed timber; and fine typography reads beautifully on tight-grained hardwood. Advise customers away from large flat pale areas on busy grain unless a white base is used, and show them grain-showing versus opaque samples side by side so the choice is informed. Providing a small library of ready-made designs — arrows and wayfinding, café menus, house names, motivational type — speeds quoting and raises average order value, because many wood buyers are consumers who want guidance rather than blank-canvas freedom.
Packing, delivery and the last mile
A perfect print can die in transit, and wood pieces are especially prone to corner knocks and face scratches. Wrap printed faces in soft interleaving, protect corners with edge board, and ship rigid pieces flat or on edge with support so they cannot flex. For gifts and décor, branded tissue plus a care card turns delivery into part of the product and reduces damage claims. Because wood and glass décor often travel to gift shops and online marketplaces, a repeatable packing standard is both a cost control and a marketing asset — customers photograph a beautifully packed one-of-a-kind piece and share it.
Compliance, safety and honest claims
Be clear with customers about what printed wood is and is not. Decorative printed boards are not food-contact surfaces, so a printed ‘chopping board’ must be sold as décor or trivet unless a certified food-safe top-coat is applied and disclosed. Exterior claims should carry a fade and maintenance note, and structural claims should never be made for a decorative print. Where a job touches building regulations — for example printed panels used as wall linings in commercial escape routes — confirm the substrate’s fire rating independently, because the print does not change the board’s classification but a specifier may assume it does. Honest, documented claims protect your reputation and keep the premium wood line free of disputes.
Conclusion
Wood printing is a craft as much as a process: identify the species, seal and sand, decide grain-showing versus opaque, use flexible inks where the board moves, and protect the finish with varnish. Done well, it opens furniture, décor, signage and gift revenue with the premium feel only real timber provides. Explore our digital UV printer range or contact us to match a machine and ink set to your wood work.
