



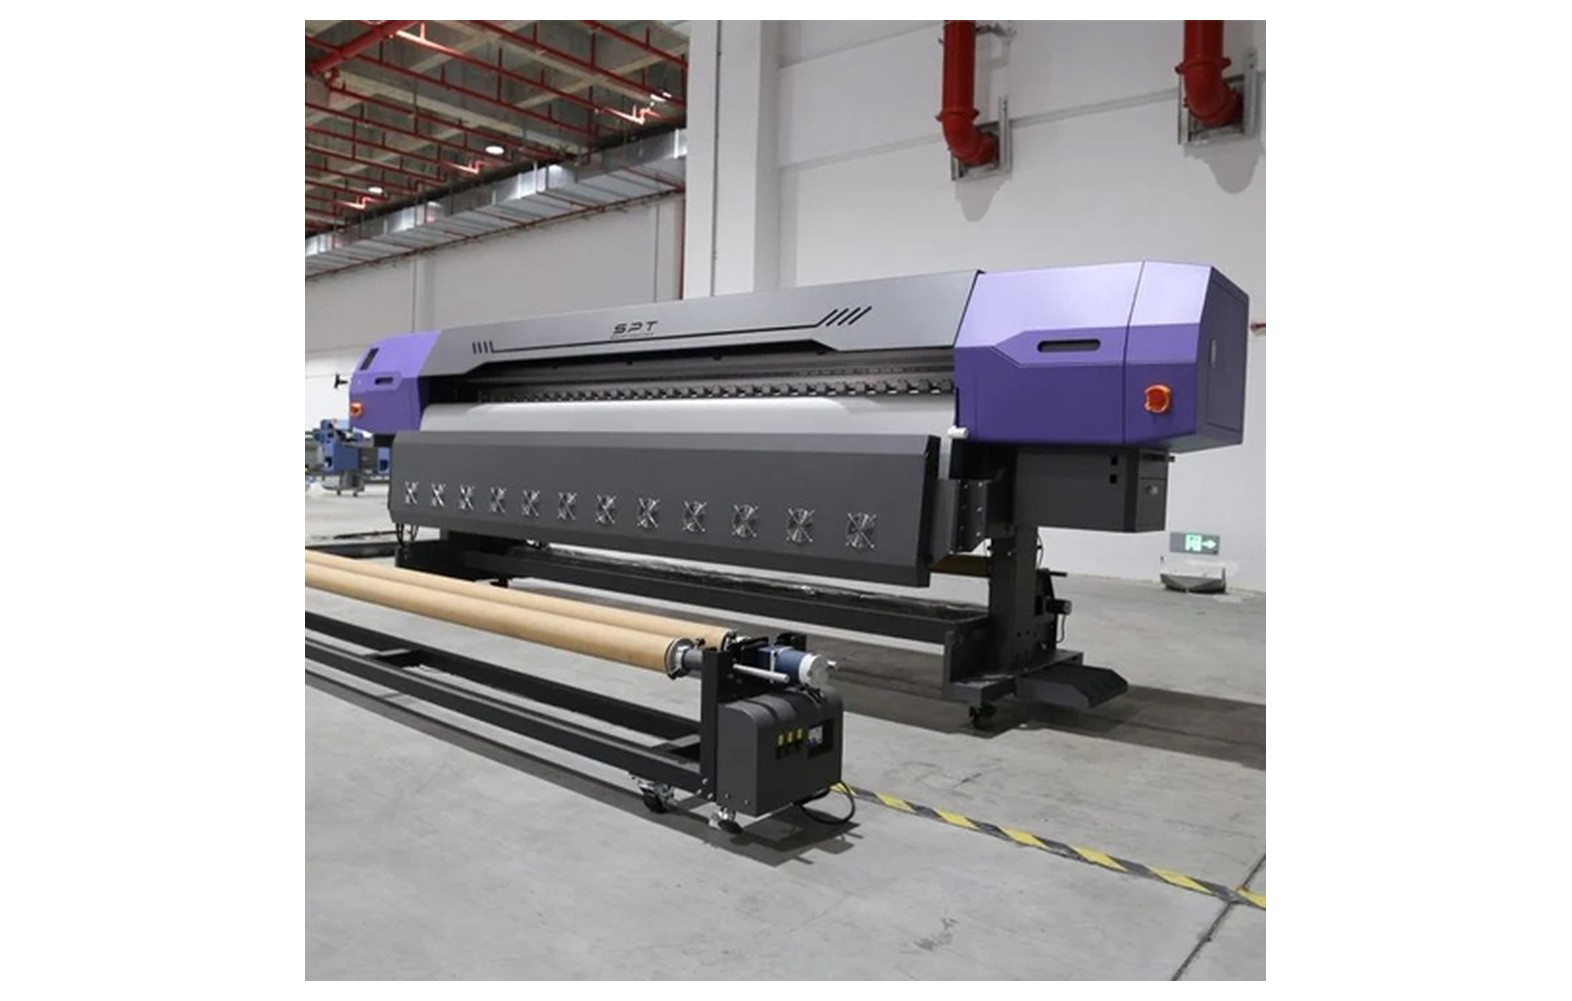
Direct answer: A carriage belt is one part of the motion system that moves the print carriage in some flex printers. Wear, alignment and tension should be assessed for the exact machine by trained personnel. Noise, position errors or print defects can have several causes; a belt should not be replaced or adjusted solely from a symptom or a visually similar spare part.
Understand the carriage system
The carriage travels along the machine’s print axis while ink is deposited on media. Depending on the design, the system can include a motor, drive belt, pulleys, rails, bearings, encoder strip, sensor and control electronics. Not every printer uses identical components or motion control. The manufacturer’s model-specific documentation defines the installed arrangement.
A belt works as part of that system. A fault in a rail, bearing, pulley, sensor, motor, controller or carriage obstruction can produce a symptom that an operator calls a belt problem. Diagnose the complete system before purchasing components.
This guide helps owners discuss inspection and buying decisions. It does not provide a universal replacement, tension, lubrication or alignment procedure. Mechanical and electrical work must follow the manufacturer’s instructions and be performed by appropriately trained and authorised personnel.
Safety before inspection
The carriage and belt can move unexpectedly, and a printer can contain electrical, heated and ink-system hazards. Follow the manufacturer’s safe stop and isolation procedure and the site’s requirements. Do not reach into a moving machine, remove guards, bypass interlocks or touch electrical components without authorisation.
If there is unusual noise, visible damage, a damaged cable, burning smell or possible head contact, stop and notify the responsible supervisor. A customer deadline is not a reason to continue an unsafe test. Qualified service personnel should determine when the machine is safe to inspect and operate.
Inks and cleaning fluids have product-specific hazards. Obtain safety data sheets and use the site’s qualified ventilation, fire, protective equipment and waste controls. Do not apply an improvised lubricant or solvent to a belt, rail or encoder.
What to record when a symptom appears
Note the machine model, serial number, revision, configuration, job, media, print mode and error message. Describe the sound or motion and when it occurred: startup, carriage travel, direction change or a long run. Record the last accepted output and any recent transport, service or setting change.
Retain a sample if a print defect occurred and mark its orientation and location. Banding, misregistration or a shifted image can arise from several causes, including artwork, media feed, ink, encoder or motion components. A print sample is evidence to investigate, not proof of belt failure.
Ask operators to report observations rather than conclusions. A statement that the carriage made a repeated noise at a certain point is more useful than an unsupported declaration that the motor or belt has failed. Keep the record with the service request.
Wear and visible condition
A qualified technician may inspect the belt and associated components for condition using the manufacturer’s safe procedure. The relevant evidence and acceptance criteria depend on the belt construction and machine. A worn or damaged appearance should be assessed in context with pulley condition, alignment and service history.
Do not remove a guard or move the carriage by hand simply to obtain a photograph. The supplier may identify the belt from the machine serial and configuration. Where physical inspection is necessary, an authorised person should isolate the equipment and follow the exact procedure.
A belt may have been replaced previously with an incorrect or undocumented part. Ask for service invoices and the installed part number. If records conflict with the machine documentation, the manufacturer or authorised service provider should confirm the correct configuration.
Alignment and tension
Belt alignment and tension can affect the way a motion system operates, but the correct method and values are model-specific. Too much or too little tension can create problems in some systems. More tension is not automatically better, and a generic measurement from another machine should not be applied to your printer.
Only trained personnel should use the manufacturer’s approved inspection and adjustment process. Do not add improvised weights, adjust a moving mechanism or force a pulley. A technician should also assess related bearings, pulleys, rails and sensor behaviour where the documented diagnostic procedure calls for it.
Record the authorised adjustment, any part changed and the resulting test. If a symptom remains, do not repeatedly change several settings without documenting them. Controlled comparisons help identify whether the approved work addressed the reported issue.
Encoder and position feedback
Some printers use an encoder strip and sensor to provide carriage-position information. A positioning symptom may involve feedback, contamination, alignment, a cable or control system as well as the mechanical drive. The installed design and approved checks vary by machine.
Do not touch, clean or move an encoder strip with an unapproved cloth or chemical. It can be delicate and may be near moving or electrical parts. Follow the manufacturer’s instructions and refer inspection or cleaning outside the operator’s authority to qualified service.
Ask the technician what evidence distinguishes a belt issue from an encoder or rail issue on this model. The answer should be based on the exact system and approved tests, not a universal symptom chart.
Identify the replacement belt
Confirm the manufacturer part number, machine model, serial number and revision. Ask whether the replacement is a documented supersession and whether the pulley, fastening hardware or other parts must be assessed at the same time. A belt with similar length or tooth appearance is not automatically suitable.
Provide the supplier with the machine record and any authorised service report. Do not rely on a printer width or printhead family alone. Two machines marketed as 16 ft can use different motion components. Sixteen feet is approximately 4.88 metres, whereas five metres is approximately 16.4 feet; neither label identifies a belt.
Obtain written compatibility and condition information. If an aftermarket component is offered, ask the machine manufacturer or authorised service provider about support and warranty implications before ordering.
Genuine, compatible and used parts
A genuine part should still be verified against the machine revision and installed configuration. Ask how the part identity and supply channel can be checked and what warranty applies. Packaging alone or a high price does not establish suitability.
For a compatible belt, request the relevant specifications and written confirmation for the exact printer. Ask who supports the component and what happens if it cannot be installed or does not pass acceptance. Physical fit alone is not proof of performance.
A used or refurbished part has an uncertain history. The responsible technician should assess whether reuse is supported by the manufacturer and appropriate to the machine. Do not present a generic replacement life or guarantee of savings.
Diagnosis and service scope
Ask an authorised technician to assess the reported symptom using the machine manual. Provide the machine record, service history, error messages and print samples. The diagnosis may involve the belt, drive, rails, bearings, encoder or another subsystem; the technician should explain the evidence for the proposed work.
Request a written scope covering diagnosis, part numbers, related components, labour, safety isolation, any authorised calibration and acceptance test. Clarify what happens if another issue is found. A component-only price may not include the work required to return the system safely to service.
Do not replace multiple parts at random merely because a deadline is near. If the cause is uncertain, agree the next approved diagnostic step and its cost. A pre-qualified subcontractor can help with urgent orders while the machine is unavailable.
Safe replacement responsibilities
Mechanical and electrical work should be performed by personnel trained and authorised for the exact printer. Follow the manufacturer’s isolation, handling, installation and restart procedure and applicable site rules. Do not open guarded sections, bypass protective devices or make an improvised tension adjustment.
The service provider should assess any related wear or damage using approved criteria. Ask whether the proposed replacement includes the necessary hardware and whether other components need inspection. A new belt installed into a system with an unresolved underlying fault may not correct the original symptom.
After the work, confirm that guards and safety systems have been restored and that operators know any changes to the approved procedure. Do not return the machine to customer work solely because the carriage moves; use the agreed acceptance test.
Acceptance after service
- Record the baseline: symptom, error, sample and machine configuration.
- Verify the part: exact number, condition and written compatibility.
- Perform authorised work: follow model-specific isolation and service instructions.
- Run approved checks: use the manufacturer’s documented motion and setup tests.
- Print a representative file: use the intended media and customer-quality mode.
- Inspect: check dimensions, registration and the original symptom over the required width and length.
- Document release: retain the service report, settings and any remaining limitation.
A successful test shows performance under those conditions; it does not guarantee future component life. Ask the technician whether follow-up observation is appropriate and who must approve the return to production.
Cost and downtime
Compare diagnosis, the exact part, related hardware, freight, taxes, authorised labour and downtime using current written quotations. A low belt price does not include the complete service cost unless the quotation states it. Review warranty and return terms before opening packaging.
For a hypothetical example, a belt costs Rs 2,000, freight Rs 300 and service labour Rs 1,700. The illustrative subtotal is Rs 4,000 before tax and other expenses. The numbers are invented for arithmetic, not market prices. Use your own quotations and do not treat them as a forecast.
Keep a backup plan for customer deadlines while service is underway. A qualified subcontractor or spare capacity may reduce pressure to run a defective machine, but its quality and delivery terms should be checked in advance.
Stock and records
Decide whether to hold an approved spare based on service history, lead time, storage guidance and capital. Label the machine and part number, protect the component as the supplier directs and keep an issue record. A spare for one revision should not be fitted to another without verification.
Update the machine record after service or an authorised modification. Retain the part number, technician’s report, acceptance sample and any warranty conditions. If a similar symptom returns, compare the conditions and consult service rather than assuming the previous part has failed again.
Common mistakes
Ordering by appearance: confirm the exact part number and machine revision.
Adjusting tension without guidance: use the model-specific procedure and authorised personnel.
Ignoring related components: ask the technician to assess pulleys, rails, bearings and position feedback under the approved diagnostic process.
Working while the machine can move: stop and isolate according to the manual and site safety procedure.
Skipping acceptance: verify the original symptom and representative print before customer production resumes.
Questions for the supplier and technician
- What is the exact belt part number for this serial and revision?
- What evidence supports a belt-related diagnosis?
- Which related drive, rail or encoder checks are authorised?
- Who will install and test the part?
- What warranty, return and storage terms apply?
- What test demonstrates the required output after service?
For motion-system context, see our carriage, rails and encoder guide. For general purchasing see the spare-parts buyer guide.
Conclusion
Assess a carriage belt as part of the complete motion and feedback system. Verify the exact part, use qualified diagnosis and model-specific service, and document the acceptance test before returning the printer to production.
Preparing a meaningful service request
Provide a timeline rather than only a list of suspected parts. Record when the machine last produced acceptable work, the first observed symptom, its position in the carriage travel and whether an alarm was displayed. Note recent transport, maintenance, media changes or software updates without assuming any one event caused the problem.
A physical print sample, a short recording taken from a safe position and the exact error message can help the technician plan the visit. Do not remove covers or operate a machine with a possible mechanical hazard to create a better recording. The service provider should decide which further checks are safe and authorised.
Ask the technician to identify what evidence supports the diagnosis and what remains uncertain. If the proposed work includes a belt, pulley or sensor, obtain the part numbers and labour scope. Agree how a change in scope will be approved if another defect is found during inspection.
Comparing before and after output
Choose the acceptance file, media and quality mode before service begins where feasible. Record the width and length needed to reproduce the reported symptom. A short print can confirm some obvious issues but may not reproduce a fault that appears only after a long run.
After authorised work, compare the same test with the retained reference under consistent conditions. Record whether the original symptom has changed and whether any new issue appeared. Do not present a single successful test as a guarantee of future belt life or uninterrupted operation.
Have the service provider document parts, settings, calibration and any limitation. Ensure guards are restored and the responsible supervisor authorises return to production. If the symptom persists, discuss the next approved diagnostic step rather than tightening or replacing another component without evidence.
Plan for a recurring fault
A repeat symptom can have the same cause or a different one. Compare the job, operating conditions and error history with the original service record. Keep samples and supplier correspondence to support a warranty discussion where applicable.
Review whether the same print-quality defect appears on different files or media. An artwork or feed problem can be mistaken for carriage motion trouble. The manufacturer’s qualified service team should interpret the complete evidence and select a safe test.
For urgent customer work, use an approved backup or subcontractor rather than bypassing a guard or running with unusual mechanical noise. Reconcile replacement panels against the approved proof and document any change to the delivery plan.
Frequently Asked Questions
Does carriage noise always mean the belt has failed?
No. Rails, bearings, pulleys, motors, sensors or other components can also contribute. Stop safely and seek a model-specific diagnosis.
Can I adjust belt tension while the printer is running?
Do not work on moving machinery. Trained and authorised personnel should use the manufacturer’s isolation and adjustment procedure.
Is a belt from another printer with the same width compatible?
Not necessarily. Confirm the exact machine model, revision and manufacturer part number; nominal print width does not identify a belt.
Does a tighter belt always improve print quality?
No. The correct setting is model-specific, and excessive or insufficient tension can cause problems. Use authorised service and the manufacturer’s instructions.
Can an encoder issue look like a belt issue?
Some positioning symptoms can involve either the mechanical drive or feedback system. A qualified technician should assess the complete machine.
How often must a carriage belt be replaced?
There is no universal interval. Follow the manufacturer’s service guidance and qualified condition assessment for the specific printer.
What should be checked after replacement?
The authorised technician should restore safety systems, perform model-specific checks and verify a representative print against the agreed acceptance criteria.
