



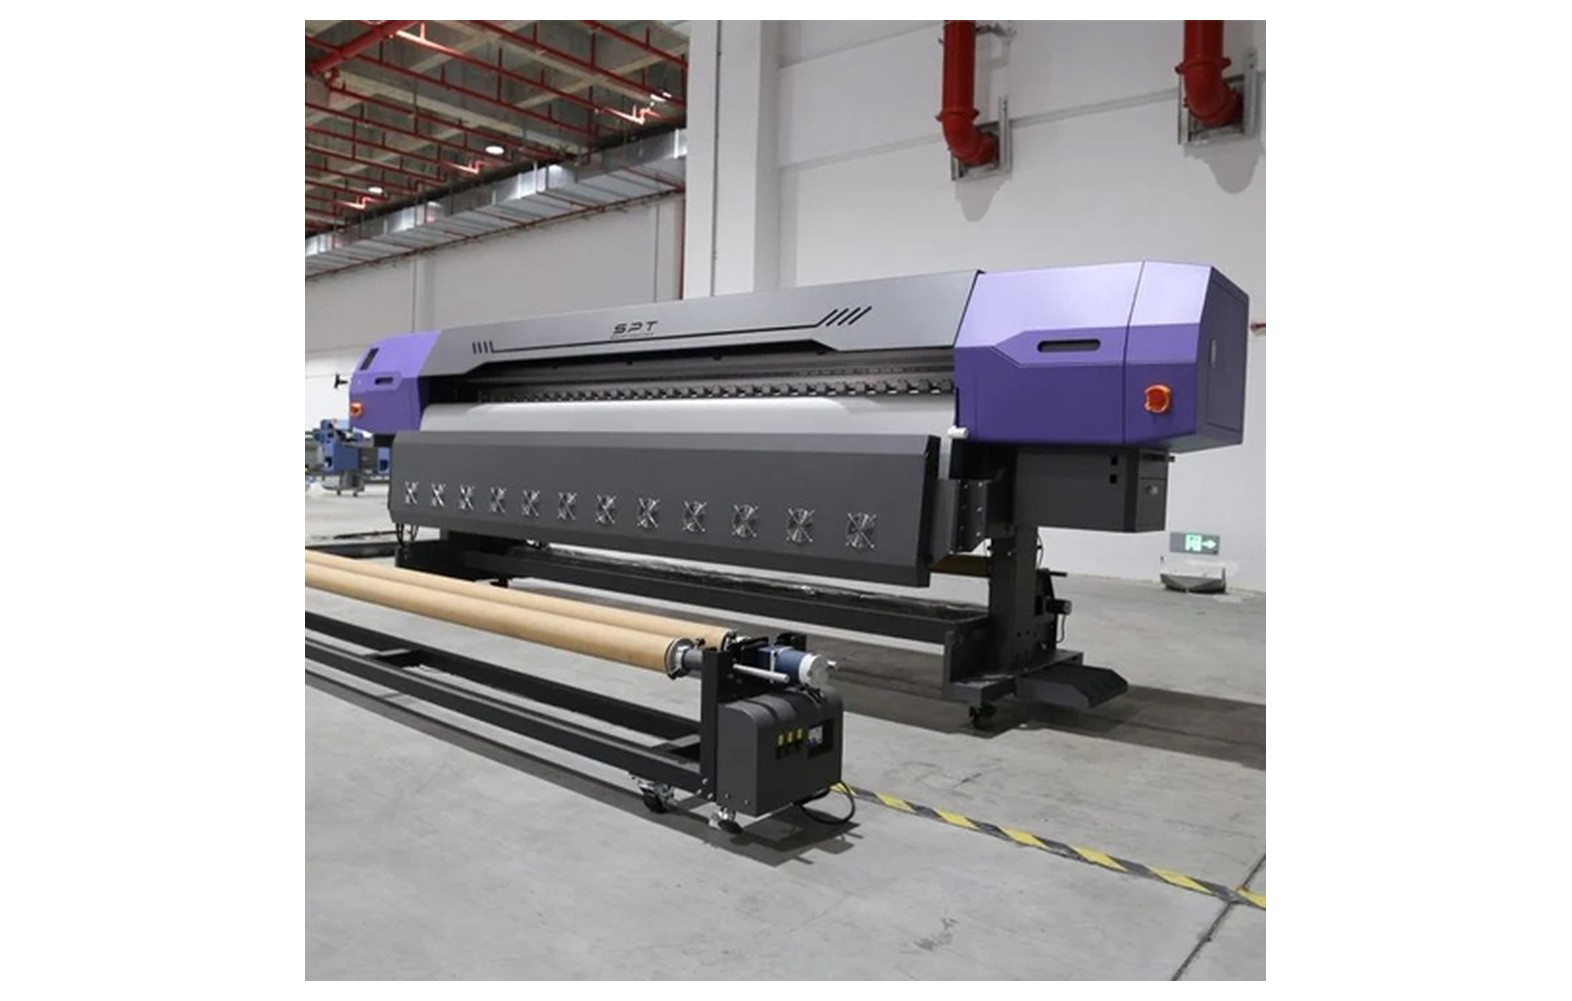
Direct answer: A damper is an ink-system component used in some flex printers to help manage ink delivery to a printhead. Its exact role and location depend on the machine design. Before ordering or replacing one, confirm the printer model, head variant, ink, manufacturer part number and authorised service procedure. Weak colour or banding does not by itself prove that a damper has failed.
Start with the complete ink system
An ink delivery system may contain reservoirs, tubes, filters, pumps, valves, dampers and a printhead, but not every printer uses the same arrangement. Some systems use different pressure control or recirculation designs. Obtain the machine manufacturer’s diagram and documentation rather than assuming a generic layout matches your equipment.
Record the exact machine model, serial number, installed head variant, ink and service history. Ask the supplier or authorised technician to identify the damper and its part number. Similar-looking components can have different connections, internal construction, ink compatibility or operating characteristics.
The purpose of this guide is to help owners discuss a part with the supplier and technician. It is not a step-by-step instruction to open an ink system. Follow the specific manual, safety data sheets and site procedures; work outside operator authority belongs to qualified service personnel.
What a damper can do
In some printer designs, a damper helps buffer or regulate aspects of ink delivery between the supply and printhead. It may also incorporate a filtering or other element depending on the construction. The manufacturer’s description for the exact part is the reliable source for its function.
A damper operates as part of a complete system. Pump behaviour, ink level, tubing, air, filters, maintenance station, printhead and software can all affect output. A component cannot be judged properly from a single photograph or a generic explanation of how another printer works.
Do not assume that every damper is interchangeable or that replacing it will fix every missing nozzle or colour defect. Ask the technician to document the observed symptom, diagnostic evidence and proposed work before buying parts.
Identify the correct component
Confirm the printer model and revision, head model and variant, approved ink and manufacturer’s damper part number. If the machine has been modified or converted, tell the supplier and obtain an authorised assessment. A part listed for the original configuration may not be appropriate for an undocumented conversion.
Ask whether the specified part includes the necessary seals, connectors or associated fittings. Check dimensions and connections using the manufacturer’s documentation, not appearance alone. A replacement number may supersede an older number, but the supplier should confirm the supersession for your exact machine in writing.
Do not remove guards or disconnect tubing merely to photograph a part. The manufacturer or technician may be able to identify it from the serial number and configuration. If an inspection is necessary, it should be performed under the model-specific safety procedure by an authorised person.
Ink and material compatibility
The component’s materials must be compatible with the approved ink and maintenance fluids. Different solvent, water-based or other ink systems can have different requirements. An aftermarket part described as universal is not automatically compatible with your formulation or printer.
Ask the machine manufacturer for its approved part and consumable list. If considering a compatible component, obtain its exact specifications, supplier warranty and the machine manufacturer’s position on use and support. Do not mix inks or change cleaning fluids merely because a replacement part is available.
Keep the relevant safety data sheets accessible. Have qualified professionals assess ventilation, fire precautions, protective equipment, storage and waste handling for the actual ink and cleaning products under applicable local rules. The name of the ink alone does not establish that a substance is harmless.
Symptoms that need investigation
Operators may report weak colour, intermittent output, missing lines, banding or a change after maintenance. These observations do not identify the faulty part. The source file, profile, media, head, supply system and machine settings can also contribute. Preserve a sample and record the conditions.
Note when the issue began, which colour or area is affected, the last accepted print, recent ink or media changes and any alarms. Use only the manufacturer’s approved operator checks. A nozzle pattern can provide evidence at a point in time, but it does not prove the damper is good or bad.
If there is a leak, unusual smell, damaged cable or other unsafe condition, stop using the site’s approved procedure and notify the responsible supervisor. Do not open an ink line, bypass a guard or attempt an improvised flush to meet a deadline.
Diagnosis before replacement
Ask an authorised technician to assess the complete ink path using the machine manufacturer’s procedure. Provide the service history and before samples. The technician should distinguish an observation such as weak colour from a confirmed component fault and explain the evidence for the proposed replacement.
Compare the artwork and RIP preview with an approved reference file. Confirm the ink, media and profile. Where safe and authorised, use a controlled test that changes one variable at a time. Do not replace several expensive parts simultaneously and assume which one solved the problem.
Request a written scope and quotation, including parts, seals, labour, any approved consumables and acceptance test. If the cause remains uncertain, record that limitation and discuss further diagnostic options before authorising work.
Genuine, compatible and used parts
A genuine component should still be verified against the exact part number and machine. Ask how the identity and supply channel can be checked, and what the warranty covers. A genuine part for a different configuration may not fit or perform correctly.
For a compatible part, obtain the manufacturer’s specifications, ink compatibility, support and return terms. Ask the printer manufacturer or authorised service provider whether its use affects warranty or service. A visual match alone is insufficient.
Used or refurbished ink-system components introduce uncertainty about prior ink, contamination, condition and remaining life. A qualified technician should assess whether the supplier’s evidence and the machine manufacturer’s instructions support reuse. Do not assume a lower quote is the lower total cost.
Safe service and installation
Only personnel trained and authorised for the exact printer should disconnect or replace ink-system components. They must follow the manufacturer’s isolation, handling, installation and restart procedures. This guide does not prescribe a universal sequence, pressure setting or priming method.
Review the safety data sheets for the actual ink and cleaning products. The site should have appropriate ventilation, fire precautions, protective equipment, spill response and waste handling based on qualified assessment and current local requirements. Never bypass a guard or handle a leak without the site’s approved procedure.
Confirm who supplies related parts, what happens if the wrong component is delivered and how service will be verified. A correct replacement installed into a system with an unresolved fault may not restore acceptable output.
Acceptance after service
- Record the original symptom: retain the sample, settings and diagnostic report.
- Verify the component: document model, part number, condition and ink compatibility.
- Confirm authorised work: identify the technician, approved procedure, safety controls and warranty.
- Run approved checks: follow the manufacturer’s instructions after installation.
- Print a representative test: use the intended ink, media, artwork and quality mode.
- Inspect the output: compare relevant colours, width and length with the accepted reference.
- Document and release: retain the service report and any remaining limitations before customer production resumes.
A successful short test shows performance at that time and under those conditions. It does not guarantee future life or prove that every part in the system is healthy. Ask the technician what follow-up checks are appropriate for the actual machine.
Supplier questions
- What is the exact damper part number for this printer serial and head configuration?
- Which ink and maintenance products are approved?
- Is the item genuine, compatible, refurbished or used?
- What seals, connectors or other parts are included?
- Who installs it and what warranty and return terms apply?
- How will the original symptom be tested after service?
Keep written answers with the quotation. If the supplier cannot confirm the exact machine and ink application, ask the manufacturer or authorised service provider before ordering.
Stock and cost planning
Review service history, lead times and the manufacturer’s guidance when deciding whether to hold a spare. Protect stock from dust, damage and unsuitable storage conditions. Label it with the approved machine and part number so a similar component is not fitted by mistake.
Compare part price, freight, taxes, related components, authorised labour and downtime. For a hypothetical example, a part costing Rs 1,000 plus Rs 200 freight and Rs 800 labour has a subtotal of Rs 2,000 before taxes and other costs. These invented values are not market prices. Obtain a current written quote for your configuration.
A spare part cannot substitute for a diagnosis or guarantee immediate recovery. If urgent production is important, qualify an alternative service provider or subcontractor before a failure. Confirm their quality, delivery and commercial terms.
Common mistakes
Ordering by appearance: confirm the exact machine, part number and ink compatibility.
Replacing based only on banding: assess the file, feed, head, supply and settings under the approved diagnostic procedure.
Assuming a universal replacement interval: follow model-specific service guidance and actual condition.
Using unapproved fluids: follow the machine and ink supplier instructions and safety data sheets.
Skipping the acceptance test: compare representative output and retain the service record before releasing a customer job.
Documenting an intermittent issue
An intermittent colour change may occur only after a certain print length, during a specific file or after a machine has been idle. Record the time, output length, job and observed pattern. These details help the technician choose a representative test without assuming that a particular component is responsible.
Retain a labelled sample from the last accepted print and one showing the issue. Mark the media orientation and relevant settings. A phone photo can support the record, but lighting and compression may hide subtle differences. Keep the original physical print when practical.
If service changes a part or setting, record the exact work and compare a new sample under the same conditions. Do not declare a permanent fix based on a short favourable print. Follow the technician’s monitoring and escalation plan for the actual machine.
Planning for repeat orders and downtime
Keep the machine record, part number, approved ink and service contact available to each shift. A spare purchased for one printer revision should not be issued to another without verification. Review the inventory when a head, ink system or machine configuration changes.
If a component has a supplier-specified shelf life or storage condition, record and follow it. Protect stock from contamination and avoid breaking packaging unnecessarily. Confirm the return terms before opening a part that may not be suitable.
For urgent customer work, maintain an approved alternative production plan. Document which jobs can be outsourced and how the proof, material and delivery will be checked. A backup does not replace proper repair, but it reduces pressure to use an unverified component.
Reviewing the supplier quotation
Compare offers for the same part condition and complete scope. Ask whether shipping, taxes, seals, technician labour and post-installation checks are included. An apparently low price may exclude work needed to return the printer to service.
Clarify warranty start date, exclusions, claim evidence and the treatment of an incorrect or damaged delivery. If an aftermarket item is proposed, ask how compatibility is established and who supports a claim. Keep the supplier’s written response with the purchase order.
Do not infer authenticity from packaging or price alone. Use the manufacturer’s recommended verification channel where available, and ask the service provider to inspect the delivered part before fitting it. If identity remains uncertain, pause and obtain further information.
Related reading
For the complete system, read our printer ink delivery guide. For purchasing controls, see the flex printer spare-parts buyer guide and troubleshooting guide.
Conclusion
Choose a damper only after confirming its function and compatibility in the actual printer and diagnosing the complete ink system. Use authorised service, a controlled acceptance test and clear supplier records rather than relying on appearance or a single print symptom.
Managing machine modifications
A machine may have been repaired or upgraded since its original installation. The current ink path, head arrangement or firmware can therefore differ from a generic catalogue listing. Ask the owner and service provider for the latest configuration record and identify any undocumented changes before buying parts.
A proposed modification should be reviewed by the manufacturer or an authorised technician for compatibility and safety. A part designed for a different system may alter how the ink path behaves even if the connections appear to fit. Obtain written approval and a revised service plan rather than treating physical fit as proof of suitability.
After an approved modification, update the machine record, training and spare inventory. Mark obsolete components so they are not issued to the revised configuration. Keep the previous service documents for traceability and warranty discussions.
Comparing the complete service outcome
Ask the technician what success looks like before work begins: the representative file, approved media, mode and print checks that will be used. Agree whether the test covers the full required width and a meaningful length. Identify who will approve the output before a customer order resumes.
If the issue returns, provide the original symptom, replaced part details and service report. The next step may be a different system check rather than another damper. Retain the part and samples only as directed by the supplier and site procedure, particularly where ink contamination or waste rules apply.
Review downtime and repeat work after the incident. A clear diagnosis, approved spare and service contact can shorten the response, but no inventory plan guarantees immediate repair. Use the evidence to update training and purchasing decisions without assigning an unsupported universal component lifetime.
Keep the approved print sample, service report and part identification with the machine record for future comparisons.
Frequently Asked Questions
What does a flex printer damper do?
In some designs it helps manage aspects of ink delivery to the printhead. Its exact function and construction depend on the specific printer and part.
Does weak colour always mean a damper has failed?
No. Artwork, profile, ink supply, printhead, media and other components can contribute. Use the manufacturer’s diagnostic procedure and qualified service.
Are dampers interchangeable between printers?
Not necessarily. Confirm the exact machine, head variant, ink and manufacturer part number; visual similarity is not proof of compatibility.
Can an operator replace a damper without training?
Ink-system work should be performed only by personnel trained and authorised for the exact machine using the manufacturer’s procedure and site controls.
Should I use a universal damper?
A universal claim is not sufficient. Obtain written compatibility and warranty information and check the printer manufacturer’s position before ordering.
How often must a damper be replaced?
There is no universal interval. Follow the model-specific service guidance and qualified diagnosis rather than replacing on a generic schedule.
How is replacement checked?
The authorised technician should run the approved system checks and a representative print, then document the result and any remaining limitation.
