



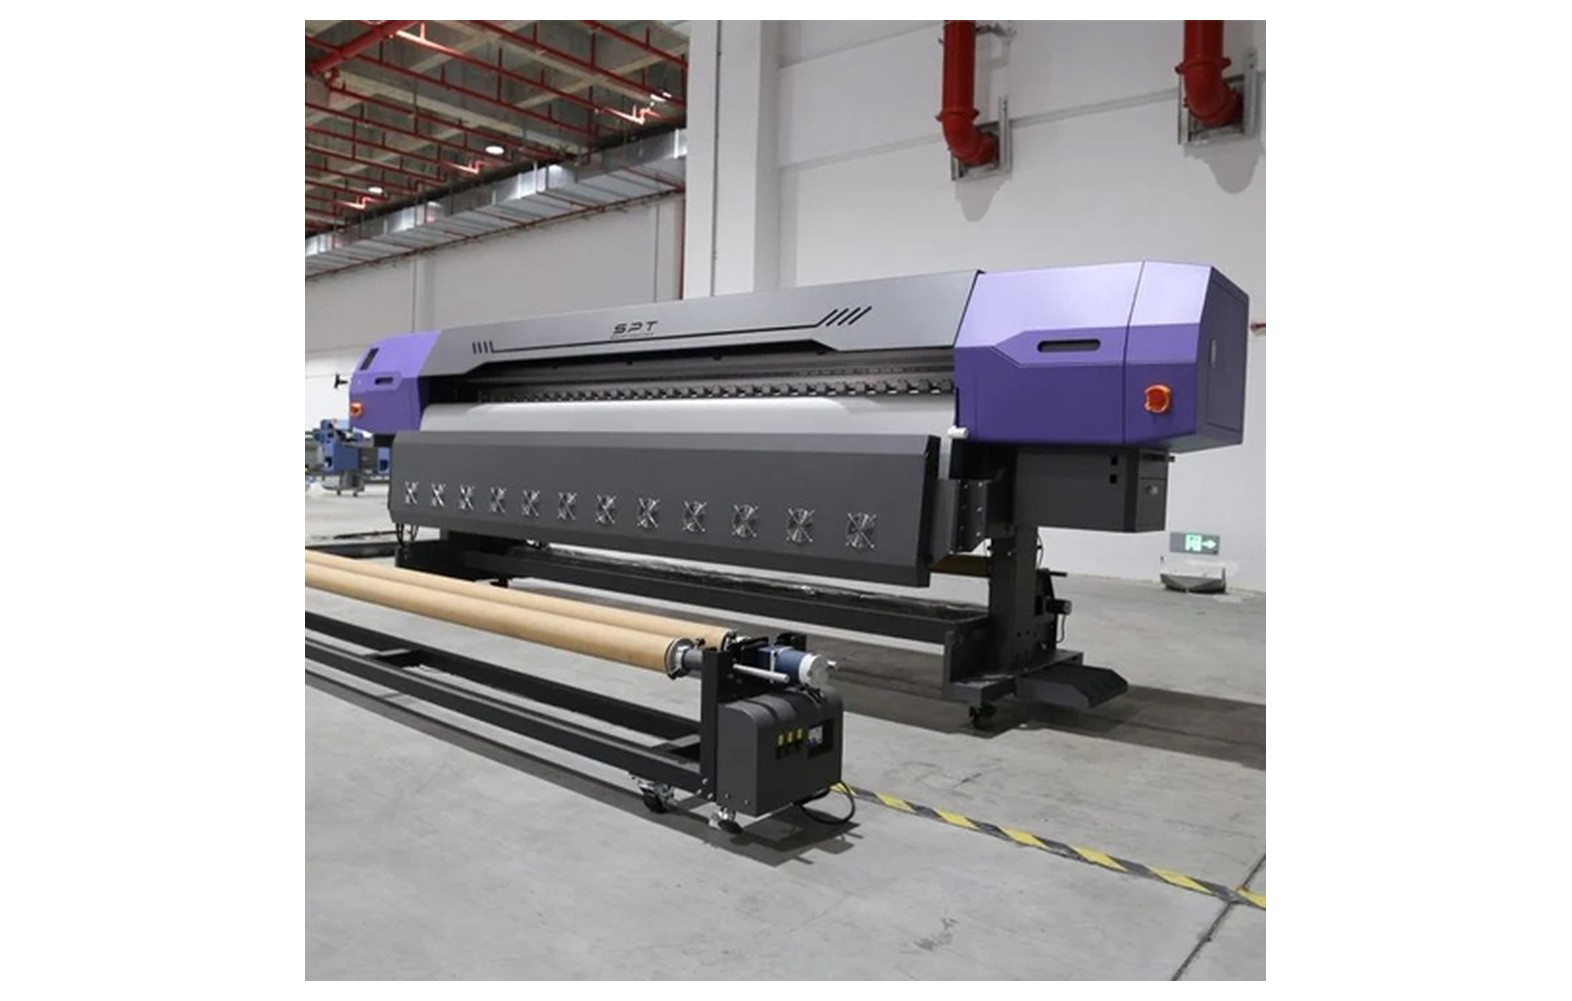
Direct answer: Flex banner finishing turns an approved print into a piece that can be packed and handed over for its intended installation. Confirm finished dimensions, material, trim, joins, hems and attachment requirements before cutting. Welding, eyelets and other finishing methods must be selected and checked for the actual media and project; none guarantees a safe installation by itself.
Start with an approved finishing brief
Record the visible area, finished width and height, material, print orientation, intended location, viewing distance and delivery date. Ask whether the graphic is one piece or panelled, where joins may appear and how the completed piece will be attached. Obtain a current layout from the customer and installation team before printing.
Separate responsibilities in writing. The printer may prepare and finish the graphic, while qualified installers or engineers determine structural suitability, wind exposure, attachment and site safety as appropriate. The customer or site owner should confirm permits and any local advertising or material restrictions. A printing shop should not promise that a generic hem or eyelet pattern is safe for every site.
Keep the approved artwork version and panel map with the job ticket. Changes to dimensions, seams, material or mounting after printing can affect cost and schedule. Obtain a revised approval rather than making an undocumented substitution.
Understand printed and finished dimensions
Sixteen feet is approximately 4.88 metres, while five metres is approximately 16.4 feet. A printer marketed using either description can have a different maximum media width and printable width. Confirm the actual machine specification, edge margins and supported roll before promising a single-piece job.
Distinguish the visible image, printed area, trim line and extra material for hems, reinforcement or joins. The appropriate allowance depends on the media and finishing plan. Ask the responsible finisher and installer for a project-specific specification; do not apply a universal bleed or overlap from an unrelated job.
Check dimensions in the RIP and again after finishing. A correct print file can still become too small after an incorrect cut or hidden hem. Mark reference points in an agreed non-visible area and keep important text, faces and logos clear of trim and attachment zones where practical.
Cutting and trimming
Use a clean, stable work area large enough for the material and a cutting method appropriate to the stock and equipment. Follow the tool manufacturer’s instructions and site safety procedure. Trained staff should use suitable protective measures and keep hands and other people clear of the cutting path.
Confirm the approved orientation and trim line before cutting. For panelled jobs, compare the panel number with the map and identify the edges that will be joined. A second check is especially useful when a design is mirrored, has repeated artwork or includes asymmetric bleed.
Inspect the edge for damage or contamination that could affect the planned finish. Keep the printed face protected from abrasion and avoid dragging a large sheet across a dirty floor. The correct handling method depends on the media and ink supplier’s guidance.
Planning hems and reinforcement
A hem or reinforced edge may be specified for certain applications. Its dimensions and construction depend on the material, attachment method, display and installation requirements. The finisher and qualified installer should agree the design for the actual project. A fixed generic hem size is not a structural calculation.
Check whether the fold will conceal important content or change the finished dimensions. Use a representative sample where appearance or compatibility is important, and compare it with the approved job ticket. If additional reinforcement is required, verify that the material and method are compatible with the printed banner.
Inspect the finished edge for consistent placement and visible defects. A visual check alone does not establish load capacity or long-term performance. Any specified performance test and acceptance criteria should be set by the responsible qualified team.
Joining or welding panels
Panelled graphics require a documented map showing orientation, order, visible area, overlap and joining method. Ask the media supplier and experienced finisher which processes are compatible with the specific material. Welding is one possible method for some constructions, but it is not suitable for every substrate or every project.
Follow the finishing equipment manufacturer’s instructions and workplace safety requirements. Heat, moving parts and fumes can present hazards depending on the process and material. Have qualified personnel assess ventilation, fire precautions, protective equipment and safe operation. Do not improvise temperatures or settings from a generic online guide.
Before the full run, make a representative sample join using the actual media and approved process. Inspect alignment, appearance and finished dimensions. If the customer or installer specifies a performance test, use the agreed method and qualified personnel. Do not claim that a seam is structurally safe simply because it looks tidy.
Compare adjacent panels for colour and artwork continuity before joining. Retain the accepted sample and record material, print settings and finishing configuration. If a panel must be reprinted after a media or ink change, obtain approval of a comparison before completing the join.
Eyelets and other attachment features
Eyelets or grommets may be used in some banner applications, but their type, location, reinforcement and spacing depend on the material, mounting and loads. The qualified installer or engineer should determine the project-specific attachment plan. There is no universal spacing that guarantees safety in every wind or site condition.
Confirm the approved locations against the visible artwork before making holes. Use the correct equipment and components for the chosen material and follow the manufacturer’s instructions. Check for sharp edges, incomplete setting or damage around the opening under the site’s inspection procedure.
Do not cover required information or place an attachment through critical artwork without approval. If the agreed location conflicts with the design or finished size, stop and ask the customer and installer to resolve it. A finisher should not silently change the attachment plan to make the artwork fit.
Single piece versus panels
A single piece can reduce joins when the required print fits the verified usable width, but it may be harder to handle, pack or install. Panels can make larger jobs practical and allow replacement of a damaged section, but require accurate mapping, colour matching and finishing. Compare the complete process rather than only printing time.
Consider the transport route, vehicle, unloading and site access. A large sheet may need trained personnel and lifting or handling equipment. Panel packages should be numbered and reconciled against the approved layout. The installer should confirm that the chosen approach fits the site and safe work plan.
If the plan changes after approval, review the effects on artwork, material consumption, overlap, labour, price and deadline. Obtain a revised customer and installer approval before finishing. Keep earlier revisions separate so they are not mixed with the current job.
Check the print before finishing
Compare the printed material with the approved proof and job ticket. Check correct artwork, version, dimensions, colour, orientation, panel number and any visible banding or handling damage. Inspect the start, middle and end of long prints where relevant. A defect is easier to isolate before panels are cut or joined.
Verify that the selected ink and media combination has been handled according to the manufacturer’s guidance. If the supplier specifies a handling or drying interval, include it in the schedule. Do not assume that all inks and materials can be folded or joined immediately after leaving the printer.
For colour-critical or backlit work, inspect under agreed lighting where practical. A screen proof does not necessarily represent the final material. Obtain customer approval of the relevant sample and record any accepted variation.
Quality checks after finishing
Measure the finished width and height and compare them with the approved specification. Inspect trim, seams, hems, attachment features, panel alignment and visible surface for damage. For a panelled job, compare adjacent artwork and colour, and reconcile the number of panels with the map.
Use an agreed inspection method and record who accepted the result. Where performance testing is required, the customer, installer or qualified team should specify the method, sample and acceptance criteria. A visual check is useful but does not replace a required engineering or material test.
Isolate a defective piece and document the issue. If a panel must be replaced, retrieve the approved file, media and print settings and compare the replacement with the original. Do not hide a defect behind a join or dispatch a mixed revision without approval.
Safe equipment and material handling
Wide rolls and finished sheets can be heavy or awkward. Follow the printer and material supplier’s limits for roll width, diameter and weight. Use trained staff and appropriate lifting equipment, maintain clear routes and never stand under a suspended load. Assess the floor and work area for the actual equipment and stock.
Finishing can involve cutting tools, heat, machinery, inks and cleaning materials. Follow equipment manuals and safety data sheets. Qualified professionals should assess ventilation, electrical supply, fire precautions, personal protection and waste handling for the actual process and applicable local rules.
Do not bypass guards, reach into moving machinery or attempt electrical repairs without authorisation. If a defect or equipment condition creates a safety risk, stop using the approved procedure and refer it to the responsible supervisor or service provider.
Pack and hand over
Ask the media and ink suppliers how the output should be rolled, separated or protected for the intended transport. Avoid creating permanent creases or rubbing printed surfaces. Confirm vehicle capacity, unloading arrangements and site access with the receiving team.
Label panel packages to match the approved map, including orientation where agreed. Reconcile the number of pieces and provide the installer with finished dimensions, material, orientation and any approved finishing details. Record the handover and the condition of the packages.
If a package is damaged or a panel is missing, notify the customer and installer and follow the agreed replacement process. Retain the production file, material identification and sample so that a reprint can be compared before it reaches the site.
A finishing acceptance checklist
- Confirm the brief: current dimensions, material, artwork version, site and installation responsibilities.
- Check the print: colour, defects, orientation and panel numbers against the approved sample.
- Mark and cut: distinguish visible area, trim and finishing allowances.
- Prepare the finish: use the agreed method and compatible material and equipment.
- Join or reinforce: follow the qualified finisher’s procedure and inspect representative samples where required.
- Check attachment features: compare location and construction with the installer-approved plan.
- Measure and inspect: verify finished size, appearance, panel count and any specified test results.
- Pack and hand over: protect the output, label packages and provide the current panel map.
The checklist should be adapted to the actual customer specification, material and site. If a requirement is missing or conflicts with the artwork, pause and obtain a written decision. Do not substitute a generic finish for a project-specific engineering requirement.
Common finishing failures
Finished piece is too small: inspect the approved dimensions, trim and hem allowances. Review the RIP output and the cut record before assigning the cause.
Artwork does not align at the join: compare panel order, orientation, overlap and file version. Produce an approved replacement if needed rather than forcing a mismatched seam.
Attachment covers important text: check the agreed plan and request a revised layout or attachment specification from the responsible parties.
Printed face is scuffed: inspect the work surface, handling, packing and material guidance. Isolate damaged output and assess whether reprinting is required.
Panel arrives missing: reconcile dispatch records and the panel map. Keep the installer informed and check the replacement against the retained sample.
Estimate finishing cost and time
Include cutting, joining, reinforcement, attachment components, labour, inspection, packing, waste and transport. The printer’s advertised square feet per hour does not include these tasks unless measured as part of an end-to-end process. Use your own time records and current supplier quotations.
For a hypothetical job, if finishing labour costs Rs 1,000, materials Rs 500 and packing Rs 300, the illustrative direct finishing total is Rs 1,800 before overhead, tax, transport and other costs. These are invented figures, not market prices or a profit forecast. Repeat the calculation for the actual single-piece and panelled options.
Include time for customer approval and potential reprints in the schedule. A fast print mode that produces rejected panels can reduce overall delivery capacity. Do not sacrifice safety or required inspection to meet a nominal production target.
Questions before accepting the job
- What are the visible and finished dimensions, and who verified them?
- Are seams acceptable, and where may they be placed?
- Which joining, reinforcement and attachment methods are approved for the actual material?
- Who determines structural safety, site permissions and installation procedures?
- What samples or performance checks are required for acceptance?
- How will the finished output be packed, labelled and transported?
For panel decisions, see single-piece versus joined panels. For the wider workflow, read large hoarding print planning and flex media selection.
Conclusion
Good banner finishing starts before printing: agree the dimensions, material, panel map and installation responsibilities, then use the approved cutting, joining and attachment process. Inspect the finished piece and hand over clear records. Qualified installers or engineers must determine the safety of the actual installation.
Record the approved finish
Retain a copy of the final panel map, material identification, approved finishing specification and inspection record. If an installer requests a change at the site, compare it with the original order and refer structural or safety questions to the qualified responsible party.
For repeat work, check whether the structure, material or supplier has changed before reusing the previous plan. A familiar design does not establish that the same attachment or joining arrangement is appropriate at a different site. Obtain a new approval when the conditions or responsibilities differ.
Frequently Asked Questions
What does flex banner finishing include?
Depending on the job it can include trimming, joining, hems, reinforcement, attachment features, inspection and packing. The customer and qualified finisher should agree the actual scope.
Can every flex material be welded?
No. Joining compatibility depends on the exact material and process. Consult the supplier and experienced finisher, and test a representative sample using approved equipment and procedures.
What eyelet spacing is safe for every banner?
There is no universal safe spacing. A qualified installer or engineer should determine the attachment plan for the actual material, structure, loads and site.
Does a neat seam prove a banner is safe to install?
No. Appearance is only one inspection point. The responsible qualified team must assess the complete finishing and installation against the project requirements.
Should artwork include an allowance for hems and joins?
The required allowance depends on the job and finishing method. Agree the visible and finished dimensions with the finisher and installer before preparing the final artwork.
How should panelled banners be packed?
Use the material supplier’s handling guidance and the agreed transport plan. Number packages to match the current panel map and reconcile all pieces at handover.
Who is responsible for hoarding structural safety?
The parties should assign responsibilities in writing. Qualified installers or engineers must assess the actual structure, attachment and site conditions; a printed banner alone does not establish safety.
