



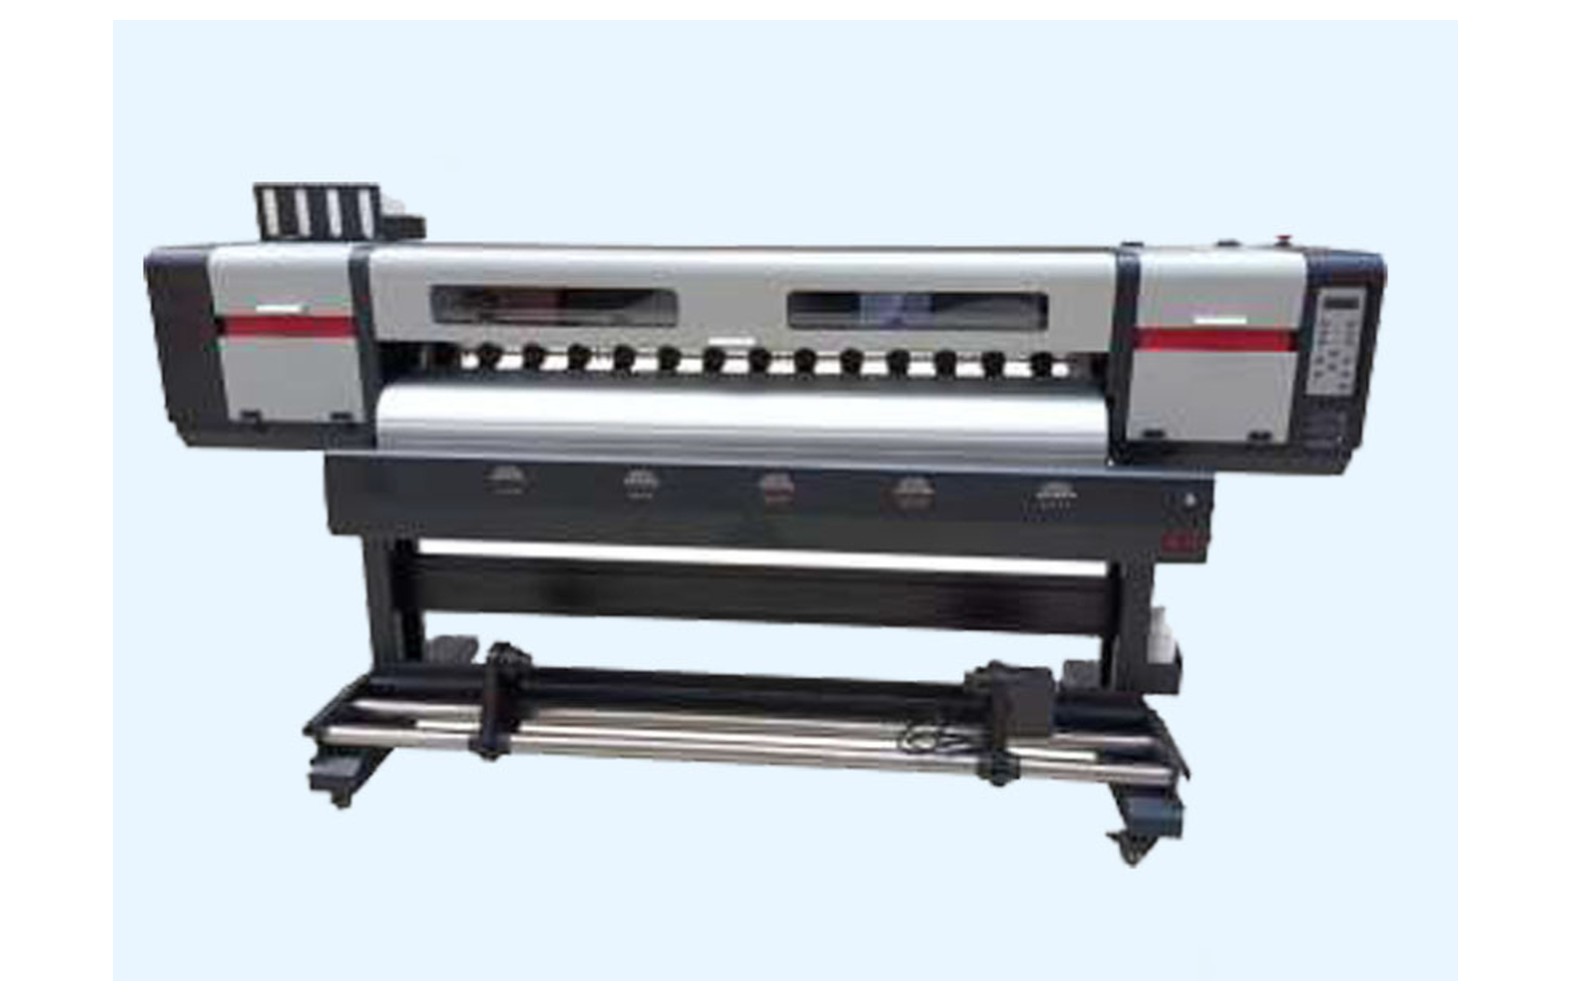
Direct answer: Buy eco-solvent printer spare parts by identifying the exact printer model, serial number, installed head, ink and maintenance-system configuration. Confirm the manufacturer’s part number and compatibility in writing, diagnose the whole system before replacement, and use authorised service for electrical, guarded mechanical and ink-system work. The term eco-solvent alone does not identify a compatible spare or remove chemical-safety requirements.
Start with the printer and the work
An eco-solvent shop may print adhesive vinyl, labels, signage or vehicle graphics, but applications and approved materials vary by machine. Record the actual printer, installed options, RIP, head variant, ink and media. A part that fits a similarly advertised printer may not work with the control board, fluid path or maintenance station on yours.
Keep the commissioning record, current manual, service reports, ink approvals and serial information together. Note any authorised head, board, firmware or ink conversion. A catalogue based on the machine’s original configuration may no longer describe its current parts.
This guide helps buyers compare parts and service, not perform a universal repair. Follow the exact manufacturer instructions and safety data sheets. Electrical, guarded mechanical and ink-system work must be handled by trained and authorised personnel under the site’s procedures.
Do not buy a part from a symptom alone
Banding, weak colour, poor adhesion, skew or an error message can have several causes. The artwork, RIP, profile, media, printhead, ink delivery, feed system and maintenance station may all influence output. Replacing a head or damper without a diagnosis can add expense without fixing the issue.
Record the exact message, job, print mode, media, ink and last accepted output. Retain a physical sample and mark its orientation. Note recent service, transport or consumable changes without assuming they caused the fault. An authorised technician can use the evidence to select the manufacturer’s diagnostic checks.
If there is a leak, smoke, burning smell, damaged cable or unsafe carriage movement, stop using the site procedure and notify the responsible supervisor. Do not bypass a guard, repeatedly reset protection or continue a hazardous run to meet a deadline.
Printhead identification
Confirm the complete head model and variant, printer model, board configuration, approved ink and manufacturer part number. Head family names and commercially used labels can cover different variants or integrations. A head that looks identical is not necessarily supported by the printer’s electronics, maintenance system or ink.
Ask whether the proposed part is new, compatible, refurbished or used, how its identity is verified and who installs and warrants it. A genuine head for a different configuration can still be incorrect. A qualified technician should diagnose the complete system and perform any authorised replacement and calibration.
No universal head life applies to every printer. Ink, maintenance, environment, operating pattern and machine condition matter. Request the written warranty and service terms rather than relying on a promised number of months.
Dampers, pumps, filters and ink lines
An ink path may contain dampers, pumps, filters, tubes, valves and fittings, but the arrangement depends on the printer. Ask the manufacturer to identify the component’s function and exact part number. Similar-looking parts can have different materials, flow properties, connectors or ink compatibility.
Confirm the approved ink and maintenance fluids for the complete assembly. A general solvent-resistant or universal description is not a complete chemical-compatibility specification. Do not mix inks or perform an improvised conversion; an authorised provider must assess any change to the system.
Ink-line work may expose workers and equipment to chemicals. Follow the actual safety data sheets and model-specific service procedure. Qualified personnel should assess ventilation, fire precautions, protective equipment, spills and waste under applicable local rules.
Capping, wipers and maintenance supplies
Some eco-solvent printers use a cap, wiper and associated pump as part of the approved maintenance process. Designs differ. Ask which tasks a trained operator may perform and which require authorised service. Do not force the carriage, open a guarded area or use an unapproved fluid.
Request exact part numbers, related seals or assemblies, storage requirements and any manufacturer-defined replacement guidance. A visible defect or dry-looking part is not enough by itself to prescribe a replacement. Retain the service record and verify output after authorised work.
Cleaning frequency and idle-period procedures are model-specific. Repeated aggressive cleaning can waste ink or damage components. The manufacturer’s instructions and the actual safety data sheets take priority over a generic schedule.
Motion and media-handling spares
Belts, rails, bearings, pinch rollers, feed rollers, motors, encoders and take-up parts depend on the machine design and component position. A shifted image or wrinkle can originate in loading, roll condition, feed, feedback, drive or artwork. Ask a technician to diagnose the complete motion path.
Confirm approved media width, roll weight, diameter, core and winding direction. Use trained staff and the manufacturer’s loading method. Never reach into moving media, bypass a sensor or add improvised weights to change tension. Stop safely if a wrinkle risks a head strike.
For a replacement, confirm the exact part number and related hardware. A similar-looking belt or roller may have different dimensions or material properties. Record the technician’s work and representative acceptance test.
Boards, cables and electrical parts
Mainboards, head boards, data cables, drivers and power supplies can depend on machine revision, head, firmware and installed options. A matching connector or voltage label does not establish complete electrical compatibility. Obtain written confirmation from the manufacturer or authorised service provider.
Electrical diagnosis, isolation and replacement require appropriately qualified personnel under the manufacturer’s procedure and local requirements. Do not open panels, probe live circuits, swap boards between machines or bypass protective devices. A new board installed into an unresolved system fault can also fail.
Ask whether the quotation includes related cables, configuration, testing and warranty. A successful startup is useful evidence but does not alone establish that a customer-quality print or all safety functions are acceptable.
Heaters, dryers and controls
Heating or drying equipment varies by model and may involve elements, sensors, fans, controllers and protective functions. Use the manufacturer’s approved settings for the exact ink and media. More heat is not a universal solution for smearing or handling marks.
Never bypass a sensor, guard or interlock to complete a job. If there is smoke, burning smell, damaged wiring or unsafe heat, stop and seek qualified service. The site may also need a qualified electrical and ventilation assessment for the actual machine and substances.
Do not assume that a printer fan provides adequate room ventilation or that an eco-solvent name means no ventilation is needed. Follow the safety data sheets, equipment instructions and applicable local requirements.
Genuine, compatible and refurbished parts
For a genuine part, verify the manufacturer number, condition, supply channel and exact printer configuration. A genuine part can still be incorrect for a different revision. Ask for warranty and return terms in writing.
For a compatible item, request the supported machine, head, ink and related components, and ask the printer manufacturer whether the combination is approved or affects warranty. A matching shape or low price is not proof of chemical, electrical or mechanical compatibility.
Used or refurbished parts may have uncertain service history and prior ink exposure. Ask what was tested, what was replaced and who supports a claim. A qualified technician should determine whether the option is appropriate for the actual system.
Confirm the correct part number
- Record the machine: model, serial, revision, heads, ink and installed options.
- Describe the function: identify which assembly and position are involved.
- Gather evidence: retain the symptom, error, samples and qualified diagnosis.
- Check the number: obtain the manufacturer’s part number and any approved supersession.
- Verify related parts: confirm seals, cables, firmware or hardware where relevant.
- Obtain written terms: compare condition, compatibility, service, warranty and returns.
- Plan safe work: identify the authorised installer and acceptance test.
Do not open a guarded or electrical compartment merely to photograph a number. The manufacturer may identify the part from the serial and service record. If physical inspection is needed, an authorised technician should follow the proper isolation procedure.
Compare total cost, not a parts list
Request current quotations for diagnosis, exact part, related components, freight, tax, authorised labour, configuration and testing. Add realistic downtime or outsourcing costs where relevant. Prices vary by model, condition, location and supplier; an old price table is not a reliable current quote.
For a hypothetical example, a part costs Rs 3,000, freight Rs 300 and authorised labour Rs 1,700. The illustrative subtotal is Rs 5,000 before taxes and other expenses. These invented figures are not market prices or a repair forecast. Use the actual written scope and do not count the same labour twice.
Ask what happens if the original symptom remains or an additional fault is found. Agree who can approve extra work and how customer deadlines will be communicated. A pre-qualified subcontractor can help with urgent work without forcing an unsafe repair.
Acceptance after service
Record the original symptom, approved part, service work and configuration. Qualified personnel should restore guards and protective devices and run the manufacturer’s required checks. Use representative artwork, the intended media and the customer-quality mode to assess the reported problem.
Inspect relevant output over the required width and a meaningful length. A short successful print is evidence for those conditions, not a guarantee of future life. For an intermittent fault, agree a safe follow-up and escalation plan with the technician.
Retain the invoice, part number, service report, accepted sample and remaining limitations. Customer approval of a reprinted graphic is separate from technical service acceptance. Compare colour and dimensions with the approved proof before finishing or dispatch.
Stock and supplier controls
Hold approved spares based on actual machine history, lead time, storage, shelf life where specified and downtime risk. Label each item with the machine, part number, supplier and condition. Separate similar revisions and review stock after an authorised ink, board or head change.
Ask suppliers for written compatibility, part condition, lead time, warranty, return terms and installation support. Verify claimed authorisation with the machine manufacturer where it matters. A logo, price or general claim does not establish that a part is correct.
Store electronics, ink-system components and chemicals under the relevant supplier and site instructions. Do not open sealed packaging unnecessarily or send contaminated parts back without following safe handling and transport requirements.
Buyer checklist
- What are the exact printer, serial, head, ink and current configuration?
- What evidence supports the proposed fault diagnosis?
- Which manufacturer part number and supersession are approved?
- Are related seals, cables, software or service included?
- Who performs safe installation and post-service testing?
- What do warranty, returns, lead time and complete cost cover?
- What is the backup plan for customer work during downtime?
If a critical fact is missing, pause and obtain confirmation. A production deadline does not make an uncertain part safe or compatible.
Common mistakes
Ordering by a head family name: confirm the complete printer and head variant.
Replacing before diagnosis: assess artwork, media, ink, feed and controls using approved checks.
Mixing unapproved ink or fluids: follow the manufacturer and safety data sheets.
Bypassing a protective device: stop and use qualified authorised service.
Using a generic price as a quote: obtain current itemised terms for the exact part.
Skipping acceptance: verify the original symptom and customer-quality output after service.
Related reading
For system-level engineering see printer ink delivery systems and printhead and ink compatibility. For a broader buying framework see the flex printer spare-parts guide; model-specific differences remain essential.
Conclusion
Eco-solvent spare-part buying starts with the exact printer configuration and a qualified diagnosis. Verify part identity, approved ink, supplier terms and safe service, then test the complete workflow before customer production resumes.
Keep compatibility evidence with the machine
Maintain a controlled sheet for each printer, including serial, installed head and board variants, ink and authorised service contact. Link the sheet to the manual and commissioning record. Ask the supplier to identify each spare by function and part number rather than grouping unrelated components under a single printer family.
When a manufacturer supersedes a part, obtain written confirmation for the actual serial and configuration. Ask whether related cables, fittings, software or installation work are required. Record the new part after service and separate any obsolete stock until its use is verified.
Do not include passwords or unnecessary customer information in a document sent to a spare-parts vendor. Share only the details needed to identify the component under the business’s approved process. Electrical or guarded inspection remains an authorised service task.
Evaluate the service outcome
Agree with the technician how the original symptom will be tested before work begins. Define the representative file, media, quality mode and relevant print length. Record the baseline and the acceptance criteria so a short favourable print is not mistaken for proof that every intermittent issue is resolved.
After service, compare the sample under agreed conditions and retain the report, parts and settings. If the fault persists, ask for the next approved diagnostic step rather than purchasing additional components at random. The technician should explain any remaining uncertainty.
Review customer orders interrupted by the repair. A replacement panel may need a colour and size comparison with the original proof. Document the customer’s acceptance and revised delivery separately from the technical service sign-off.
Plan for an intermittent fault
A problem that appears only after a long print or idle period needs a clear timeline. Record the job, material, ink, settings and point at which the symptom appeared. Preserve the last accepted sample and the first defective output without operating the machine in an unsafe condition.
Ask the authorised service provider to define a representative test and its limits. A nozzle pattern, brief print or single sensor reading may be useful evidence but cannot establish every cause. The technician should identify what remains uncertain before a costly spare is ordered.
Keep a backup plan for customer work during diagnosis. Compare the alternate printer’s material and colour with the approved proof, and document any change in delivery. Do not force an unverified part or bypass a safety device because the original machine is unavailable.
Frequently Asked Questions
Are all eco-solvent printer parts interchangeable?
No. Printer revisions, heads, ink, electronics and maintenance systems can differ. Confirm the exact manufacturer part number and configuration.
Does banding mean the printhead must be replaced?
No. Artwork, ink delivery, media feed, profile and other factors can contribute. Obtain a qualified model-specific diagnosis.
Is a genuine part always suitable?
No. A genuine component can still be wrong for another printer revision. Verify the exact machine and part number.
Can I use any eco-solvent ink in my printer?
No. Use the ink and maintenance fluids approved for the exact machine and head. Consult the manufacturer before any change.
Does eco-solvent ink need ventilation?
Requirements depend on the actual products and workplace. Review safety data sheets and machine instructions with qualified site professionals.
Can an operator replace electrical or ink-system parts?
Only trained and authorised personnel should perform work within their authority using the manufacturer’s safety and service procedure.
How should a replacement be accepted?
Run the approved checks and a representative print, restore safety systems and retain the technician’s report and any limitations.
