



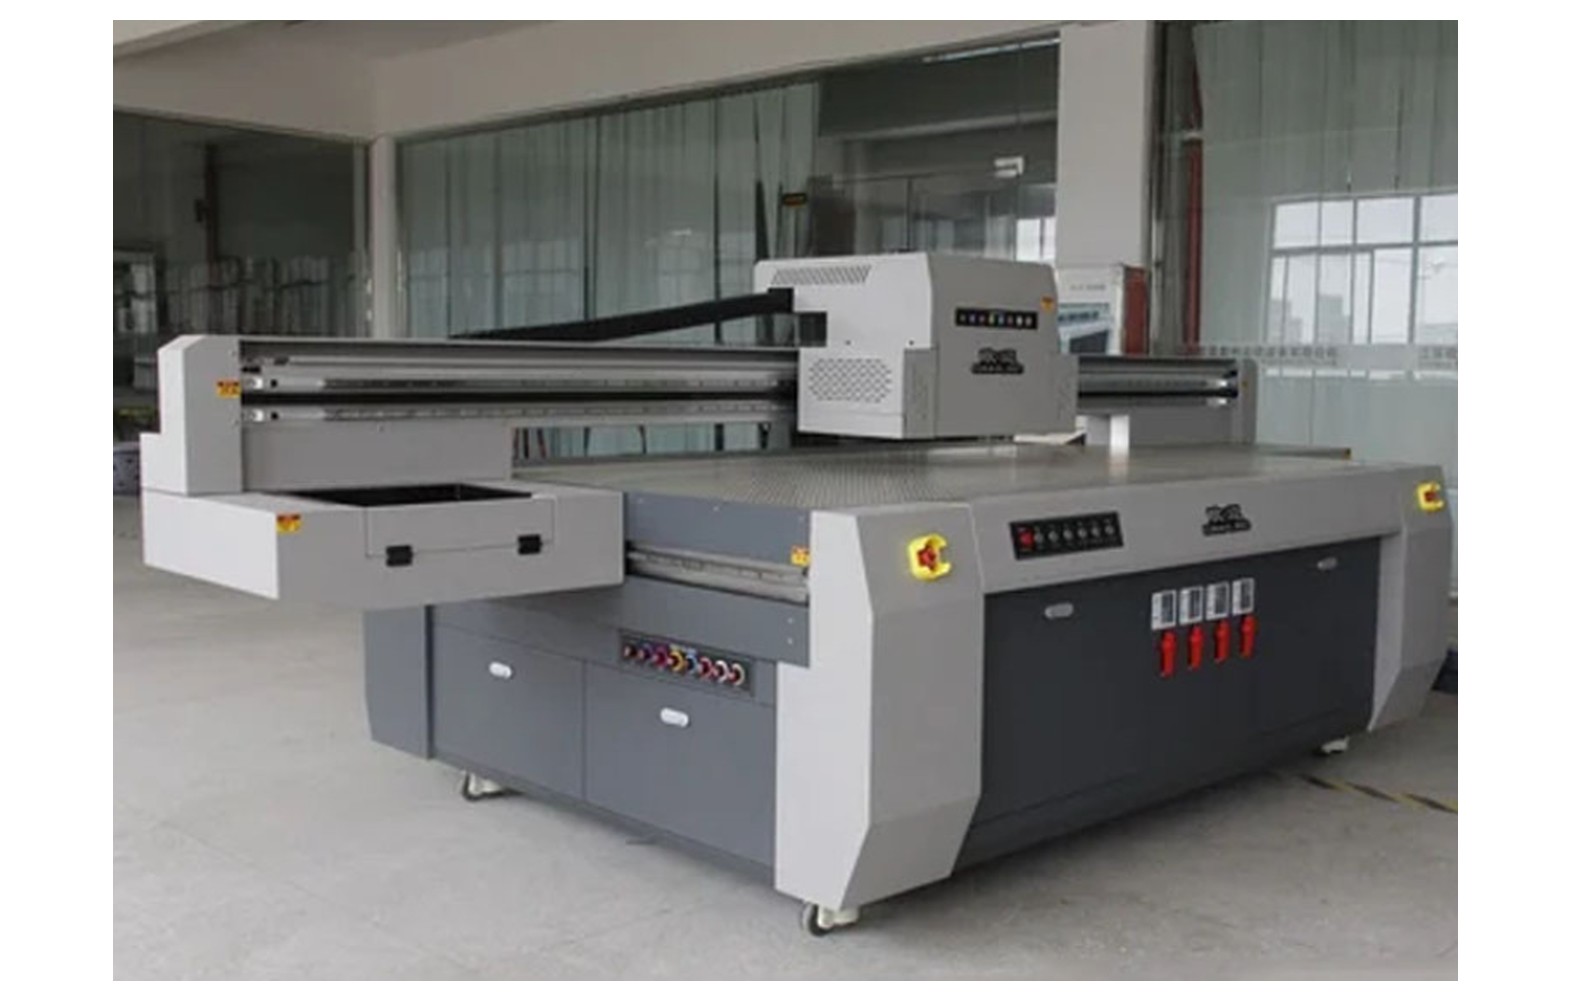
Direct answer: A UV curing problem should be investigated as a complete process involving the approved lamp, ink, substrate, artwork, settings and safe machine operation. A tacky or poorly adhering print does not prove that a lamp or power supply has failed. Stop for unsafe conditions, use the manufacturer’s guarded procedures and have qualified teams define equipment diagnostics and application-specific testing.
Start with safety
UV radiation can injure eyes and skin. Never look directly at an operating UV source, expose a lamp outside its enclosure or bypass guards and interlocks. Lamp, electrical and guarded service belongs to qualified authorised personnel following the manufacturer’s isolation procedure.
If there is smoke, a burning smell, unsafe heat, a damaged guard, exposed UV source, ink leak or unsafe movement, stop using the site’s emergency procedure and notify the responsible supervisor. Do not reproduce a hazardous condition to obtain a sample.
Uncured UV ink and residues can present health hazards, including skin sensitisation for some formulations. Obtain the actual safety data sheets and follow the qualified site’s controls for ventilation, protective equipment, spills and waste. Avoid direct skin contact.
Do not equate touch dryness with complete cure
A surface that feels dry or passes a quick rub check may still be inadequately cured for its intended use. Appearance and adhesion can reveal some defects but do not by themselves establish complete cure, food-contact suitability, medical suitability or another regulatory claim.
The responsible product owner and qualified quality team should select appropriate tests for the actual ink, substrate, process, product and jurisdiction. Record the method, conditions, acceptance criteria and limitations. A generic online test cannot establish a universal compliance result.
Keep suspect output separate under the site procedure and avoid direct contact with potentially uncured ink. Do not send a product to the customer merely because it looks acceptable at a glance.
Define the actual job
Record the printer model, serial, lamp module, approved ink, substrate, surface preparation, artwork, layer order, print mode and operating conditions. Identify the intended use, customer acceptance and any product-specific testing requirements.
A white underbase, varnish layer, textured item or different coating can change the process outcome. Do not assume that a result on one substrate applies to another. A representative test must match the actual job as closely as the qualified team requires.
Record when the issue began and what changed since the last accepted output. Retain a safely handled sample and the approved reference. A change in ink or material is evidence for investigation, not proof of cause.
Lamp and module checks
Ask the manufacturer or authorised technician to verify the installed module, controls, cooling, guards and approved settings. Similar-looking modules can have different optical and electrical characteristics. The exact diagnostic procedure and equipment are model-specific.
Do not look into a UV source, remove its shield during operation or bypass an interlock. A qualified technician should isolate and assess the unit using the manufacturer’s procedure. An operator’s observation that a print is tacky does not establish that a lamp failed.
If replacement is proposed, confirm the manufacturer part number, printer revision, approved ink and related driver or cooling components. A mechanically fitting module is not necessarily an approved replacement.
Ink and layer checks
Confirm the actual ink product, batch, storage guidance and manufacturer-approved printer combination. UV formulations differ. An unapproved ink change can affect delivery, cure, warranty and safety; do not mix products or use a generic cleaning fluid.
Review artwork and RIP settings, including white or varnish layers where used. The intended order and coverage can affect the result. Compare the approved file with the output and use a controlled reference where safe.
Ask the ink supplier and qualified quality team what tests are appropriate for the actual layer structure and substrate. Do not assume that increasing a setting is a universal solution.
Substrate and surface preparation
Materials can vary in coating, texture, cleanliness and response to ink. Record the exact product and batch, and use the manufacturer’s and material supplier’s approved preparation process. A successful result on one panel does not establish performance on another construction.
A warped or moving item can affect output and create a head-strike risk. Use the approved fixture or vacuum and stop safely if the substrate is not secure. Do not improvise a fixture that interferes with guards or carriage travel.
Where adhesion or durability matters, the responsible team should define a suitable test for the actual use. A quick scratch or tape check can reveal some issues but is not a universal compliance or complete-cure test.
Power, cooling and controls
The curing system may include power modules, fans, sensors, cooling and protective devices. Their arrangement varies. A power or temperature alarm does not automatically identify a failed supply or LED module.
Electrical diagnosis and service require qualified authorised personnel using the manufacturer’s isolation procedure. Do not open panels, probe live circuits, repeatedly reset protection or bypass an interlock. If there is smoke, damaged wiring or unsafe heat, stop and follow the site’s emergency plan.
Ask whether the site electrical and ventilation assessment covers the actual machine and accessories. A printer fan is not automatically a complete room ventilation design. Qualified professionals should assess the actual equipment, substances and local requirements.
Controlled diagnostic sequence
- Stop safely: isolate suspect output and address any immediate UV, ink, heat or electrical hazard.
- Record the baseline: printer, lamp, ink, substrate, file, settings and last accepted sample.
- Verify the job: check approved artwork, layer order, material and fixture.
- Obtain qualified diagnosis: authorised service uses the manufacturer’s guarded lamp, control and power checks.
- Test the application: the responsible quality team chooses appropriate cure and adhesion methods for the product.
- Change only approved variables: document the reason and compare representative output.
- Restore and release: confirm protective systems, retain results and obtain the responsible approvals.
The exact sequence depends on the equipment and product. This framework does not authorise live lamp inspection, an unapproved setting or a universal test. Stop and seek qualified advice when the manual or safety requirements are unclear.
When replacement is proposed
Ask what evidence supports replacing a lamp, sensor, driver or other component. Confirm the exact printer serial, revision, approved ink and manufacturer part number. Similar appearance or a nominal rating does not establish complete optical, electrical or control compatibility.
Request a written scope for diagnosis, part, related cooling or control components, freight, tax, authorised labour, safety checks, application testing and warranty. If the cause remains uncertain, agree the next authorised test before buying several parts.
Do not swap modules between printers or copy settings from another model without manufacturer approval. A new module installed into an unresolved system or process problem may not correct the result.
Representative acceptance after service
Qualified service should restore guards, shielding, interlocks and electrical safety and perform the manufacturer’s checks. Use the intended ink, substrate, artwork, layer order and print mode for a representative output. The responsible quality team defines the tests and criteria for the actual application.
Record the test method and limitations. Surface feel, appearance or a simple rub alone cannot prove complete cure, long-term durability or safe contact. The product owner and qualified advisers determine any market-specific requirements.
If a customer order was interrupted, compare replacement output with the approved proof for colour, dimensions and finishing. Technical service acceptance, customer approval and product-specific compliance are separate decisions.
Cost and downtime
Compare diagnosis, exact part, related components, authorised labour, safety and application testing, freight, tax and downtime using current quotations. A lamp-only price is not a complete service cost. Review warranty and return terms before ordering.
For a hypothetical example, diagnosis costs Rs 1,000, a component Rs 5,000 and service labour Rs 2,000. The illustrative subtotal is Rs 8,000 before tax and other costs. These invented figures are not market prices. Use actual quotes and record diagnostic uncertainty.
A pre-qualified backup may support urgent work, but a different printer, ink or lamp can require a separate product assessment. Confirm the customer’s approved substrate, output and required tests before dispatch.
Common mistakes
Calling a tacky print a lamp failure: investigate ink, substrate, settings and the complete system.
Using touch dryness as proof of cure: apply appropriate qualified testing for the actual product.
Looking at an operating UV source: stop and use guarded authorised procedures.
Bypassing interlocks: keep protection in place and seek qualified service.
Changing several variables at once: use documented controlled comparisons.
Assuming one test proves all applications: verify the actual substrate, ink and intended use.
Questions for the responsible team
- What changed between the last accepted job and the current result?
- Which ink, substrate, layers and settings are approved?
- Who can safely diagnose the lamp, controls and power?
- Which cure and adhesion tests are appropriate for this product?
- What parts or process changes require new approval?
- Who signs off equipment safety, customer quality and compliance?
For more detail see UV cure and adhesion testing and UV ink safety. For replacement checks read UV LED module selection.
Conclusion
Investigate curing as a guarded, model-specific process, not a lamp-only problem. Use qualified diagnosis and application-specific testing, preserve the evidence and distinguish equipment operation from complete cure and product approval.
Interpret symptoms in context
A surface can feel tacky because the process, ink, substrate or other factors do not match the intended application. Document the relevant job and quarantine suspect output under the site’s procedure. Avoid direct contact with potentially uncured ink and consult the actual safety data sheets.
Adhesion and cure are related but different questions. A print that adheres in one informal check may still need additional cure or product-specific evaluation. Conversely, an adhesion problem can involve surface preparation or substrate compatibility even when the lamp is operating within its approved configuration.
Ask the responsible quality team to define what each test can show and what it cannot. Do not generalise from a single colour, material or layer structure to the whole printer or product range.
Plan a controlled comparison
Start from the last accepted job if the record is available. Note the ink batch, substrate, surface preparation, white or varnish layers, machine configuration and print mode. A new roll, coating or artwork can change the result even when the printer has not been serviced.
Use only manufacturer-approved settings and safe procedures. Where a qualified team approves a comparison, change one relevant variable at a time and record it. A test that changes ink, substrate and lamp settings together may not identify which factor mattered.
Keep control samples where safe and appropriate, and record the method, handling, test conditions and approval. A small sample may not represent the entire item or production run. The qualified team should determine sampling and acceptance based on the actual risk and use.
Understand process documentation
Maintain the current lamp module number, approved ink, software, service history and protective-system records. Retain the customer-approved artwork and substrate specification with the job ticket. If the issue follows an authorised part or ink change, give those records to the technician and quality team.
Ask whether the manufacturer has a model-specific method for checking the curing system and who is qualified to perform it. Do not expose the UV source or use an improvised light test. The responsible provider should explain what its equipment test establishes and what application testing is still required.
Record any change to a lamp, driver, cooling component, ink or print mode. The product owner should decide whether the change requires renewed application testing. A prior result may not automatically apply to the revised configuration.
Working with a supplier
Provide the printer serial, module, approved ink, substrate and safely retained samples. Ask the supplier to distinguish an equipment diagnosis from a statement about product performance. A vendor cannot establish the customer’s final use or regulatory obligations solely from a lamp model.
If replacement is recommended, request the exact part number, related components, authorised labour, safety checks and acceptance scope. Compare the full quotation and warranty with the documented diagnosis. Do not assume a mechanically fitting module is an approved substitute.
If the first repair does not resolve the symptom, retain the service report and ask for the next qualified test. Avoid replacing multiple parts or changing fluids without a documented plan. An unresolved process issue may remain after the equipment operates normally.
Protect customer work during an investigation
Isolate suspect output and identify the jobs, substrates and ink batches involved. The product owner should decide disposition using the applicable quality and safety procedure. Do not attempt to certify the output based on a quick visual check or an unsupported curing claim.
A backup printer or subcontractor can support urgent work only after the actual substrate, ink, cure and finishing are assessed against the customer’s requirement. A different lamp or formulation may need a separate qualification. Document any accepted variation and revised delivery.
When service is complete, communicate the test conditions and remaining limitations to each shift. Technical repair, customer appearance and product-specific compliance have different owners and should be recorded separately.
Review changes before resuming
If the technician recommends a new module, driver or control component, verify the exact part number and its compatibility with the printer, protective system and approved ink. A mechanically fitting substitute may have different electrical or optical requirements. Obtain manufacturer confirmation before ordering.
If the quality team changes the substrate, surface preparation or layer structure, record that revision and define the relevant application test. Do not represent an earlier test as proof for a materially different product without qualified review.
Once safety and quality requirements are met, document who approved release, which samples and methods were used and any remaining limitation. Tell each shift what to do if the symptom returns. Avoid an undocumented workaround becoming a production standard.
Keep the service and application records together but distinguish their purpose. A technician’s equipment check does not replace the product owner’s responsibility for customer and regulatory requirements.
Retain the actual ink and substrate identification with the approved records for any future repeat order or qualified investigation.
Keep supplier safety information available to authorised staff.
Frequently Asked Questions
Does a tacky print prove the lamp failed?
No. Ink, substrate, settings, controls and other factors may contribute. Obtain a qualified diagnosis.
Does a dry-feeling print prove complete cure?
No. Surface feel alone does not establish complete cure or suitability for the intended product.
Can I look directly at an operating UV lamp?
No. Never look at an operating source or defeat guards; use manufacturer-approved procedures and qualified service.
Does a rub test prove food-contact safety?
No. The product owner and qualified advisers must determine the applicable requirements and testing for the actual use.
Can any UV ink be used with any lamp?
No. Confirm the exact printer, module, ink and process with the manufacturers.
Should an interlock be bypassed to diagnose a fault?
No. Keep protective systems in place and use authorised service.
Who approves production after a curing issue?
Qualified service should restore equipment safety, while the responsible product and quality teams decide application-specific testing and release.
