



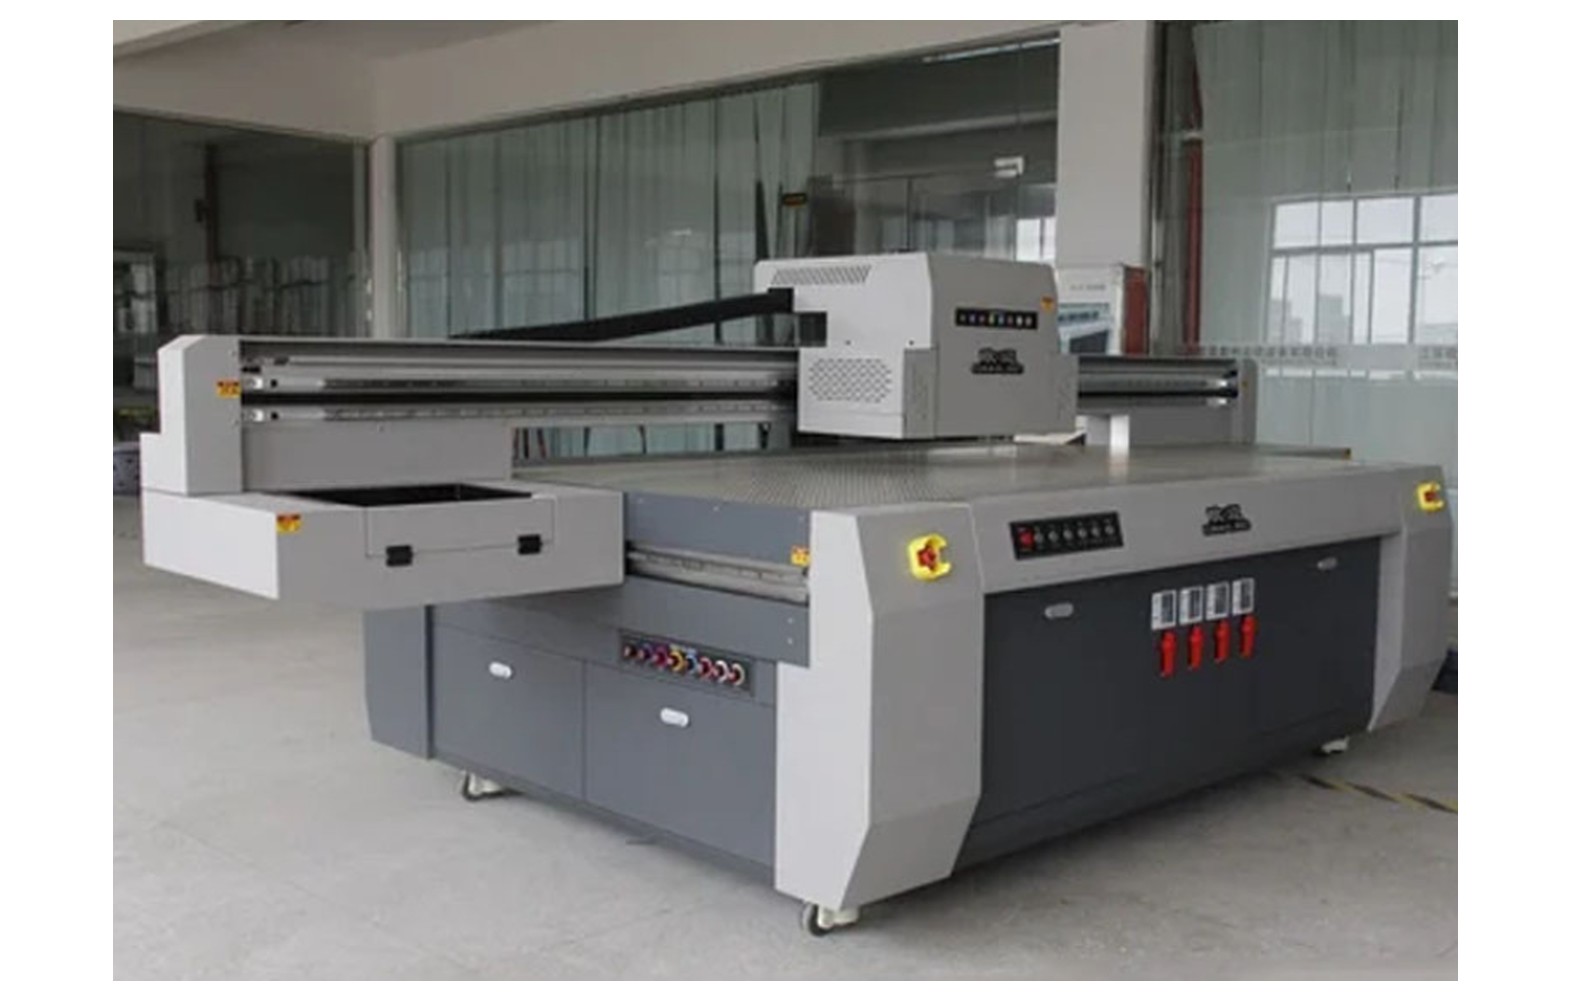
Direct answer: UV flatbed carriage belts, rails, bearings, encoder strips and sensors form parts of a model-specific motion and feedback system. Noise, position errors or shifted graphics do not identify a failed component by themselves. Record the exact printer and symptom, follow the manufacturer’s guarded safety procedure and use qualified authorised service before ordering, cleaning or adjusting parts.
Understand the complete motion system
A flatbed printer can use a carriage, belt, pulleys, motor, guide rails, bearings, encoder strip, sensor, cables and controls. The arrangement differs by machine and axis. Obtain the manufacturer’s diagram and manual for the actual printer rather than assuming that a generic printer schematic applies.
In some designs, an encoder sensor reads a pattern on a strip as part of position feedback while a separate drive moves the carriage. Both systems interact with the controls. A defect may involve mechanical movement, feedback, media placement, software or more than one factor.
Record the printer model, serial, revision, head configuration, ink, curing system and authorised modifications. A used or upgraded machine may not match its original catalogue. This guide supports owner-level planning, not a universal belt, rail or sensor service procedure.
UV, mechanical and electrical safety
The carriage can move unexpectedly, and the printer can contain hot and electrical components. Do not reach into moving equipment, force the carriage, remove guards, probe live circuits or bypass sensors. Use the manufacturer’s safe stop and isolation procedure and qualified authorised personnel.
UV radiation can injure eyes and skin. Never look at an operating source, expose a lamp outside its enclosure or defeat guards and interlocks. Lamp and guarded service must follow the manufacturer’s procedure. Stop for unsafe movement, a damaged guard, smoke, burning smell or possible head contact.
Uncured UV ink may pose health hazards, including skin sensitisation for some formulations. Review actual safety data sheets and qualified site controls for ventilation, protection, spills and waste. Do not use an improvised solvent or lubricant near the carriage or encoder.
Belts and drive components
Some printers use belts and pulleys as part of carriage movement. Their materials, dimensions, mounting and approved service depend on the exact machine. Similar length or tooth appearance does not establish the correct replacement.
Tension and alignment are model-specific. Do not add improvised weights, adjust a moving mechanism or assume that a tighter belt is always better. An authorised technician should use the manufacturer’s procedure and record the result.
Noise, position alarms or poor registration can involve the belt, rail, bearing, motor, sensor, cable or other components. Ask service to explain the evidence before ordering a belt.
Rails and bearings
Guide rails and bearings can support carriage travel, but their arrangement and maintenance are machine-specific. A component that looks similar may differ in mounting, material or load requirements. Confirm the exact manufacturer part number and position.
Ask which operator checks are permitted and which require authorised service. Do not use a generic oil, cleaner or tool on a rail or bearing. The manufacturer determines the approved product, task and interval.
A qualified technician should assess related mechanical components and document the finding. Replacing a bearing without resolving an obstruction or alignment issue may not correct the symptom.
Encoder strips and sensors
In some designs, a sensor reads a reference pattern on a strip as part of carriage-position feedback. The actual markings, sensor, cable and control requirements depend on the machine. A strip with similar length or appearance is not necessarily compatible.
Do not touch, clean or reposition an encoder using an unapproved cloth or chemical. It may be delicate and near moving or electrical components. Follow the manufacturer’s instructions and use authorised service for guarded work.
An alarm or shifted print does not prove the encoder failed. Artwork, media position, drive, controls, sensor wiring and other factors can contribute. Preserve evidence and use the approved diagnostic process.
Record the symptom safely
Capture the exact message, operating stage, job, ink, substrate, settings and last accepted output. Note whether the issue appears at startup, at a particular travel position or only during a longer run. Mark the orientation and defect location on a safely handled sample.
Do not reproduce unsafe movement or expose a UV source to make a video. Provide the service provider with observations gathered safely, the machine history and recent authorised changes. A timeline is evidence, not proof of cause.
For an intermittent fault, agree a safe test with the technician. A brief successful print may not reproduce the problem. Record the conditions and remaining uncertainty.
Check artwork and flatbed setup
Compare the approved file, RIP preview, dimensions and layer order with output. A file scale or placement error may resemble a positioning fault. Record the current version and test with an approved reference where the technician recommends it.
Define the actual substrate, fixture or vacuum, height and print area. A warped, moving or incorrectly positioned item can affect registration or create a head-strike risk. Follow the manufacturer’s approved hold-down procedure and stop safely if the item is not secure.
A successful hold-down or positioning test does not establish ink adhesion, complete cure or product compliance. The responsible product owner and qualified quality team determine the application-specific tests.
Identify the correct spare
Confirm printer serial, revision, component function, position and manufacturer part number. Ask whether a listed number is an approved supersession and whether mounts, cables or other hardware are included. A genuine part for another revision can still be wrong.
For a compatible, refurbished or used item, request written specifications, condition, warranty and the manufacturer’s support position. Similar appearance or a low price does not establish suitability. Do not remove a guard solely to photograph a part; an authorised technician can inspect it safely.
Keep the part identification, supplier and approved application with the machine record. Review stock after an authorised modification; an older spare may no longer be supported.
Diagnose the complete system
Provide service with the machine history, exact error, file, substrate, settings and samples. Ask which approved checks distinguish drive, rail, bearing, feedback, cable, controls and substrate causes. The manufacturer defines the safe sequence and equipment.
Request a written scope for diagnosis, parts, related hardware, authorised labour and acceptance testing. If uncertainty remains, agree the next diagnostic step and cost rather than replacing several components at random.
A pre-qualified backup printer or subcontractor can support urgent work. Confirm its substrate, ink, cure and customer specification. Do not operate the original machine with an unsafe movement or disabled protection.
Acceptance after service
- Record the baseline: machine, symptom, file, substrate, settings and reference output.
- Verify parts: exact belt, rail, bearing, strip or sensor number and written compatibility.
- Perform authorised work: follow model-specific isolation and service instructions.
- Restore protection: confirm guards and UV interlocks under the service process.
- Run approved checks: use the manufacturer’s motion and position tests.
- Print representative work: inspect the original symptom on the approved substrate.
- Assess the application: qualified teams select cure, adhesion and product tests.
- Document release: retain the report, output and remaining limitations.
A short successful print is evidence under those conditions, not a guarantee of future component life. A dry-feeling surface also does not prove complete cure or product suitability.
Cost, warranty and stock
Compare diagnosis, exact parts, related hardware, freight, taxes, authorised labour, configuration, testing and downtime using current written quotations. Clarify warranty and return terms before ordering.
For a hypothetical example, diagnosis costs Rs 1,000, a component Rs 2,000 and authorised labour Rs 1,500. The illustrative subtotal is Rs 4,500 before taxes and other costs. These invented figures are not market rates. Use your own quotation and keep diagnostic uncertainty visible.
Store verified spares under supplier guidance and label the machine and part number. Review stock after an authorised modification. Inventory does not replace diagnosis or guarantee an immediate repair.
Common mistakes
Replacing from a symptom alone: assess the complete motion, feedback and substrate setup.
Using generic tension or lubricant: follow the exact manufacturer’s authorised procedure.
Cleaning an encoder with any solvent: use only approved methods and trained service.
Ignoring a loose substrate: stop and assess hold-down before resuming.
Bypassing UV guards: never expose an operating source or defeat an interlock.
Assuming dry means fully cured: use application-specific qualified testing.
Questions for service
- What carriage and feedback components are installed on this printer serial?
- What evidence supports the proposed part diagnosis?
- Which checks require authorised mechanical or electrical service?
- What exact part numbers and related hardware are approved?
- How will the original symptom and customer output be tested?
- Which cure or product tests remain the owner’s responsibility?
For engineering context see carriage, rails and encoder systems. For flatbed holding see UV vacuum table parts.
Conclusion
Assess carriage mechanics and encoder feedback as one model-specific motion system. Use safe qualified diagnosis, verified parts and representative output checks before returning a UV flatbed to customer production.
Plan a meaningful position test
Agree the file, substrate, fixture, printable area, dimensions and customer-quality criteria before service. A generic short sample may not represent an alignment issue that appears at the table edge or after a longer movement. The technician should select a safe manufacturer-approved test for the reported symptom.
Keep the approved reference and mark the orientation and location of any defect on a safely handled sample. Record the RIP version, file scale and layer order. A file or artwork-placement error can resemble a machine registration problem; compare the source and output before attributing the cause.
Do not reach under a moving carriage or expose a UV source to make a measurement. Use approved stops and guarded procedures. If the substrate lifts or a head strike is possible, stop and ask the responsible team to assess the setup.
Distinguish position, hold-down and cure
Carriage feedback, substrate holding and ink cure are related in a production workflow but answer different questions. A shifted image may be caused by artwork, motion or a moving item; a tacky or poorly adhering print can involve ink, lamp, substrate or process. One symptom does not establish the same failed part in every case.
Define the actual substrate, surface preparation and fixture or vacuum. Ask the machine supplier which holding method is approved. The product owner and qualified quality team should select the required cure and adhesion tests for the intended product.
A dry-feeling surface or quick rub does not establish complete cure, food-contact suitability or medical compliance. Keep the test method and limitations with the customer job. Do not claim universal durability or regulatory approval after a motion repair.
Review the part quotation and service scope
Ask whether the quote covers a belt, pulley, rail, bearing, strip, sensor or complete assembly and which related mounts or cables are included. The same symptom can lead different providers to propose different work; request the evidence and manufacturer’s approved procedure for each proposal.
Compare diagnosis, freight, taxes, authorised labour, configuration, safety checks and representative testing. Clarify what happens if another fault is found or the original issue remains. An apparent saving on a part-only quote may omit required service.
For an aftermarket or refurbished item, ask for exact machine and revision compatibility, condition, warranty and the printer manufacturer’s support position. Do not use similar dimensions or a fitting connector as the only evidence.
Review a machine with incomplete history
A used flatbed may have an undocumented carriage, head, ink or control modification. Ask for service invoices, current parts and software records. Missing documentation is uncertainty, not proof of failure, but it can make an original catalogue part number unreliable.
Have an authorised technician inspect safely and ask the manufacturer to confirm the supported configuration. Do not remove guards, swap cables or expose a UV module to compare a replacement. Record the approved part and any required related work.
After service, update the machine history and separate stock for prior revisions. Tell each shift which operator checks are permitted and which alarms require a stop. A temporary workaround should not become an undocumented routine.
Manage customer output after service
Identify items printed before and after the repair. Compare positioning, colour and dimensions with the accepted customer proof on the actual substrate. If a backup printer produced some items, the product owner should assess whether its ink and curing process need separate qualification.
Customer appearance, equipment safety and product-specific compliance have different owners. A technician’s motion check does not establish food-contact, medical or other regulatory suitability. The responsible qualified advisers determine the applicable requirements.
Retain the service report, test method, sample and limitations. If the original issue returns, provide new evidence and request a qualified reassessment instead of replacing another motion part at random.
Document an intermittent carriage alarm
Record the full message, operating stage and last accepted output. Note recent transport, service or configuration changes without claiming that timing proves a cause. Do not repeatedly reset protection or operate through unsafe movement to capture more evidence.
The technician should define the safe model-specific test and explain what remains uncertain. If a short visit cannot reproduce the fault, agree a monitoring and escalation plan. Identify who can stop production and what samples or logs should be retained.
If a part is proposed, confirm its exact function, manufacturer number, revision and related hardware. A belt, sensor or motor advertised for another flatbed may not be supported. Obtain a written scope for authorised labour, safety checks and representative output.
Handover after service
Retain the installed parts, settings, technician report, safety checks and accepted print with the machine record. Tell each shift which operator checks are authorised and which symptoms require a safe stop. Do not turn an unapproved adjustment into a routine workaround.
If a customer job was interrupted, identify items made before and after service and compare them with the approved proof. Where substrate, ink or curing configuration changed, the product owner should determine whether application testing needs review.
A pre-qualified backup can support urgent work, but it does not justify running the original printer with an unsecured item, exposed UV source or disabled guard.
Keep the approved machine configuration, safety instructions and current service contact accessible to authorised staff during shift handover.
Retain the customer-approved proof and any application-test limitations with the production job ticket.
Related UV flatbed guides
For the next step, see UV electronics and safety interlocks. Use the manufacturer instructions and the responsible qualified team for the actual printer and application.
Frequently Asked Questions
Does carriage noise prove a belt failed?
No. Rails, bearings, pulleys, motors, sensors and other components can contribute. Stop safely and obtain qualified diagnosis.
Does a shifted print prove the encoder failed?
No. Artwork, substrate, drive, feedback and controls can all affect positioning.
Can any solvent clean a UV encoder?
No. Use only the manufacturer’s approved procedure and materials through authorised personnel.
Does a tight belt always improve quality?
No. The correct adjustment is model-specific and must follow the manufacturer’s service procedure.
Can staff look at an operating UV lamp?
No. Do not look at an operating source or defeat guards and interlocks.
Does a dry-feeling print prove complete cure?
No. Surface feel alone does not establish complete cure or product suitability.
How is motion service accepted?
Restore protection, run approved checks and assess representative output and application-specific tests, retaining the report.
