



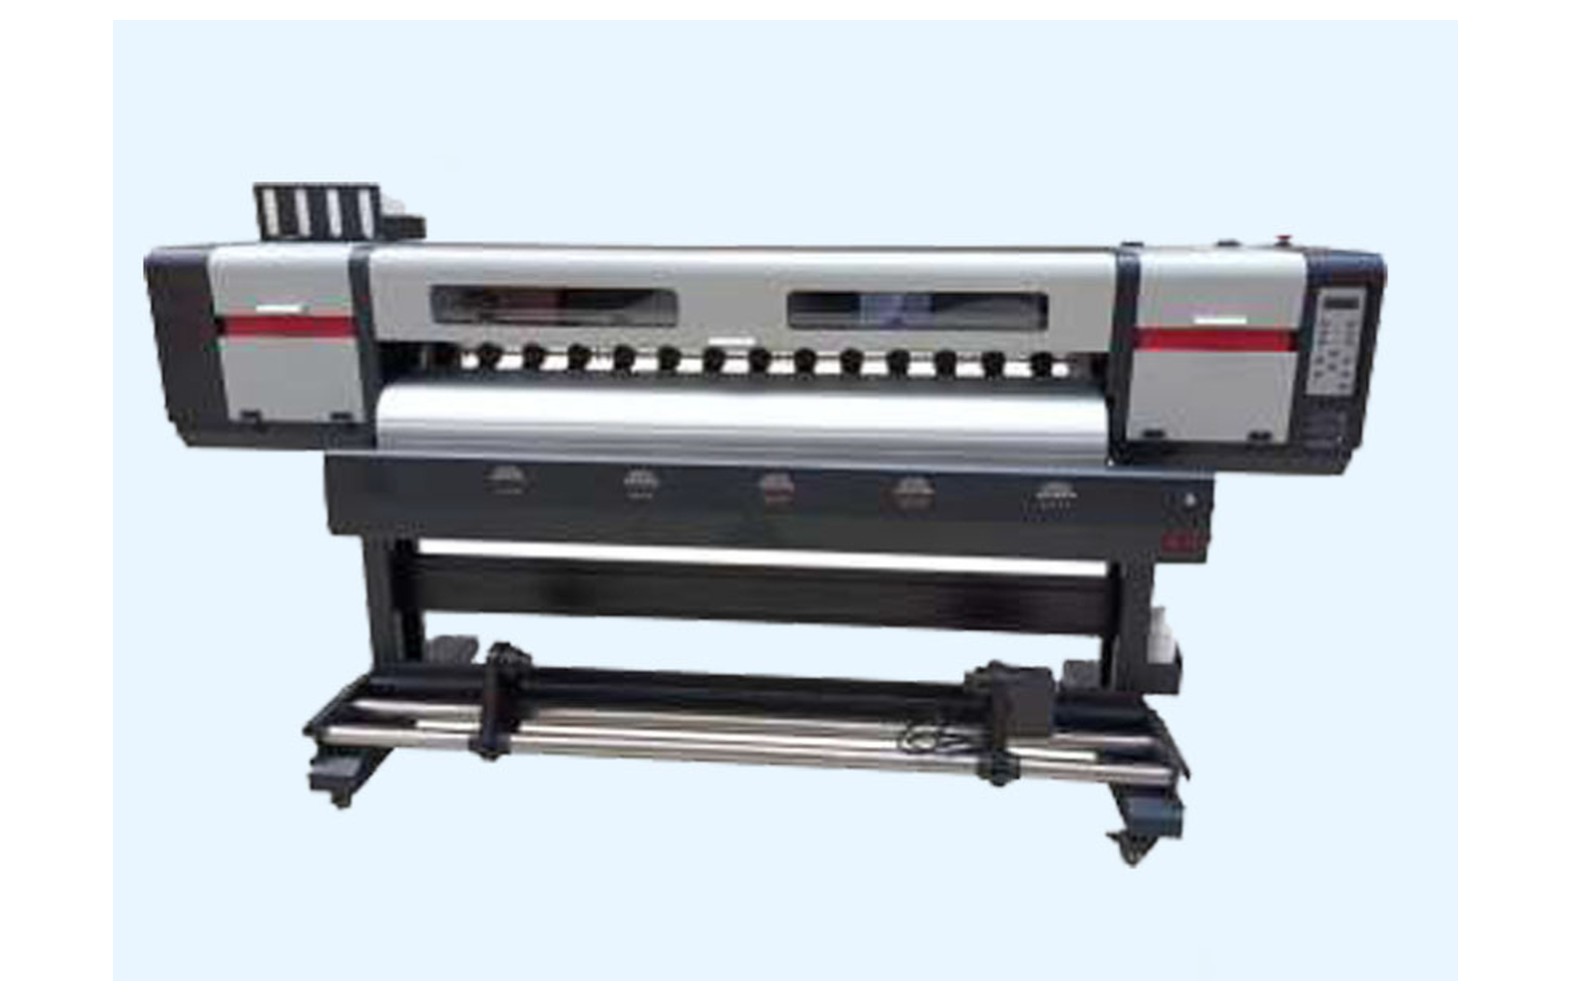
Direct answer: An encoder strip and sensor provide position feedback in some eco-solvent printer carriage systems. Their design, diagnostics and replacement procedure depend on the exact printer. A shifted graphic, carriage alarm or alignment defect can have several causes, so retain evidence and use the manufacturer’s approved checks before ordering a part. Guarded mechanical and electrical service belongs to trained authorised personnel.
Understand the complete carriage system
An eco-solvent printer can use a carriage, guide rail, belt, motor, encoder strip, sensor, cable and control electronics to move and position its printhead. The actual arrangement varies by manufacturer and machine revision. Obtain the diagram and service documentation for the installed printer rather than assuming every model uses the same system.
In some designs, a sensor reads a pattern on a strip as part of carriage-position feedback. The strip and sensor work alongside the drive and controls; neither should be treated as an isolated fix for every print-position problem. The exact function and approved diagnostics come from the manufacturer.
Record the printer model, serial, revision, head variant, ink, software and any authorised modification. A printer purchased used or upgraded may not match its original catalogue. Ask the manufacturer or authorised service provider to identify the installed components.
Safety before inspection
The carriage can move unexpectedly, and the machine can contain electrical, heated and ink-system hazards. Do not reach into moving equipment, bypass guards, probe live circuits or force the carriage. Follow the manufacturer’s safe stop and isolation procedure and site requirements.
If there is unusual movement, a damaged guard or cable, smoke, burning smell or potential head contact, stop and notify the responsible supervisor. Do not continue a hazardous run merely to obtain a video. An authorised technician should determine what inspection is safe.
Inks and cleaning products have separate hazards. Use the actual safety data sheets and the site’s qualified ventilation, fire, spill and waste controls. Do not introduce an unapproved cleaner near electronics or a delicate feedback component.
Describe symptoms without guessing
Operators may report a carriage-position alarm, shifted graphic, inconsistent registration or a defect that varies with print direction. These observations do not prove that an encoder part failed. Artwork, RIP settings, media feed, carriage drive, cable, sensor and electronics can also contribute.
Record the exact error, printer configuration, file, media, ink, print mode, operating stage and last accepted output. Mark the orientation and affected area on a retained print. Note recent transport, service or software changes without treating timing as proof of cause.
If the fault appears only after a longer run or at a particular position, record what can be observed safely. Do not enter a guarded path or follow a moving carriage. The service provider should choose the model-specific diagnostic process.
Check artwork and the RIP
Compare the approved artwork, linked images, file scale and RIP preview with the physical output. A line or offset already present in the file is not automatically a hardware fault. Verify final dimensions and the customer-approved version before replacing a component.
Use a known approved reference file if the manufacturer or technician recommends one. Record media, profile, print mode and settings. Where safe and authorised, compare one changed variable at a time rather than changing the file, media and machine settings simultaneously.
A short favourable print is evidence for those conditions, not a guarantee that an intermittent long-run issue is fixed. Retain before-and-after samples and agree the necessary test length with the authorised service provider.
Media feed and print-and-cut alignment
Eco-solvent shops may produce decals, labels or vehicle graphics where alignment is visible at close range. A print-position issue can involve the carriage, media advance, loading, artwork or finishing workflow. The customer requirement should define the test.
If a job is contour-cut, distinguish print positioning from cutter calibration, registration-mark reading and the print-to-cut workflow. Do not assume a contour-cut misalignment proves that the printer’s encoder failed. Test the approved printer and cutter workflow and involve the relevant suppliers.
Check supported media width, roll weight, core, loading and take-up. If material wrinkles or approaches the head, stop safely. Do not reach into moving media, bypass a sensor or add improvised weights.
Strip and sensor compatibility
Confirm the manufacturer part number, printer serial, revision, installed sensor and approved replacement or supersession. A strip of similar length or a sensor with a similar connector can have different markings, optical characteristics, mounting or control requirements.
Ask whether a quotation covers a strip, sensor, cable or complete assembly and whether configuration or calibration is included. If an aftermarket item is offered, request written compatibility and ask the printer manufacturer about support and warranty.
Do not remove a guard or the strip merely to compare it with a catalogue photograph. An authorised technician can identify the assembly under the proper isolation procedure, or the manufacturer may use the machine record.
Contamination, cleaning and ink safety
Contamination or physical damage may be relevant in some systems, but a visible mark does not establish the cause. Use only the manufacturer’s approved inspection and cleaning procedure within operator training. Do not touch or wipe a strip with a generic cloth, solvent or tool.
Eco-solvent ink and maintenance products differ in formulation. Obtain the actual safety data sheets and have qualified professionals assess ventilation, fire precautions, storage, spills and waste for the site and local rules. A product name does not establish a safe cleaner for an encoder.
If ink or liquid reaches an unintended area, stop and follow the site incident procedure. Qualified service and safety personnel should determine how equipment and waste are handled. Do not clean electronics with an improvised fluid.
Diagnose before buying a spare
Provide the authorised technician with the machine record, service history, exact alarm, media details, file and samples. Ask what evidence distinguishes feedback, cable, belt, rail, motor, media and software causes. The manufacturer specifies the safe diagnostic sequence for the model.
Request a written scope for diagnosis, parts, labour, authorised configuration and testing. Clarify what happens if a different fault is found. Avoid swapping a strip or sensor between printers as an informal experiment.
If urgent customer work cannot wait, use a pre-qualified backup or subcontractor and compare its output with the approved proof. A deadline does not justify bypassing a guard or operating unsafe machinery.
Acceptance after authorised service
- Record the baseline: printer, symptom, file, media, settings and reference output.
- Verify the part: exact strip, sensor or cable number, revision and written compatibility.
- Perform authorised work: follow the manufacturer’s isolation and service procedure.
- Restore safety: confirm guards and protective systems under the service process.
- Run approved checks: use the model-specific position and print tests.
- Print representative work: inspect the original symptom at the required quality and dimensions.
- Document release: retain the technician’s report, sample, settings and limitations.
For print-and-cut work, test the agreed complete workflow if the fault affected registration. A printer test and cutter test may each be useful, but the customer needs the finished alignment to meet the approved job specification.
Cost and inventory
Compare diagnosis, exact part, related cable or hardware, freight, taxes, authorised labour, configuration and downtime using current written quotations. Ask about warranty, storage and return conditions. A component-only price is not the complete service cost.
For a hypothetical example, a part costs Rs 1,200, freight Rs 300 and authorised labour Rs 1,500. The illustrative subtotal is Rs 3,000 before taxes and other expenses. These invented figures are not market prices. Use your own quotations and document uncertainty.
Store approved spares according to supplier instructions and label the exact machine and part number. A strip or sensor for an earlier revision may not remain suitable after an authorised upgrade. Inventory does not replace diagnosis.
Common mistakes
Replacing from an alarm alone: assess file, feed, drive, feedback and controls under the approved procedure.
Cleaning with an unapproved fluid: use only the manufacturer’s instructions and trained personnel.
Ordering by length or appearance: confirm exact part number and configuration.
Confusing printer and cutter registration: test the complete approved print-and-cut workflow.
Bypassing a guard: stop and use authorised service.
Questions for the supplier
- What feedback system is installed on this exact printer?
- What evidence supports the proposed diagnosis?
- Which strip, sensor and cable part numbers are approved?
- Who performs isolation, installation and configuration?
- How will the original symptom and finished workflow be tested?
- What warranty and return terms apply?
For general motion context read carriage, rails and encoder systems. For eco-solvent parts selection see the spare-parts buyer guide.
Conclusion
Encoder selection and troubleshooting must be tied to the exact eco-solvent printer and the complete workflow. Preserve evidence, use model-specific checks and authorised service, then verify customer-quality output before production resumes.
Planning a useful reference print
Select a file that represents the work the customer will inspect: for example, relevant text, repeated shapes or a printed graphic that later needs contour cutting. Record the final size, file version, RIP, profile, approved media and print mode. The test should be agreed with the service provider before work begins.
Inspect the output at the required positions across the usable width and over a meaningful length when the symptom warrants it. Mark the media direction and the location of the defect on a separate copy or in the job record. Do not reach into moving machinery to make a measurement.
If the symptom appears in the RIP preview, preserve that evidence for the software provider. If it appears only after printing, the technician can consider the machine and media path under the approved diagnostic process. Neither observation alone proves a specific failed component.
Separate printer and cutter responsibilities
A print-and-cut order can involve a separate cutter, integrated system or handoff between devices. Identify which equipment prints, reads registration marks and performs the cut. Document the approved workflow and settings without assuming that every machine uses the same registration system.
Confirm the customer-approved dimensions, media and artwork version. A scale error or changed registration-mark layout can affect the finished result. The printer and cutter suppliers should help determine an appropriate test for their actual models.
Do not change a protected machine setting to compensate for an unresolved defect in another device. Keep the result of each approved test and the final combined output. The customer ultimately needs the completed graphic to meet the agreed specification.
Checking an intermittent carriage alarm
Record the full displayed message, operating stage and any position that can be observed safely. Note whether the alarm followed a restart, material change or service visit. Do not repeatedly reset protection or run the machine with unusual movement to make the symptom easier to see.
Provide the timeline and previous service report to the authorised technician. The machine may need checks involving the drive, feedback, wiring or control system, but the manufacturer defines the safe sequence. An operator should not open electrical or guarded areas to guess at the cause.
If the fault cannot be reproduced during a short visit, agree a safe monitoring and escalation plan. Record any limitation on customer production. A single successful test does not prove that the underlying issue is permanently resolved.
Check the replacement offer
Request the exact strip, sensor or cable number for the machine serial and revision. Clarify whether the quote includes mounting, authorised labour, configuration, travel and acceptance testing. A part-only price cannot be compared directly with a complete service scope.
Ask how the supplier established compatibility and what happens if the delivered component is incorrect or damaged. Review warranty start, exclusions and return conditions before opening protected packaging. A compatible-looking part may have different markings or electrical requirements.
If the machine has an authorised modification, provide its documentation. The original catalogue may not describe the current components. Update the machine record and spare inventory after an approved change so future orders use the correct configuration.
Protect customer work during downtime
Maintain a pre-qualified backup printer or subcontractor where practical. Check the intended vinyl, colour, cutting and finishing workflow before an emergency. A backup can reduce pressure to bypass a guard, but it does not eliminate the need to repair the original machine safely.
Identify which labels or panels were produced before and after service. Compare the finished result with the customer-approved proof for dimensions, alignment and colour. Technical service acceptance and customer job approval are separate decisions.
Retain the service report, approved sample and any remaining limitation at shift handover. If the symptom returns, record the new conditions and contact the service provider instead of swapping parts or resetting protective alarms repeatedly.
Receive and store a spare safely
Compare the delivered part number, revision, condition and packaging with the approved purchase order. Ask the supplier how to store and handle the item. A strip, sensor or cable can be damaged or contaminated if it is removed from protective packaging without an approved reason.
If the package is damaged or the identification conflicts with the quote, hold it for supplier clarification. Do not force a part into a printer or swap it with another machine to see whether it works. The authorised technician and manufacturer must confirm the actual application.
Record the supplier, receipt date, warranty and approved printer. If the machine is later modified, review the spare with the service provider. A part for an earlier configuration should not be issued simply because it looks similar.
Review a completed repair
Ask the technician to document parts, settings, safety checks and the representative output. If the original defect returns, provide the before-and-after samples and the new operating conditions. Repeated symptoms can have the same cause or a different one.
Tell each shift what checks are authorised and which alarms require a safe stop. Avoid an undocumented workaround becoming the normal procedure. Review customer panels separately against the accepted proof before finishing or dispatch.
For a revised customer file, confirm the approved scale and registration marks before assuming the machine settings changed. Record the file version and compare the completed print-and-cut result against the customer’s current specification.
Retain the record.
Frequently Asked Questions
What does an encoder strip do in an eco-solvent printer?
In some designs a sensor reads the strip as part of carriage-position feedback. The exact system depends on the model.
Does a shifted print prove the encoder failed?
No. Artwork, media feed, drive, sensor, cable, control or other factors can contribute. Use model-specific diagnosis.
Does a contour-cut error always come from the printer encoder?
No. Printer output, registration marks, cutter setup and the combined workflow can all matter. Test the actual approved workflow.
Can any solvent be used to clean an encoder strip?
No. Follow only the exact manufacturer’s approved method and trained service procedure.
Are strips of the same length interchangeable?
Not necessarily. Markings, optical properties, mounting and controls vary. Confirm the manufacturer part number and revision.
Can an operator bypass a guard to inspect the sensor?
No. Guarded and electrical work requires authorised personnel and the manufacturer’s isolation procedure.
How is a repair verified?
Restore safety systems, perform approved checks and inspect representative output at the required dimensions and quality.
