



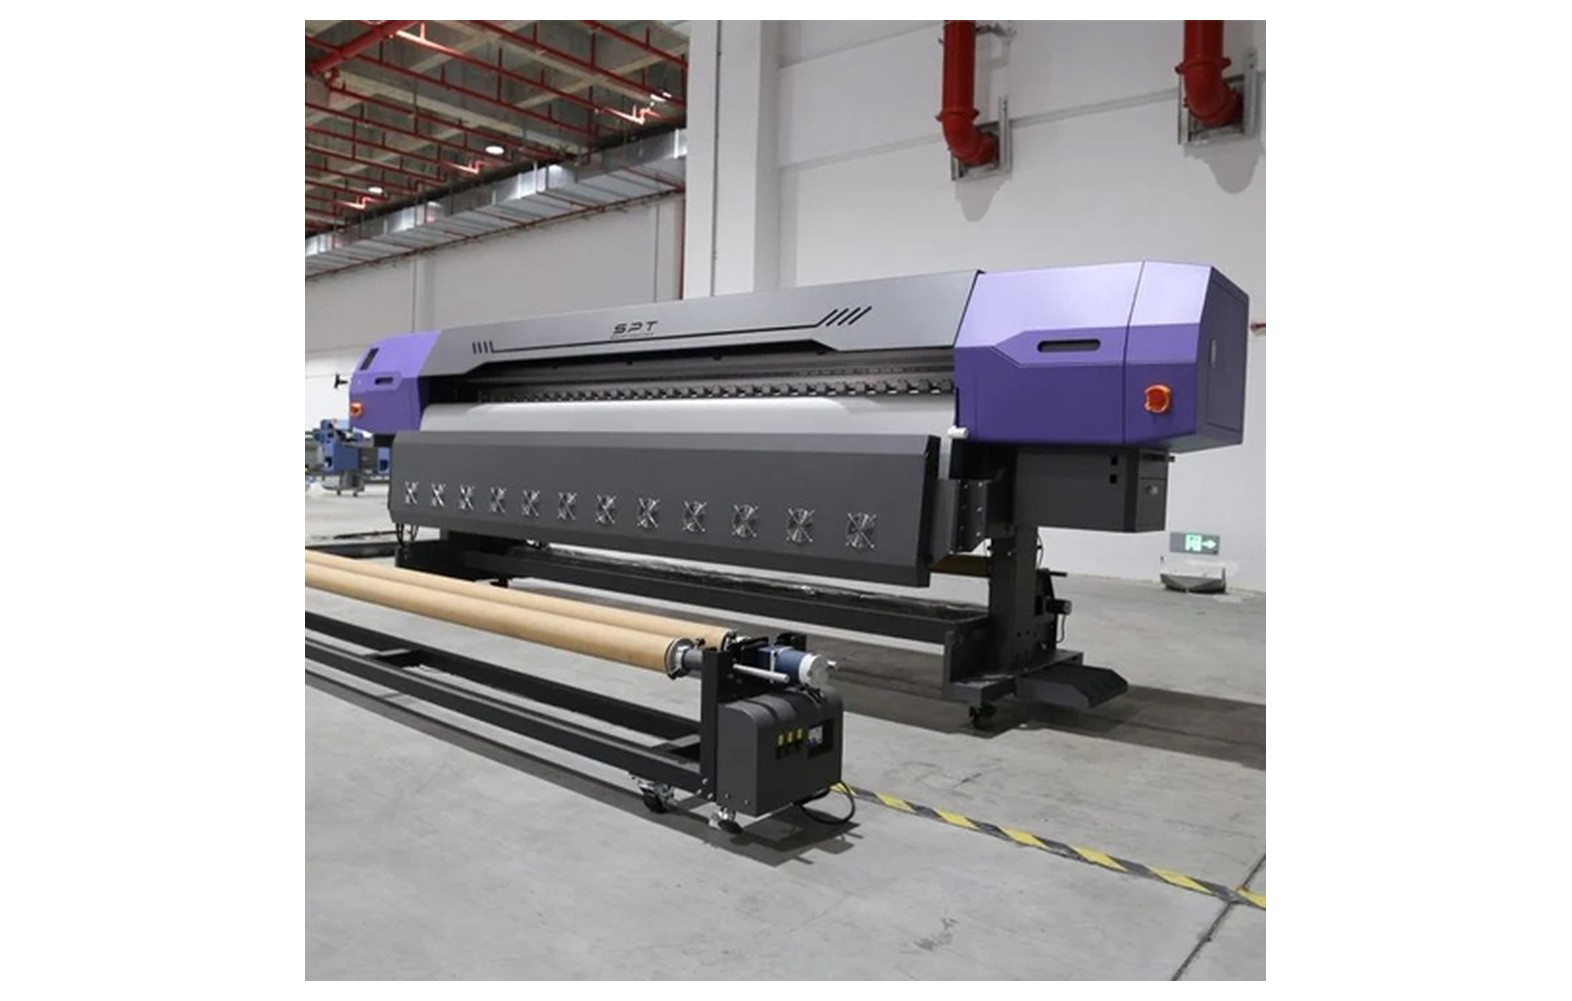
Direct answer: Print quality on a 16 ft flex machine should be judged against the actual display: viewing distance, lighting, artwork, media, ink, exposure and customer acceptance. Indoor work often involves closer viewing, while outdoor work may add weather and installation demands, but neither category has one universal resolution or print mode. Test the specific combination and approve a representative proof.
Define quality for the job
Ask the customer where the graphic will be displayed, how close viewers will stand, how it will be illuminated and how long it is intended to remain in use. Record finished dimensions, material, colour expectations, delivery and installation. A banner that looks acceptable on a distant roadside structure may not meet expectations behind a reception desk.
Quality has several dimensions: image detail, colour, contrast, banding, registration, dimensions, finishing and readability after handling. A sharp print is not sufficient if the wrong information is printed or a panel does not fit. Agree which features are critical and who will approve the proof and final output.
Indoor and outdoor categories can overlap. A sheltered shopfront can still receive sunlight and moisture; an indoor exhibition graphic can be exposed to handling and strong directional lighting. Define actual conditions rather than selecting a setting solely from the location label.
Check actual printer width
Sixteen feet is approximately 4.88 metres, while five metres is approximately 16.4 feet. A printer sold using either description has model-specific maximum media width, printable width and margins. Obtain the manufacturer’s figures and confirm that the intended printed area and finishing allowances fit.
Single-piece and panelled designs can both have quality issues. A wide single print may show colour or feed variation across the roll. Panels require alignment, overlap and colour continuity. The customer and qualified finisher should approve the layout and sample before the full run.
Roll width, weight and take-up limits also affect the choice of media. Test the approved roll over a meaningful length rather than assuming a narrow proof demonstrates full-width production quality.
Indoor display considerations
Indoor graphics such as event backdrops, displays and walls may be viewed close up. Fine text, faces, logos and smooth gradients can reveal limitations in the source file or print mode. Review image quality at final output scale and inspect a representative crop at the expected viewing distance.
Lighting matters. Spotlights, glossy surfaces or a backlit enclosure can alter perceived colour and introduce glare. Test the material and proof under representative conditions where practical. If the venue has material, fire, odour or installation requirements, the customer and qualified advisers should verify them for the actual product and location.
Do not assume every solvent flex print is appropriate for every indoor venue. Confirm the ink and media are supported by the machine and acceptable for the intended application under the supplier’s guidance and applicable requirements. Use the required handling and ventilation controls.
Outdoor display considerations
Outdoor graphics can encounter sunlight, rain, heat, dust and physical handling. Their needed exposure performance depends on the site, installation, display period and material. Ask the suppliers for information on the exact ink and media combination, and evaluate representative conditions when the project warrants it.
A distant viewing position may permit a different quality mode from a close-viewed indoor display, but it does not excuse missing information, colour errors or unacceptable defects. Agree a physical sample and viewing distance with the customer. Avoid promising a fixed outdoor life without support for the actual combination and environment.
The responsible customer and qualified installer must determine permissions, structural suitability, attachment and safe site work. Mesh or another material description does not itself establish wind safety. Printing and visual quality checks do not replace engineering assessment.
Resolution and artwork at final size
Image pixels per inch at final output and the printer’s dots per inch are different concepts. A high printer setting cannot create missing detail in a small or blurred photograph. Calculate an image’s effective resolution using its pixel dimensions divided by its final printed dimensions.
For a hypothetical example, a 7,200-pixel-wide image printed 120 inches wide has an effective resolution of 60 pixels per inch. If printed 240 inches wide, it has 30 pixels per inch. These figures explain the arithmetic, not a universal quality threshold. Inspect the source image and approve a final-size crop for critical content.
When a design is prepared at scale, document the scale and calculate resolution at the final size. Check the RIP output dimensions, linked images and fonts. Vector artwork can scale differently from raster images, but an embedded photograph remains subject to its pixel limitations.
Print mode, passes and practical speed
Pass count, resolution, print direction, media, profile and machine condition can affect both appearance and speed. A faster mode may be acceptable for one distant job but not for another close-viewed display. Use a representative test and the customer’s acceptance criteria rather than assigning one mode to all indoor or outdoor work.
Ask the supplier to demonstrate the actual machine at the chosen quality setting. Record media, ink, profile, artwork, print mode and elapsed time. Inspect solids, gradients, text and the start, middle and end of a meaningful run. A maximum advertised speed does not establish saleable output at the required quality.
If a test reveals defects, investigate before changing the production commitment. A slower mode is not a universal fix for banding, colour or media feed problems. Follow the manufacturer’s procedure and involve an authorised technician when the cause is outside routine operator checks.
Media and ink compatibility
Frontlit, backlit, blockout and mesh are broad descriptions, not complete specifications. Products differ in coating, construction, roll weight and appearance. Confirm the exact media is approved for the printer, ink and intended application, and test it with the planned profile and finishing method.
Backlit materials should be evaluated under representative illumination where practical. A print can look different with a light on and off. Gloss and matte surfaces can also respond differently to viewing angle and glare. Obtain approval on the actual material when colour or appearance is important.
Use the machine manufacturer’s approved ink and maintenance products. Changing ink can affect components, quality and warranty. Obtain safety data sheets and have qualified professionals assess ventilation, electrical, fire and waste controls for the actual equipment and local rules.
Colour matching and proofing
Colour depends on source artwork, colour profiles, RIP settings, ink, media, print mode and viewing light. An image on a phone or monitor is not a guarantee of an exact physical match. Ask for the customer’s approved reference and the printer’s colour workflow, then agree how the proof will be evaluated.
For critical colours, print a representative sample on the intended material at the intended mode. Record the machine, profile, media and ink used. If the material or profile changes, a fresh proof may be necessary. Communicate realistic variation rather than promising that different substrates will look identical.
For panelled work, compare adjacent pieces under agreed lighting before joining. Keep the approved sample and settings in case a damaged panel needs reprinting. A new media lot or machine condition may affect the match and should be checked.
Banding and colour variation
Banding can arise from several causes, including nozzle condition, media advance, alignment, ink delivery, profiles or the artwork. Colour differences can also reflect material, settings, lighting or maintenance. Record the symptom and its position before changing settings, and compare with the manufacturer’s approved checks.
Inspect the output across the width and over a meaningful length. A short centre sample may miss edge variation or a tracking issue that appears later. If defects persist, stop and consult an authorised technician. Do not dismantle equipment, bypass guards or improvise ink-system cleaning.
Compare symptoms with a retained reference and note what changed: media batch, ink, file, profile, printer setting or environment. Change one approved variable at a time where feasible, then print the same test file. This makes the investigation more useful than repeatedly increasing print speed or pass count without a diagnosis.
Finishing and final appearance
Trimming, joining, hems and reinforcement can affect the final look. Confirm the visible area and finishing allowances with the customer and qualified finisher before preparing artwork. Keep faces, logos and small text clear of seams or fixing areas where possible. Do not specify a universal join, overlap or attachment spacing.
For panelled work, use a numbered panel map and compare adjacent edges before joining. Inspect colour and alignment after finishing as well as during printing. A physically sound-looking seam does not establish structural performance; the installer or engineer must assess the complete site-specific arrangement.
For a single wide piece, plan safe handling, packing and transport. A large sheet can be damaged by unsuitable folding, rubbing or contamination. Follow the media and ink suppliers’ guidance for handling after printing.
Run an indoor or outdoor quality trial
- Define the display: record location, viewing distance, lighting, exposure, size and customer expectations.
- Choose the combination: identify printer, ink, media, profile, quality mode and finishing plan.
- Check the file: verify final dimensions, scale, effective image resolution, fonts and approved content.
- Print a representative proof: include critical colours, text, gradients and a final-scale image crop.
- Inspect appropriately: view at the intended distance and lighting, and check full width and a meaningful length.
- Test finishing: evaluate a seam or edge when it is part of the actual job.
- Agree acceptance: document the customer’s approval and the settings used.
- Monitor production: check output during the run and isolate defects according to the site procedure.
A trial supports the tested combination under the stated conditions. It does not prove every roll will perform identically or establish an exact outdoor lifespan. Repeat relevant checks when media, ink, profile, artwork or installation requirements change.
Cost and capacity at the chosen quality
Compare modes using accepted finished work, not maximum brochure speed. Measure print time, setup, inspection, reprints, finishing and packing on a representative job. A faster mode that produces rejected output may reduce effective capacity. Include material waste and operator time in the calculation.
For a hypothetical illustration, if mode A prints 200 square feet per hour but 10 percent is rejected, its accepted printed area is 180 square feet per hour under those assumptions. If mode B prints 190 square feet per hour and 2 percent is rejected, its accepted area is 186.2 square feet per hour before setup and finishing. These are invented figures, not machine specifications or expected reject rates.
Compare costs using current material, ink, labour and service quotations. Capacity does not equal sales or profit. The chosen mode must first meet the customer’s approved quality and the site’s safety requirements.
Common comparison mistakes
Using one universal resolution: assess the image at final size, actual viewing distance and customer expectations.
Comparing screen colours with printed media: approve a physical proof under agreed lighting.
Assuming outdoor means low quality: verify the actual application, critical text and customer acceptance.
Assuming a high pass count fixes every defect: diagnose the cause using approved checks and qualified support.
Ignoring finishing: check seams, dimensions, handling and installation handover as part of the final result.
Promising a fixed outdoor life: rely on evidence for the specific materials and environment, with limitations clearly stated.
Questions before production
- What is the actual viewing distance, lighting and exposure?
- Which exact media and ink are approved for the machine and application?
- What is the effective image resolution at final size?
- Which quality mode and proof has the customer accepted?
- How will panels, seams and finishing be inspected?
- Who is responsible for site permissions and structural installation?
For artwork calculations, see our 16 ft banner artwork guide. For materials, see flex media selection and for output planning see capacity estimation.
Conclusion
Judge indoor and outdoor print quality against the real display and approved customer requirements. Verify artwork, media, print mode, lighting and finishing with a representative test, and document the settings needed to reproduce an accepted result.
Using a reference sample across shifts
Keep the customer-approved proof and production record together. Note the version of the file, printer configuration, ink, media batch, profile and quality mode. If a different operator continues the job, review the reference and any defects already observed before loading or changing material.
The reference should be viewed under the agreed lighting and at the intended distance. A sample that is satisfactory under one lamp may look different at the installation site. If the actual display conditions change, seek approval of an updated proof rather than silently changing colour settings.
For a reprint, check whether the same media and profile are available. Produce a comparison strip if colour continuity is important, and tell the customer about any material substitution. Keep the result with the job record so that the finishing team knows which panel has been approved.
Responding to a quality complaint
Compare the returned or photographed output with the approved sample, order and installation conditions. Ask whether the concern is image detail, colour, banding, dimensions, finishing or damage after delivery. Obtain the original file and production record before assigning a cause.
If the issue affects safety instructions, site installation or a contractual requirement, involve the responsible customer, finisher and qualified installer. The printer should not promise a structural correction without their review. Record the agreed action and inspect any replacement before dispatch.
Use the outcome to improve future preflight and proofs. A complaint can reveal that the original viewing distance, lighting or customer expectation was not documented. Updating those fields can prevent a repeat without claiming that any one print mode works for all jobs.
Retain the agreed sample and final inspection notes with the job record. This provides a practical reference when the same display is ordered again or a replacement panel is needed.
Frequently Asked Questions
Is indoor printing always higher resolution than outdoor printing?
Not necessarily. The appropriate artwork and print mode depend on viewing distance, image detail, lighting and customer expectations. Test the actual job rather than using one rule.
What image resolution is needed for a 16 ft banner?
There is no universal value. Calculate effective pixels per inch at final size, assess the original image and approve a representative final-scale proof at the intended viewing distance.
Are image PPI and printer DPI the same?
No. Image PPI describes pixel density at an output size, while printer DPI describes a device or print-mode characteristic. A high printer setting cannot restore absent source detail.
Does a higher pass count fix all banding?
No. Banding can have several causes including feed, nozzles, ink delivery and settings. Follow approved checks and involve a technician when required.
Can a flex print be used indoors?
It depends on the exact ink, media, venue requirements and applicable safety rules. Confirm suitability with the suppliers and responsible venue or safety team.
How should a backlit graphic be approved?
Use the intended material and print mode and inspect a representative proof under agreed illumination where practical. Record the customer approval and production settings.
Does an outdoor print have a guaranteed lifespan?
No universal lifespan applies. Performance depends on ink, media, exposure, finishing and installation. Use supported evidence for the specific combination and conditions.
