



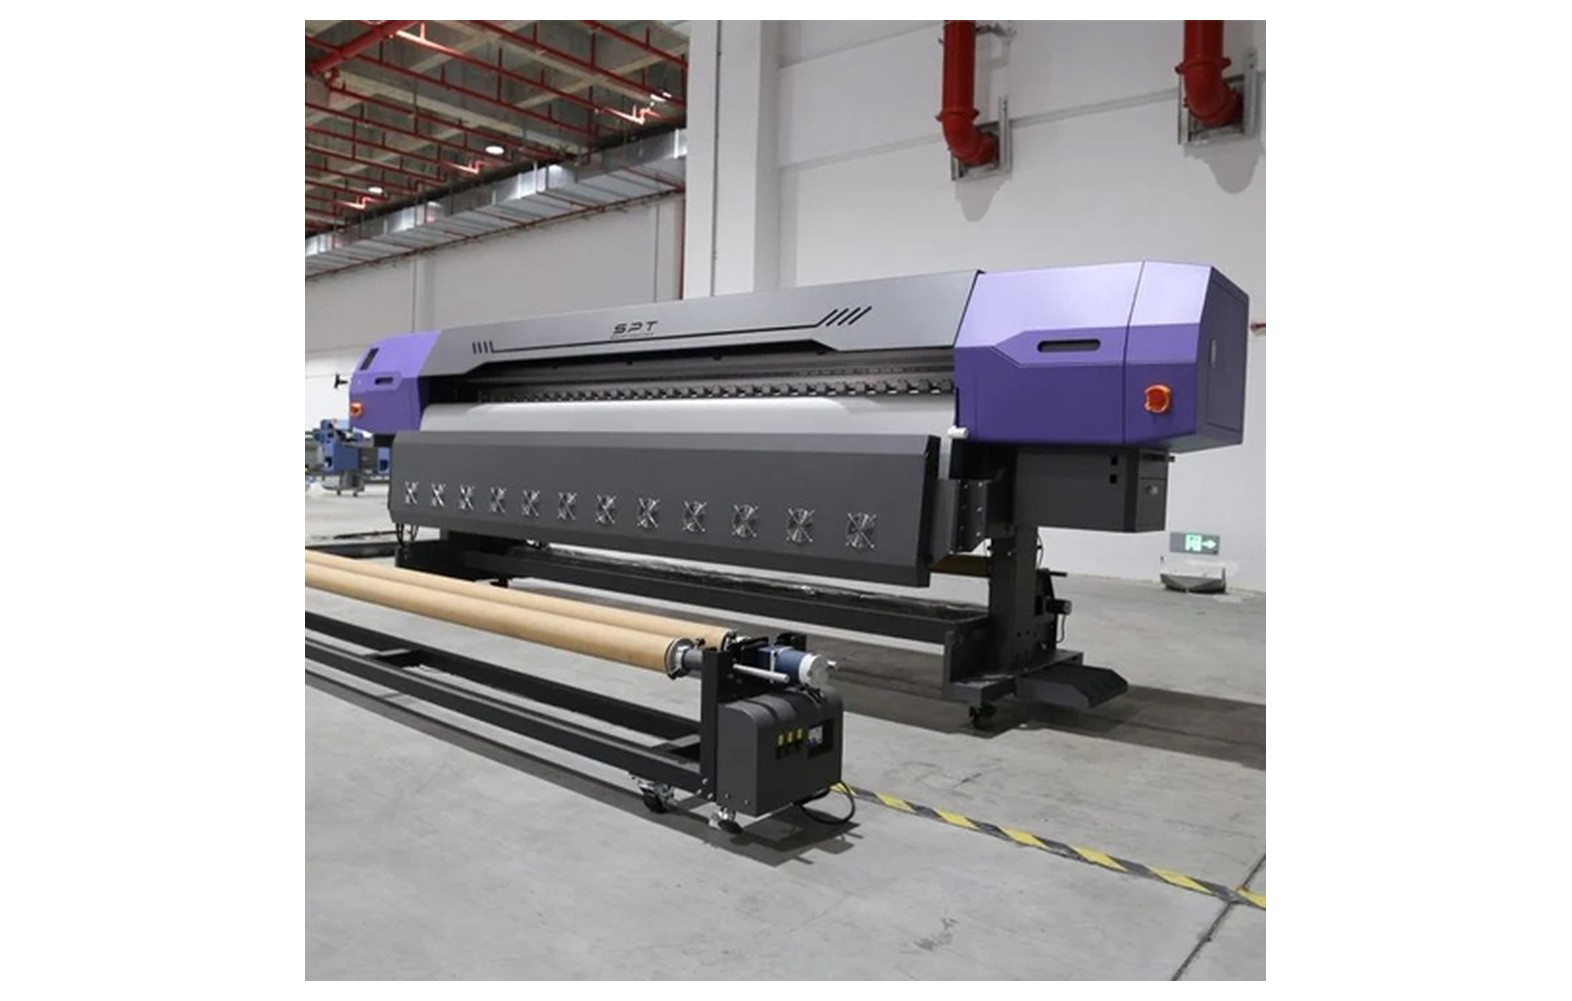
Direct answer: Reduce banding and colour variation by recording the defect, checking the artwork and approved print settings, and using the printer manufacturer’s diagnostic procedure for the actual ink and media. Test a representative full-width run and change only approved variables in a controlled way. Banding can have several causes; more passes or a new printhead is not a universal fix.
What a wide print defect can look like
Banding is a visible pattern of lines or density changes in printed output. An operator may also see stripes, missing colour, repeated marks or uneven colour across the width. These descriptions are observations, not diagnoses. Different causes can produce similar-looking patterns, so record what is visible before making an adjustment.
Note whether the defect appears in one colour or several, in solid areas or gradients, near one edge or across the width, and at the start or later in a long run. Retain the file, media identification, print settings and a physical sample. Mark the orientation so the technician can relate the pattern to the way the material travelled through the machine.
If the print is part of a customer order, isolate the affected output and compare it with the approved proof. Do not join a defective panel to accepted work merely because the problem is difficult to see in one lighting condition. Define the customer acceptance criteria before continuing the run.
Safety and scope before troubleshooting
Follow the specific printer’s manual and site procedures. Operators should use only controls and checks for which they are trained. Electrical work, dismantling, head replacement and service to ink or drive systems may require an authorised technician. Never bypass guards, reach into moving equipment or touch hot or electrically hazardous components.
Ink and cleaning products have product-specific hazards. Obtain the relevant safety data sheets and have qualified personnel assess ventilation, fire precautions, storage, protective equipment and waste handling under applicable local requirements. Do not mix fluids or use an unapproved solvent to attempt a rapid repair.
If a wrinkle, unusual noise, leak or potential head contact creates a safety or equipment risk, stop using the manufacturer’s safe procedure. Record the condition and seek qualified service. Production deadlines do not justify continuing an unsafe test.
Define the acceptance standard
Quality depends on viewing distance, lighting, material, image and customer expectations. A distant hoarding and a close-viewed event wall may use different approved modes. Agree what the customer considers acceptable using a representative physical proof; a screen image or a vendor’s maximum speed specification is not enough.
Record the printer model, head configuration, ink, media, RIP version, profile, resolution, pass count and any approved settings. A 16 ft machine may be marketed as a 5 metre class, but actual printable width and margins vary by model. Inspect the full usable width on the actual stock rather than assuming a centre sample represents both edges.
A successful test should include the critical colours and details of the job. Solids and gradients can reveal density changes, while text and logos can reveal alignment problems. Use the same reference file for comparisons and retain samples with their settings.
Check the source file and RIP
Inspect the original artwork for gradients, compression, transparency, overprints, linked images and colour profiles. A visible line may already exist in the source file. Compare the source, RIP preview and physical output. Use an approved reference test file to determine whether the pattern follows the artwork or appears across different files.
Confirm the correct media profile, print mode, orientation and final dimensions in the RIP. A profile for one media and ink combination should not automatically be used for another. If a software update or new driver preceded the problem, document the change and consult the supplier before reverting or altering settings.
Record one controlled comparison at a time. For example, print the same approved test file with the supplier-recommended profile and compare it with the original setting. Do not change profile, pass count, media and ink simultaneously and then claim to know which change solved the defect.
Nozzle checks and head condition
Use the manufacturer’s approved nozzle-check procedure for the actual machine. Compare the pattern with the equipment supplier’s acceptance guidance and the location of the visible defect. Missing or deflected nozzles can affect output, but a nozzle check is one piece of evidence rather than a complete diagnosis.
Routine cleaning should follow the approved method and schedule. Repeated aggressive cleaning, improvised flushing or incompatible fluids can waste ink or damage components. If the defect persists, stop and involve an authorised technician rather than continuing unsupported procedures.
A new head is not automatically required whenever banding appears. Media movement, alignment, ink supply, software and other parts of the system can contribute. Equally, a clean short test does not guarantee future head life or full-width performance. Record the result and assess it with the representative production print.
Media advance and tracking
Incorrect or inconsistent media advance can contribute to repeated lines or registration errors. The appropriate calibration procedure depends on the printer and media. Follow the manufacturer’s instructions and use an authorised technician where required. Record the original setting and the approved change.
Check the actual roll construction, width, diameter, weight, core and winding direction against the machine’s supported limits. Loading, edge alignment, wrinkles and take-up can affect tracking. A roll that prints well for a short distance may behave differently as its diameter changes.
Do not increase tension blindly or add improvised weights. Excessive or uneven force can create new defects or safety risks. If the media approaches the head or begins to wrinkle, stop safely and inspect under the approved procedure. Do not reach into the moving feed path.
Ink supply and compatibility
Confirm the exact ink and maintenance fluids are approved for the machine and installed heads. Ask the supplier about relevant checks for the ink supply and maintenance system. Leaks, air, contamination or an incompatible formulation may require qualified service; their presence cannot be established solely from a printed stripe.
Do not mix inks or change formulations on an informal recommendation. A conversion may require a documented procedure and may affect components or warranty. Preserve the ink batch and service history for the technician. Follow the safety data sheets and local site controls when handling consumables.
Compare a new ink or media batch with a retained reference only using the manufacturer’s approved process. If a change coincides with the defect, record it as a possible factor rather than proof of causation. The responsible technician should evaluate the complete system.
Head alignment and bidirectional printing
Some printers use alignment procedures to coordinate head positions or print directions. An incorrect alignment can affect text, edges or colour placement. The correct test and adjustment depend on the model and should be performed only by trained personnel under the manufacturer’s instructions.
Ask whether the defect occurs in one approved direction or mode and record the result of a controlled comparison. A change in mode can be a useful diagnostic observation, but it is not automatically the final production solution. Assess the required quality, speed and customer specification.
After an authorised adjustment, print the same reference file at the intended production mode and inspect the full width and meaningful length. Retain the before and after samples and the technician’s record. A short acceptable sample does not guarantee a long run will remain stable.
Colour management and variation
Colour depends on artwork, profile, ink, media, print mode, machine condition and viewing light. A difference between two panels may result from a material lot change, a different profile, a machine condition or different lighting. Compare samples under the agreed conditions and verify that the files and settings match.
Use a physical proof on the intended material for critical colours. Record the accepted configuration and any customer tolerance. For backlit work, inspect under representative illumination where practical. A monitor or phone photo cannot establish an exact match to the finished output.
If a panel must be reprinted later, compare a test with the retained original. Communicate any material or ink substitution and obtain approval. Do not promise identical colour across different substrates or machines without an agreed, supported acceptance method.
Full-width and long-run test
- Record the configuration: printer, head variant, ink, media, batch, profile and print mode.
- Verify the file: use an approved reference containing relevant solids, gradients and detail.
- Run approved checks: follow the manufacturer’s startup, nozzle and media setup procedures.
- Print a representative sample: include the usable width and a meaningful length at the intended quality.
- Inspect consistently: compare both edges and the centre, and the start, middle and end under agreed lighting.
- Document defects: note orientation, position, colour, frequency and any change during the run.
- Change one approved variable: where feasible, use the manufacturer’s process and record before and after.
- Escalate and approve: involve authorised service if necessary and obtain customer approval before production resumes.
Define the test length and acceptance criteria according to the job and the equipment manual. A test should be supervised according to the site’s safety policy. Do not leave a machine running unattended unless the manufacturer and site procedures explicitly permit it.
Interpreting common patterns
Repeated horizontal lines: record their spacing and relationship to media travel. Media advance, nozzle performance, pass settings or other causes may be involved. Use the approved diagnostics rather than guessing from appearance alone.
One colour appears weak: inspect the source and approved test pattern, and ask the technician to assess the relevant system. Do not open ink components without authorisation.
One edge differs from the centre: compare media tracking, roll condition, settings and the actual print path. Record whether the difference persists on another approved roll.
Colour differs between panels: confirm the same file version, profile, ink, material and viewing conditions. Compare with the accepted proof before reprinting a large order.
Defect starts later in the roll: note the length, roll and take-up behaviour. A short startup sample may not reveal a long-run handling problem.
Prevent recurring problems
Maintain a model-specific schedule for approved checks, cleaning, calibration and service. Train operators to recognise defects and to stop before a large quantity is wasted. Record media batches, ink, settings, maintenance and defects in a simple production log.
Store media and consumables according to supplier instructions, and verify that new products are approved before substitution. Keep the print area within the manufacturer’s specified conditions where practical. Qualified professionals should assess the necessary ventilation, electrical and fire controls for the site.
Review rejected output and customer complaints with production and service teams. Distinguish an artwork problem from a machine defect and a finishing or installation issue. Improve the job ticket and proofing process based on evidence rather than assuming every complaint requires a different printhead.
Cost and production decisions
Compare accepted output at the required quality, including setup, inspection, rejects, reprints and finishing. Increasing nominal speed can reduce useful throughput if quality loss increases. Use your own measurements rather than a universal waste or productivity claim.
For a hypothetical example, a run produces 1,000 square feet and 80 square feet is rejected. Accepted printed area is 920 square feet before trim or finishing. The numbers are invented to show the calculation and are not a benchmark. If a correction changes both speed and rejection, measure the complete process again.
Obtain written service or replacement quotations before choosing a costly repair. Compare the cost and effect of the proposed work with the documented fault and the authorised technician’s assessment. Do not replace parts based solely on a vendor’s generic claim.
Questions for a technician or supplier
- What evidence distinguishes a file, profile, media feed, ink or nozzle issue?
- Which diagnostic and calibration procedures are approved for this exact model?
- Which checks can a trained operator perform and which require authorised service?
- What changed between the last accepted print and the first defective one?
- Can the corrected setup produce the required quality over the actual width and length?
- What records, samples and follow-up checks should be retained?
For roll handling, see our media width, roll weight and tension guide. For general engineering context, read media feed calibration and printhead ink compatibility.
Conclusion
Treat banding and colour variation as symptoms requiring evidence. Use approved checks, representative full-width tests and controlled comparisons, then involve qualified service when needed. Retain the accepted sample and settings so that production can resume at the agreed quality.
Build a useful escalation record
When requesting support, provide the exact machine and head configuration, ink and media identification, software and profile, print mode and maintenance history. Include a photograph of the approved nozzle pattern and the physical sample if the service provider requests them. Mark the direction of media travel and the location of the defect on a copy rather than altering the only reference.
List the approved checks already performed and whether the symptom changed. Note when the last acceptable job was printed and what changed before the defect appeared. This record helps the technician plan a diagnosis without asking an operator to repeat an unsafe or ineffective procedure.
After service, ask for a written account of the work, settings changed and any outstanding limitation. Run the agreed acceptance test with the intended material and mode, then obtain the responsible production or customer approval. Keep the report with the job and maintenance records.
Distinguish observation from conclusion
A line that repeats at a regular interval is a valuable observation, but its spacing alone may not identify a failed component. Similarly, a colour difference on one roll can indicate a material change, profile mismatch or machine condition. Record evidence and compare controlled tests before ordering parts.
If the team cannot reproduce the defect, retain the affected sample and the settings used. An intermittent issue may depend on length, temperature, a particular file or roll. Avoid declaring the machine permanently fixed from one short test.
Frequently Asked Questions
What causes banding on a flex print?
Several factors can contribute, including nozzle condition, media advance, alignment, ink supply, profile or artwork. Record the pattern and follow model-specific diagnostics rather than assuming one cause.
Will more passes always eliminate banding?
No. A different mode may change the appearance or aid diagnosis, but it does not fix every underlying problem. Test at the required quality and follow the manufacturer’s procedure.
Does a nozzle check prove a printhead is healthy?
It is useful evidence at the time of testing but does not establish every fault or guarantee future performance. Compare it with a representative production print and qualified assessment.
Why do colours differ between panels?
Possible factors include different files, profiles, ink or media batches, printer condition and viewing light. Compare the approved settings and physical samples under agreed conditions.
Should an operator flush a printhead to remove lines?
Only if the operator is authorised and the manufacturer’s documented procedure calls for it. Unapproved fluids or repeated aggressive cleaning can cause harm or damage.
Why test the full width and a long run?
Some edge, tracking or take-up issues appear only across the usable width or after the roll has advanced. A short centre sample may not reveal them.
When should production stop?
Stop using the approved procedure if quality is unacceptable or a wrinkle, leak, unusual noise or possible head contact creates a safety or equipment risk. Escalate according to site policy.
