



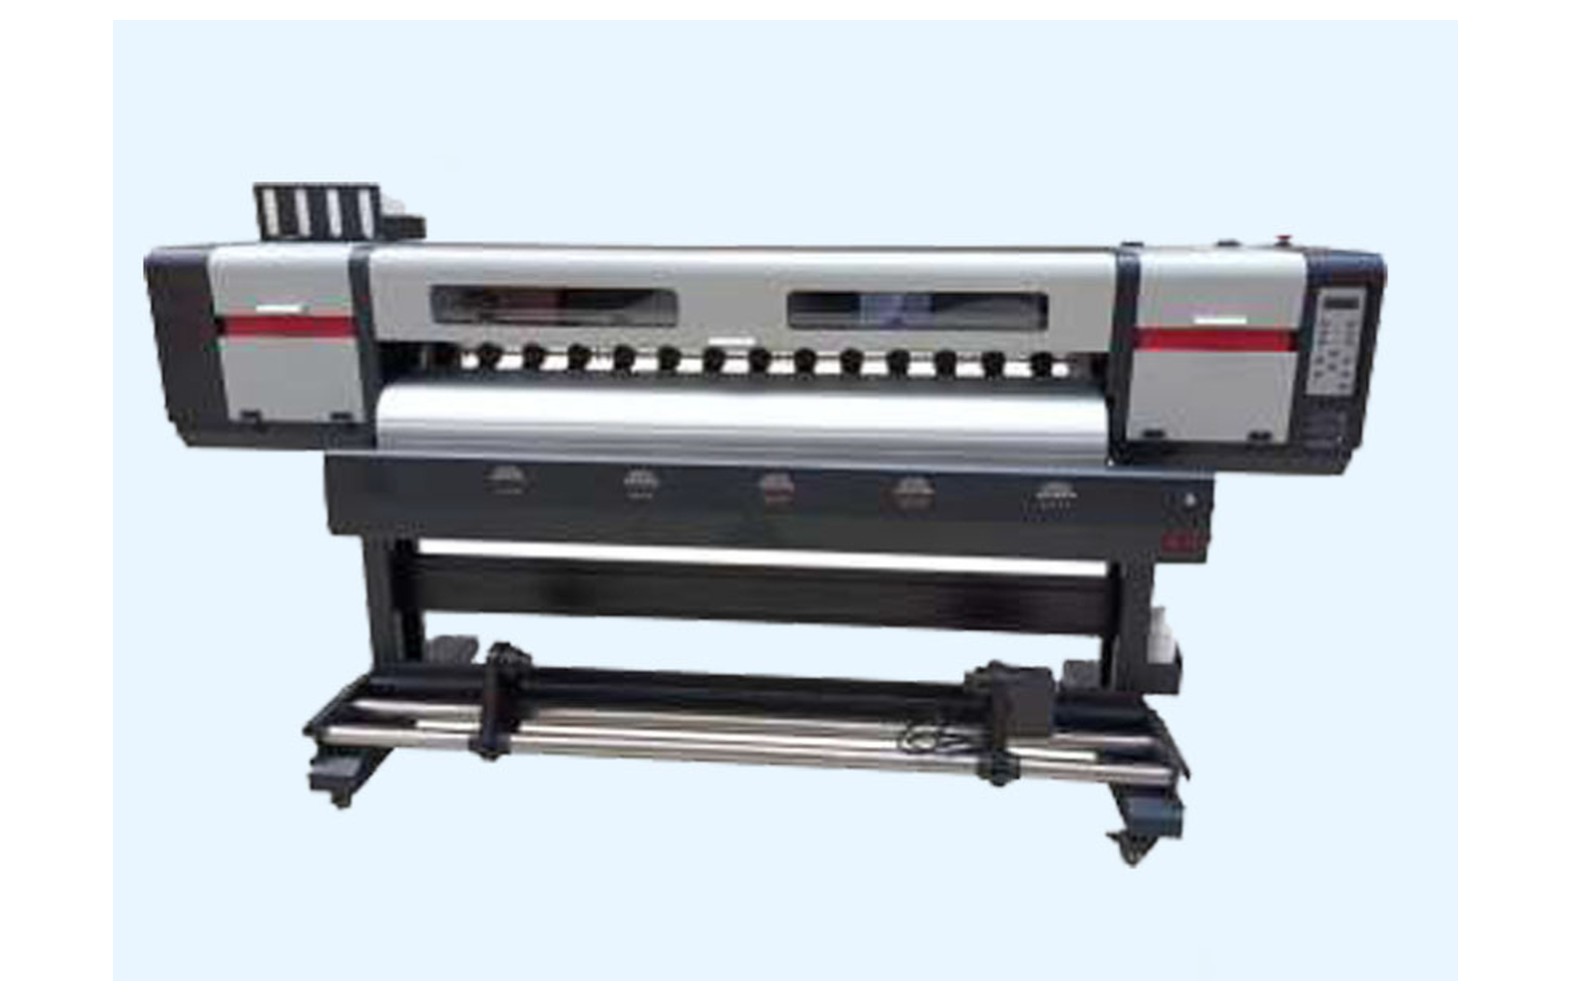
Direct answer: A wiper blade or assembly is part of the maintenance system in some eco-solvent printers. Its function, compatible cleaning materials and replacement procedure depend on the exact machine, head and ink. A missing nozzle or dirty-looking blade does not by itself prove the wiper failed. Follow the manufacturer’s instructions and use authorised service for work beyond operator training.
Understand the complete maintenance station
A printer may use a wiper, cap, pump, waste path and control sequence during approved maintenance. The arrangement differs by manufacturer. Obtain the exact machine’s manual and diagram rather than assuming a generic flex or eco-solvent station is identical.
Record model, serial, revision, head variant, approved ink and any authorised conversion or modification. A printer’s current configuration may differ from its original catalogue. The manufacturer or authorised technician should identify the wiper and its part number.
This guide helps owners discuss buying, maintenance and service. It does not provide a universal head-cleaning, blade-adjustment or replacement procedure. Those tasks require the model-specific instructions and appropriately trained personnel.
What a wiper may do
In some designs a wiper interacts with the printhead during an approved maintenance cycle. Its material, mounting, movement and related components are defined by the printer manufacturer. A cap, pump and wiper can work together, but their exact roles should not be assumed from another model.
Wiper blade, scraper and wiper assembly are terms sellers may use differently. Ask whether a quotation covers a blade only or the complete assembly, and whether related hardware or consumables are included. Confirm the full part number for the machine serial and revision.
A similar-looking blade is not automatically compatible. Material, shape, mounting and chemical requirements can differ. The machine manufacturer or authorised service provider should confirm the proposed part in writing.
Approved cleaning and ink
Use only the ink, maintenance fluids, tools and procedures approved for the exact printer. Eco-solvent formulations are not automatically interchangeable. An unapproved solvent or abrasive tool can damage the wiper, head or surrounding parts and may affect warranty.
Repeated aggressive cleaning is not a universal solution for missing lines. It can waste ink or damage components. Follow the manufacturer’s operator instructions and escalation limits. If a procedure requires moving the carriage, opening a guard or servicing an ink path, ensure it is performed only by authorised personnel.
Keep current safety data sheets for the actual ink and cleaning products. Qualified professionals should assess ventilation, fire precautions, storage, personal protection, spills and waste handling under applicable local rules. The term eco does not eliminate the need for controls.
Symptoms and evidence
Operators may notice weak colour, missing lines, an unusual maintenance cycle, marks or a change after idle time. These observations do not establish that the wiper failed. Ink delivery, cap, pump, head, artwork, profile, media or electronics may also contribute.
Record the exact symptom, affected colour, printer configuration, ink, media, print mode and last accepted output. Retain a physical sample marked with orientation. A manufacturer-approved nozzle pattern is useful evidence at that moment but is not a complete diagnosis.
If there is a leak, smoke, burning smell, damaged cable or unsafe carriage movement, stop using the site’s procedure and notify the responsible supervisor. Do not bypass guards or continue a hazardous test for a customer deadline.
Operator checks versus service
Ask the manufacturer which daily or shift checks trained operators may perform, which materials are approved and what findings require escalation. A schedule from another machine is not automatically applicable, even if the printers use similar heads.
Do not force the carriage, move a blade by hand outside the documented procedure or open a guarded area simply to photograph the assembly. If physical inspection or replacement is required, an authorised technician should follow the machine’s safe stop, isolation and service instructions.
No universal blade lifetime or replacement interval applies to every printer and ink. Use the manufacturer’s guidance and qualified condition assessment. A dirty-looking component should not be replaced automatically without understanding the complete system.
Diagnose before ordering
Provide the technician with the machine record, ink, maintenance history, file, media and samples. Ask which checks distinguish the wiper, cap, pump, ink path, head and settings as possible causes. The exact diagnostic sequence is model-specific.
Compare the source artwork and RIP preview with an approved reference where relevant. A defect in a file or a media problem will not necessarily be corrected by replacing a wiper. Use controlled comparisons only when safe and authorised.
Request a written diagnosis, proposed part number, service scope, cost and acceptance plan. If the issue is intermittent, agree a safe representative test and record its limitations. Avoid replacing several components at random under deadline pressure.
Choose the correct blade or assembly
Confirm the manufacturer part number for the printer serial, revision, head and maintenance station. Ask whether a newer number is an approved supersession and whether holders, seals or other hardware are included. A part for another machine or head variant may not fit or behave as required.
Record whether the offer is genuine, compatible, refurbished or used. For an aftermarket item, request exact machine and ink compatibility and ask the printer manufacturer about support and warranty. Similar appearance or a low price is not sufficient evidence.
Follow the supplier’s storage and packaging guidance. Protect approved spares from contamination and label the machine and part number. Do not issue stock intended for another revision simply because it looks similar.
Safe installation responsibilities
Only personnel trained and authorised for the exact printer should access guarded maintenance equipment or disconnect an ink path. Follow the manufacturer’s stop, isolation, handling, installation and restart procedure. Never bypass a protective device or use an improvised solvent.
Agree who supplies the component and related parts, who performs labour and what happens if another fault is found. Record the written scope and acceptance test. A blade-only quote may not include diagnosis, authorised service or testing.
Handle contaminated materials and waste under the site’s qualified safety procedure. If ink is outside its intended path, stop and follow the spill and emergency plan. A clean-looking surface does not prove that the underlying system is safe.
Acceptance after authorised service
- Record the baseline: symptom, printer configuration, ink, settings and reference output.
- Verify the part: exact blade or assembly number, condition and approved application.
- Perform authorised work: follow the model-specific isolation and service procedure.
- Restore safety: confirm guards and protective systems under the service process.
- Run approved checks: use the manufacturer’s documented maintenance and test sequence.
- Print representative work: use the intended ink, media and customer-quality mode.
- Document release: retain the report, sample and remaining limitation.
A short successful print is evidence for the tested conditions, not a guarantee of future head or blade life. If the issue was intermittent, agree a safe follow-up with the technician.
Close-viewed graphics and customer proof
Eco-solvent shops may produce labels, decals, vehicle graphics or signage that customers inspect closely. Choose a test file and approved material representative of the work actually sold. A small generic sample may not show a colour or detail issue that matters to the customer.
After service, compare replacement output with the accepted proof for colour, dimensions and finishing. Record the profile, material and quality mode. Customer approval is separate from the technician’s machine sign-off.
If output is produced on a backup printer, obtain approval for any material or colour difference. Do not bypass a protective device or operate a faulty maintenance station to meet a deadline.
Idle periods and handover
Ask the manufacturer how the exact machine and ink should be left for the intended idle period. Some printers have specific power, parking or maintenance-cycle requirements. Do not infer a shutdown or flushing sequence from another model.
Record the last accepted test, any unresolved issue and the current approved maintenance procedure at shift handover. On restart, follow the manual and report a change rather than assuming the wiper caused it.
After an authorised ink or station modification, update the machine record, approved consumables and spare inventory. Tell each shift which checks are permitted and whom to contact if the symptom returns.
Cost and supplier checks
Compare diagnosis, the exact blade or assembly, related parts, freight, taxes, authorised labour, testing and downtime using current written quotations. A blade-only price may not include the work needed to return the complete station to service.
For a hypothetical example, a part costs Rs 800, freight Rs 200 and service labour Rs 1,000. The illustrative subtotal is Rs 2,000 before tax and other costs. These invented figures are not market prices. Use the actual quotation and record diagnostic uncertainty.
Ask about condition, approved ink, storage, warranty and return terms. If the supplier cannot identify the printer revision or assembly, obtain confirmation from the manufacturer or authorised service provider before ordering.
Questions to ask
- What exact blade or assembly is installed on this printer and head?
- Which ink and maintenance materials are approved?
- What evidence supports the proposed replacement?
- Which operator checks are permitted and which require service?
- What related parts, warranty and acceptance test are included?
For capping see eco-solvent capping stations. For broader selection read the eco-solvent spare-parts guide.
Conclusion
Evaluate a wiper blade as part of the exact maintenance system, approved ink and printer configuration. Use model-specific guidance, qualified diagnosis and a representative acceptance test before returning to customer work.
Describe the fault in operational terms
Record whether the issue occurs at startup, after idle time, during an approved cleaning cycle or only after a longer customer run. Note the ink, media, file and print settings. This timeline can help the service provider select a test without assuming that a particular component is responsible.
For a colour issue, preserve the last accepted print and the first defective output. Mark orientation and the affected area, and keep the manufacturer-approved test pattern where applicable. A compressed phone photograph can help describe the issue but may not show subtle lines or colour differences accurately.
Do not reproduce a leak, unusual movement or other hazardous condition to create a better sample. Stop using the site procedure and let qualified service decide what further checks are safe. A production deadline is not evidence that continued operation is acceptable.
Clarify what is included in the assembly
A supplier may quote a blade, holder, complete wiping assembly or a kit with other maintenance parts. Ask for the manufacturer’s part number and the complete list of included items. Two offers with similar titles may not cover the same scope.
Confirm whether the installed station has been modified and whether a replacement number is an approved supersession. Ask whether related parts, authorised labour and post-service checks are included. A genuine blade intended for another revision can still be unsuitable.
Keep the supplier’s written response with the machine record. If the quote is for a compatible or refurbished part, request the supported printer, ink and warranty terms and check the manufacturer’s support position. Do not decide solely from appearance.
Control maintenance supplies
Keep approved tools and cleaning products identified for the exact machine and ink. Follow supplier storage and shelf-life instructions where provided. Separate unapproved products so they are not selected during an urgent shift. Do not reuse a contaminated item unless the manufacturer and site procedure permit it.
The safety data sheet and qualified site assessment determine ventilation, protective equipment and waste controls. A cleaner sold for another printer may not be compatible with the blade material, ink or surrounding components. Ask the manufacturer before changing.
Record the operator training and the current approved routine. When the manufacturer revises its instructions or the ink configuration changes, update the controlled checklist and inform each shift. A generic interval cannot guarantee a particular head or blade life.
Comparing a service outcome
Agree the acceptance file, media, ink and quality mode before a visit where feasible. The technician should state how the original symptom will be checked and which protective systems will be restored. A short sample may be appropriate for one fault but insufficient for an intermittent long-run issue.
Compare before and after output under consistent conditions and retain the service report. If the issue remains, ask which additional approved diagnostic step is proposed and what it will cost. Do not authorise repeated part swaps without understanding the evidence.
Review a reprinted customer order separately from the machine test. Check the agreed colour, dimensions and finishing, and communicate any revised delivery. Technical service acceptance does not automatically approve the finished graphic.
Inventory and supplier follow-up
Decide whether to hold a spare based on the specific machine, supplier lead time, storage guidance and actual service history. A stock item supports a repair only if it remains correctly identified and compatible. Review the list after a head, ink or station modification.
When an item arrives, compare its part number and condition with the written quote. If the package is damaged or the application is unclear, hold it for supplier clarification. Do not force it into place or open protected equipment to test physical fit.
Retain the invoice, warranty and installation report. If the symptom returns, provide the original records and new sample to the authorised provider. A repeated defect may have the same cause or a different one, and should be reassessed safely.
When the station was modified
If the printer was purchased used or its head or maintenance station was changed, request the authorised modification record. The original manual may describe a different assembly. Ask the manufacturer or service provider to identify the current blade, approved ink and supported routine.
Do not infer compatibility from a popular head name or a similar-looking part. If the history is incomplete, obtain a qualified assessment before ordering. Record what remains uncertain and agree how the technician will verify the system.
After authorised work, update the machine record and spare inventory. Keep old and new part numbers distinct, and inform each shift about any changed operator procedure. A controlled record helps avoid fitting obsolete stock during the next urgent repair.
Keep the approved sample and service contact accessible for the next production run.
Retain those records.
Frequently Asked Questions
What does a printer wiper blade do?
In some designs it participates in an approved maintenance cycle. Its exact role depends on the machine.
Does missing output prove a wiper failed?
No. Ink delivery, head, cap, pump, media, settings and other factors can contribute. Use model-specific diagnosis.
Are all wiper blades interchangeable?
No. Confirm the exact printer, station, head, approved ink and manufacturer part number.
Can any cleaning fluid be used on the wiper?
No. Use only products and procedures approved for the exact machine, and follow the safety data sheets.
How often should a wiper be replaced?
There is no universal interval. Follow manufacturer guidance and a qualified condition assessment.
Can an operator force the carriage to reach a blade?
No. Use the manufacturer’s approved controls and service procedure; do not bypass guards or force the carriage.
How is replacement verified?
Run the approved checks and representative print, restore safety systems and retain the technician’s report.
