



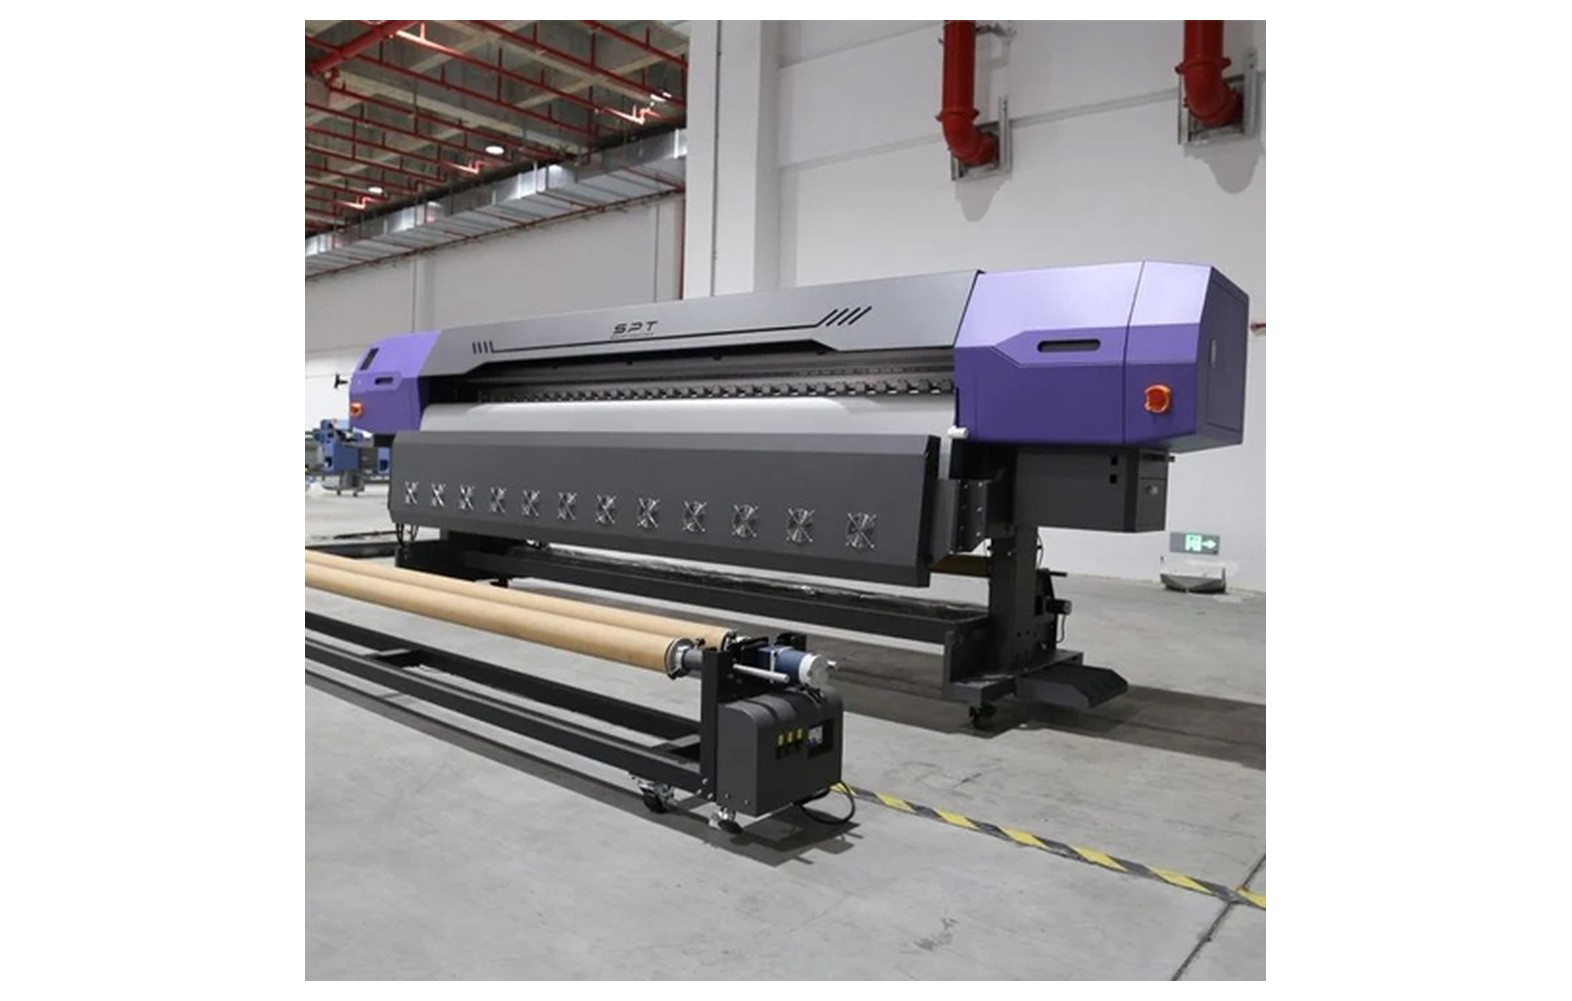
Direct answer: Plan a large hoarding job from the approved site dimensions, artwork and installation requirements backwards to the printer. Confirm the machine’s actual printable width, media compatibility, panel plan, finishing, transport and delivery schedule before committing. A 16 ft printer can help produce wide graphics, but printing capacity alone does not establish installation safety, permission or suitability for every material.
Start with a written site brief
Obtain the visible advertising area and the finished graphic dimensions from the customer and installation team. Ask which dimensions include frames, returns, hems or other non-visible areas. Record the orientation, viewing distance, display period, illumination, access restrictions and date by which the completed material must reach the installer.
Clarify who owns the site measurement and who approves the artwork, material, panel arrangement and finished print. A site photograph or an old order is not a reliable substitute for current confirmed measurements. If the visible area and supplied artwork disagree, pause and resolve the discrepancy in writing before printing.
Outdoor advertising permissions, site access and material restrictions can vary by jurisdiction and site. The customer, media owner and installer should verify current requirements with the relevant authorities and qualified advisers. This guide addresses print production planning; it is not structural or installation engineering advice.
Check usable width, not only the machine name
Sixteen feet is approximately 4.88 metres, while five metres is approximately 16.4 feet. A machine sold under either description can have its own maximum media width, printable width and edge margins. Obtain the manufacturer’s specification and check the actual roll and print setup. The ability to load a roll does not mean the full width can be printed.
Compare the graphic’s required printed area with the verified usable width. Include trim, finishing and any non-visible material specified by the finisher. If a graphic does not fit, agree a panelled approach or another method before preparing the final files. Do not promise a seamless piece based only on a nominal 16 ft label.
Even if a piece fits, consider its length, weight and handling. A very large single sheet can be difficult to finish, pack, transport or align at the site. The print provider and installer should compare practical alternatives and agree the final plan with the customer.
Choose the media for the application
Frontlit, backlit, blockout and mesh products differ in construction and intended use. Ask the media supplier for the exact product, coating, roll width, weight, storage guidance and compatibility with the printer and ink. A category name does not guarantee performance or suitability for a particular installation.
Confirm whether the graphic is lit from the front or back, the expected exposure, handling and customer quality requirements. For backlit media, colours and density may look different with illumination. Test the approved media and print mode under representative lighting where practical. Do not promise an exact outdoor life without evidence for the complete construction and conditions.
Media availability and roll handling should be checked before quoting. A roll may be available in the right nominal width but exceed the printer’s supported diameter or weight. Ask for the approved loading and take-up method, and plan trained staff and suitable equipment for heavy rolls.
Single piece or multiple panels?
A single piece can reduce joins when the required artwork and finishing fit the usable width. Panels can be easier to print, finish, transport and install, but require controlled overlap, alignment and colour matching. Neither option is universally better. Evaluate the total workflow with the customer, finisher and installation team.
For panels, identify seam positions early. Keep important text, faces and logos away from joins where possible. Agree the overlap and joining method with the qualified finisher and installer for the actual media and site. Do not use a universal overlap or eyelet pattern as a substitute for a project-specific specification.
Produce a numbered panel map showing orientation, visible area, trim and the relationship between adjacent pieces. Ensure the RIP output matches the approved map. Label packing in a way that lets installers identify each panel without marking the visible surface.
Coordinate structural and installation responsibilities
The printer should obtain the installer’s requirements, but should not claim that a print or generic finishing pattern is structurally safe. The site structure, mounting method, wind exposure, access equipment and safe work plan must be assessed by qualified installers or engineers as appropriate. Material choice alone, including mesh, does not establish a safe wind-load result.
Ask who provides measurements, attachment details, permits, site access and inspection. Record the handover point and any limits of the printer’s responsibility. If the installation team changes the panel or finishing specification after artwork approval, assess the effect on size, price and schedule and obtain a revised approval.
Provide the installer with the panel map, finished dimensions, orientation and any agreed material documentation. Do not omit a known discrepancy simply to meet the delivery date. Escalate site or structural questions to the responsible qualified party.
Prepare the artwork at the right scale
Document final dimensions and the scale used in the design file. A scaled file can be useful, but the RIP must enlarge it to the intended final size. Check the final dimensions in the RIP preview and distinguish the visible area from trim, hems and overlap. A scale error can affect every panel in a large job.
Calculate the effective resolution of each raster image at final output size. For a hypothetical example, an image 7,200 pixels wide printed 120 inches wide has an effective resolution of 60 pixels per inch. The appropriate quality depends on the original image, viewing distance and customer expectation; there is no universal resolution that suits every hoarding.
Keep vector logos and text where practical, check fonts and linked files, and review spelling and contact information. Print a final-scale crop of critical detail when necessary. Obtain customer approval of the final version and retain it with the job ticket.
Plan colour and proofing
Colour depends on the source artwork, profile, RIP, ink, media, print mode and lighting. A screen preview does not guarantee a physical match. Use the printer’s approved profile and produce a material proof for colour-sensitive work. Clarify what the proof represents and obtain the customer’s approval.
For a multi-panel job, print adjacent panels under consistent conditions where feasible. Record ink, media lot, profile and settings. If a panel must be reprinted later, compare a sample with the approved or original output before finishing. Colour differences can arise from materials or process changes even when the same file is used.
For backlit work, inspect a sample with representative illumination as well as in ordinary light when the customer requires it. Do not promise identical colour across every light source or substrate without a specific agreed test.
Schedule the whole job, not only printing
Break the schedule into artwork review, proof approval, media procurement, printer setup, printing, drying or handling as specified, inspection, finishing, packing, transport and installation handover. Add time for a potential reprint and a clear decision point for customer changes. A promised machine speed is only one part of the schedule.
Measure a representative print at the actual quality setting and material. Record setup and changeover time separately. Theoretical output based on maximum brochure speed can understate the time needed for an accepted hoarding, particularly when panels require inspection and alignment.
Confirm media and ink availability before accepting a deadline. If the requested material or a critical spare is unavailable, communicate alternatives rather than silently substituting a product. Any change to media, finish or print mode should be approved where it affects the job specification.
Prepare the production job ticket
- Customer, order reference, approved artwork version and contact for questions.
- Final visible and finished dimensions, design scale and orientation.
- Machine, verified printable width, ink, media construction and roll requirements.
- Panel map, overlap, trim, finishing and identification instructions.
- RIP settings, profile, proof approval and print-quality criteria.
- Inspection points, packing, transport and installer handover requirements.
- Delivery deadline, change control and escalation contacts.
Use a controlled ticket accessible to design, production, finishing and dispatch. If any critical detail is missing, resolve it before production rather than relying on an operator’s assumption. Retain the approved ticket and sample for reprints or later investigation.
Run a pre-production check
Inspect the file in the RIP at final size and verify the panel count and orientation against the approved map. Check that all images and fonts are present, important content is clear of seams and fixing areas, and the selected media fits the machine’s supported width and weight. Confirm the correct profile and quality setting.
Perform the machine manufacturer’s approved startup and nozzle checks. Print a representative proof or first panel as agreed. Check dimensions, colour, banding, registration, media tracking and drying or handling before committing the remainder of the roll. The operator should follow site procedures and call an authorised technician when a defect is outside routine adjustment.
Keep the customer’s approved sample visible for comparison where appropriate. A pre-production test reduces uncertainty but does not guarantee that a long run will remain stable. Continue checks at agreed intervals and document any change in settings.
Inspect printing and finishing
Examine output at the start, during the run and after completion for missing lines, banding, colour shifts, skew, wrinkles and handling marks. For panelled work, compare adjacent edges and check that important artwork aligns across joins. Record the cause and disposition of rejected pieces instead of hiding a defect in a seam.
Finishing should follow the approved specification and the finisher’s safe procedure for the selected media. Check finished dimensions, panel order, joins and reinforcement. If the installer requires a particular method, confirm it before finishing rather than making an unapproved substitution.
Structural performance and safe installation remain the responsibility of the qualified installation team. The printer should not claim that a visual inspection alone verifies load capacity, weather resistance or legal compliance.
Pack, transport and hand over
Agree how the finished graphic will be folded or rolled, protected from contamination and labelled for transport. The correct method depends on the media, print and finishing. Ask the suppliers whether the output needs a particular handling interval or packing precaution. Avoid damaging printed surfaces or creating permanent creases through an unsuitable packing method.
For multiple panels, number packages to match the panel map and include the approved orientation and order. Record the number of pieces handed over and the recipient. If any panel is damaged in transit, use the job ticket and retained settings to plan a controlled replacement and colour comparison.
Confirm the site delivery window and unloading arrangements. A large roll or sheet may need appropriate equipment and trained personnel. Coordinate transport and access with the installer rather than assuming a printer’s dispatch team can safely handle the site conditions.
Estimate cost without unsupported margins
Calculate media, ink, setup waste, operator time, proofing, finishing, packaging, transport and any subcontracted installation. Include overlap and reprint allowances based on the actual panel plan. Separate taxes, overhead, financing and other costs according to the business’s accounting method.
For a hypothetical job, suppose materials and ink cost Rs 5,000, labour and finishing Rs 3,000, and packing and transport Rs 2,000. The illustrative direct total is Rs 10,000 before overhead, taxes, financing and any other expenses. It is not a market rate or a profit forecast. Replace every value with your own quotations and records.
Compare a single-piece and panelled option using the same finished requirement. Include the extra overlap and joining for panels and any extra handling or transport for the single piece. Obtain customer approval before changing the agreed production method.
Common planning failures
Wrong site dimensions: confirm current measurements and responsibilities in writing. Do not infer the visible area from an old job.
Artwork crosses a seam: revise the panel map and obtain customer approval before production. Test a join where alignment matters.
Print width is overstated: check the manufacturer’s usable width, margins and finishing allowance rather than the nominal machine class.
Colour differs between panels: review the media, ink, profile and production conditions; compare a replacement with the accepted sample.
Delivery is late: schedule proofing, finishing, packing and transport as well as printing, and communicate changes promptly.
Installation details are unclear: refer structural, attachment, site access and permission questions to qualified responsible parties before finalising the job.
Hoarding job checklist
- Confirm current site measurements, visible area and approval owners.
- Verify printer width, supported roll and chosen media and ink.
- Agree a single-piece or panelled plan, including finishing and handling.
- Check artwork scale, effective resolution and customer-approved proof.
- Document installation, permits and structural responsibilities with qualified parties.
- Schedule production, inspection, packing and transport.
- Retain the final job ticket, sample and panel map.
For artwork preparation, see our 16 ft flex banner artwork guide. For machine width and buying checks, see our 16 ft flex printer buyer guide.
Conclusion
A reliable hoarding job starts with a verified site brief and proceeds through a controlled panel, proof, print, finishing and handover plan. Confirm the actual machine and media limits and involve qualified installers for structural and safety decisions.
Change control on a time-sensitive campaign
If the customer changes artwork or the installer changes measurements after proof approval, create a new job revision and assess which panels, material and finishing steps are affected. Confirm the revised cost and schedule before proceeding. A small edit near a seam can require more than one panel to be reprinted.
Keep the previous and current approvals distinguishable, and ensure that only the current file is released to the RIP. Before dispatch, check every package against the final panel map. This simple reconciliation helps prevent a mixture of revisions reaching the site.
Frequently Asked Questions
Can a 16 ft machine print every hoarding in one piece?
No. Compare the required print area and finishing allowance with the actual model’s usable width. Large or difficult-to-handle jobs may need panels or another production method.
What dimensions should a hoarding printer request?
Obtain the current visible and finished dimensions, orientation, trim and finishing requirements from the responsible customer and installer. Confirm who owns the site measurement.
How should hoarding panels be planned?
Agree the panel map, orientation, overlap and joining method with the finisher and installer. Keep critical artwork away from seams where practical and obtain customer approval.
Is a 5 metre machine exactly 16 feet?
No. Five metres is approximately 16.4 feet and sixteen feet is approximately 4.88 metres. Confirm actual printable and media widths for the model.
Does mesh automatically make a hoarding safe in wind?
No. The complete structure, attachment and site conditions must be assessed by qualified installers or engineers. Material selection alone is not a structural calculation.
What image resolution should a hoarding use?
It depends on source quality, final size, viewing distance and customer expectations. Calculate effective resolution at final size and approve a representative proof rather than using a universal value.
Who is responsible for permits and structural safety?
The parties should assign these responsibilities in writing. The customer, site owner and qualified installer or engineer must verify applicable permissions and safe installation requirements.
