



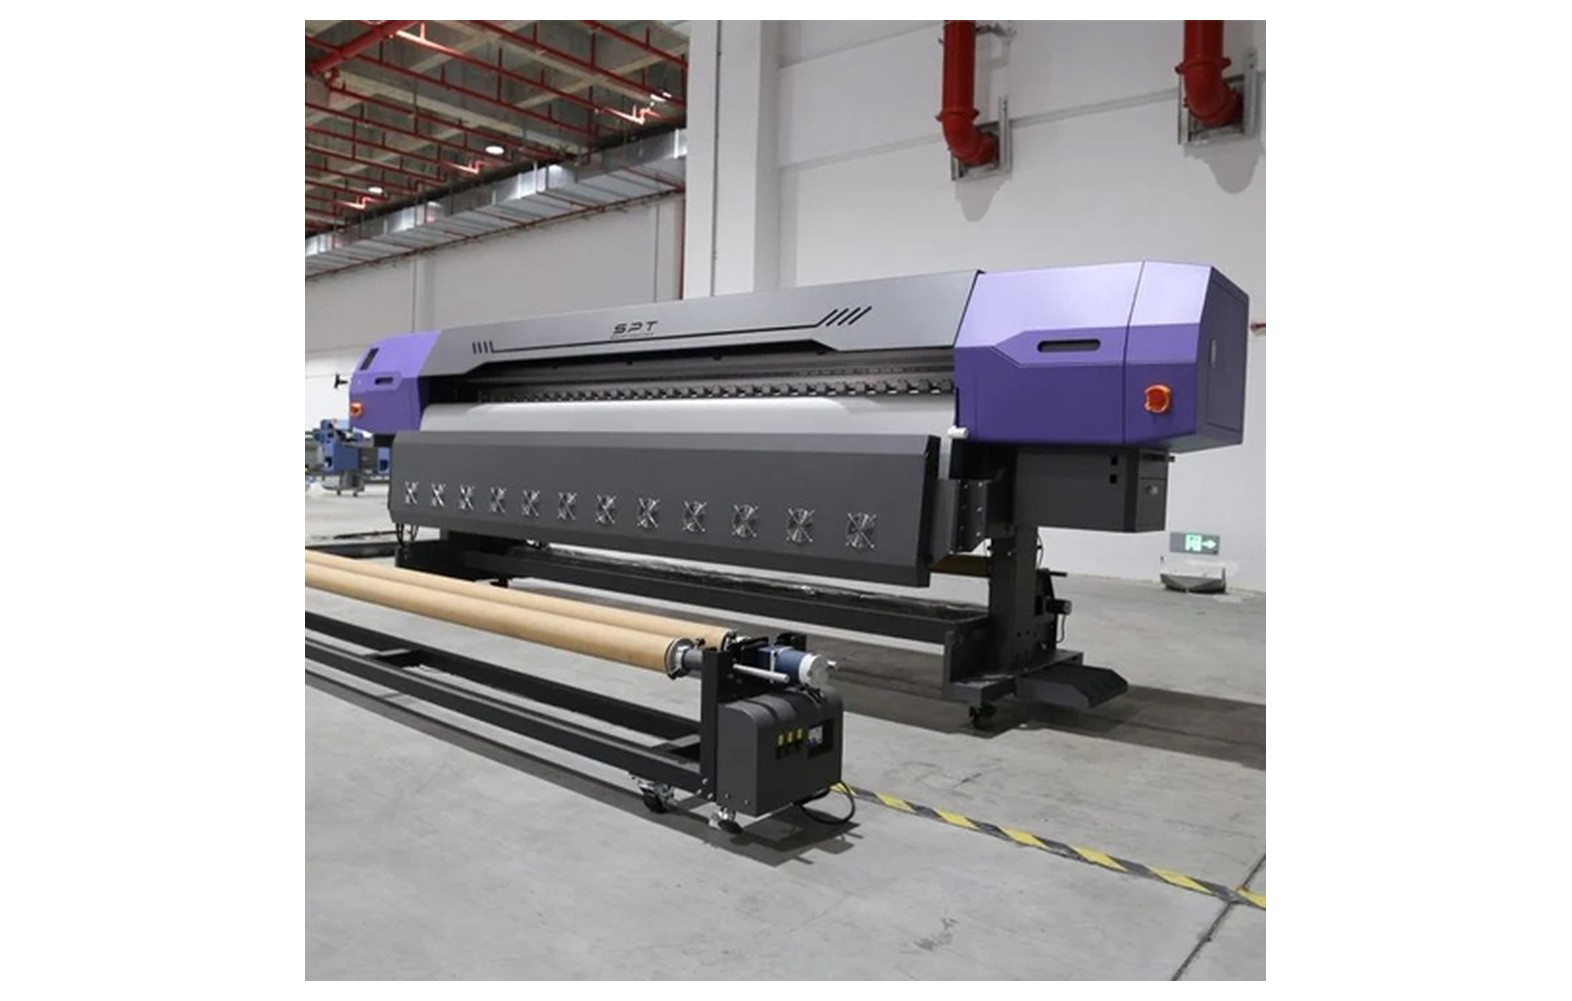
Direct answer: A single-piece banner can reduce joins when the complete printed area fits the machine and can be handled safely. Joined panels can make larger or awkward graphics practical, but require an agreed layout, overlap, finishing and colour checks. Compare the total job from artwork to installation rather than assuming either option is always cheaper, stronger or faster.
Start with the finished display
Record the visible size, finished dimensions, viewing distance, location, display duration and delivery deadline. Ask the customer and installation team whether seams are acceptable, where they may be placed and what finishing is required. Confirm who is responsible for site measurements, structural decisions, permits and final approval.
The print provider should not determine structural safety from a banner’s dimensions or joining method alone. The actual frame, attachment, wind exposure, site access and safe installation must be assessed by qualified installers or engineers as appropriate. Advertising and material rules may differ by location and should be checked by the responsible parties.
A successful comparison includes media, print, finishing, labour, packing, transport, installation and potential reprints. A single sheet can remove some seam work while creating a larger handling challenge. Panelled output may require more finishing but allow a damaged section to be replaced. The correct choice depends on the job.
Check the printer’s real width
Sixteen feet is approximately 4.88 metres, while five metres is approximately 16.4 feet. Machines marketed in these categories can have different maximum media widths, printable widths and edge margins. Request the actual model specification and verify the usable area on the intended stock.
Separate the visible artwork, printed area and finished piece. The finishing team may need material for trimming, hems, reinforcement or attachment. If the required printed area does not fit within the usable width, a single-piece plan may require another machine or a revised design. Loading a roll of the nominal width does not prove the entire width can be printed.
Also check supported roll diameter and weight, take-up capacity and the site space needed to move and finish the material. Printer width is only one limit in a complete production process.
What counts as a single-piece print?
A single-piece graphic is produced as one continuous printed piece for the relevant display area. It may still require edge finishing, reinforcement or attachment. Ask the customer exactly what seamless means: no visible join in the graphic, no join anywhere in the finished piece, or another specification.
Potential advantages include fewer panel alignments and less seam-related finishing for a job that fits. Limitations can include larger rolls, more difficult handling, greater reprint exposure if a substantial defect occurs, and challenging transport or site access. These are possibilities, not universal outcomes; measure them for the actual order.
Inspect the full width and representative length for banding, colour consistency and media tracking. A single sheet can still have print defects or be trimmed to the wrong dimensions. Approval of a single-piece method does not remove the need for proofing and quality control.
What counts as a panelled print?
A panelled graphic divides the design into two or more printed pieces that are joined or installed according to an approved plan. Panels can be produced on a narrower machine or used to simplify handling on a wider machine. The method and location of joins should be agreed before artwork is finalised.
Panelled work adds decisions about orientation, overlap, trim, joining, identification and colour matching. A panel map should show each piece, its finished dimensions and its relationship to the adjacent pieces. The finisher and installer should confirm how the pieces will be joined or positioned for the actual media and site.
Do not assume that a particular join width, welding method or eyelet pattern is suitable for every job. The responsible finisher, installer and where necessary structural engineer must determine the project-specific requirements and inspect the final result.
Compare appearance at the viewing distance
A visible seam may be insignificant on one distant display but unacceptable on a close-viewed event backdrop. Ask the customer how the graphic will be viewed and place seams away from faces, small text and important logos where practical. A sample join helps clarify expectations before the full job is printed.
Inspect colour continuity across adjacent panels under the relevant lighting. Different media lots, print settings, profiles or production times can affect the appearance. A single piece can also show colour variation across its width if the machine or process is not controlled. Both methods require a representative proof and a consistent workflow.
For a backlit display, review the approved sample with representative illumination where possible. A seam or density change may look different with the light on and off. Obtain the customer’s approval of the actual material and finishing method rather than relying only on a screen preview.
Artwork and panel layout
Document the final visible and finished sizes, file scale and orientation. Separate bleed, trim, hems and overlap from the visible content. For panels, define the relationship between adjacent pieces and any repeated image area at a join. Confirm the plan with the finisher before the design is exported.
Check raster images at their final output size. For example, an image 7,200 pixels wide printed 120 inches wide has an effective resolution of 60 pixels per inch. This is an illustrative calculation, not a universal quality threshold. Inspect a final-size crop and consider viewing distance and the quality of the original source.
Use the RIP’s tiling tools only after verifying the final dimensions, overlap and panel numbering. A software preview is useful, but the operator must check that the output matches the approved map. Keep the final file and settings so a damaged panel can be reproduced and compared with the original.
Finishing and joining considerations
The available joining methods depend on the specific media and equipment. Ask the material supplier and experienced finisher which methods are compatible and what test is appropriate. The joint must meet the customer’s specification and any requirements set by the qualified installer. A visually tidy seam alone does not prove structural performance.
Check alignment, printed content, visible marks and final dimensions after joining. Handle the material according to supplier instructions so the printed surface is not damaged. If a join crosses a critical feature, compare it with the approved sample before completing the remainder of the job.
Keep production records for the material, print settings, finishing method and inspection. If a seam fails or appears unacceptable, isolate the affected work and consult the responsible finisher and installation team. Do not repair a safety-critical mounting arrangement without their approval.
Compare material use and waste
A single piece may require wide stock and margins. Panels may require extra material for overlap, trim and setup. The actual waste depends on dimensions, nesting, roll size and the finishing plan. Calculate consumption from a layout instead of assuming that fewer pieces always use less material.
Consider the consequence of a print defect. A small defect may require reprinting a large piece, while a panelled design may allow one section to be replaced. A replacement panel, however, can introduce colour mismatch or a schedule delay. Use representative quality and spoilage records rather than assuming that either method has zero waste.
Confirm the printer can safely handle the selected roll width, diameter and weight. Wide media availability and storage conditions also matter. A nominally compatible size is not sufficient if the roll exceeds the machine’s approved handling limits.
Labour, schedule and equipment
Estimate time for file preparation, loading, printing, drying or handling as specified, inspection, joining, finishing and packing. Panelled work can require more alignment and joining. A single wide piece can require more people or equipment for loading and moving. The balance depends on the site and the job.
Do not use the printer’s advertised maximum speed as the complete job time. Run or estimate a representative print at the quality mode you will sell, then add the other steps and a realistic allowance for inspection and rework. Agree the installation delivery window and transport arrangements before accepting the deadline.
Use trained staff and appropriate equipment for heavy rolls and large sheets. Follow the printer, media and finishing equipment manufacturers’ instructions. Qualified personnel should assess ventilation, electrical supply, fire precautions and material storage for the actual inks and processes.
Compare total cost with a hypothetical example
Calculate each option using the same customer specification. Include media, ink, setup waste, print labour, finishing, packaging, transport and any installation or subcontractor charge. Add taxes, overhead and financing according to your business method. Record assumptions and obtain current quotations for external work.
For illustration only, suppose a single-piece option has direct production and transport costs of Rs 12,000, while a panelled option has direct costs of Rs 11,000 including joining. This does not establish that panels are generally cheaper, and neither number is a market quote or profit. A different site, material, reprint or installation requirement could reverse the comparison.
Consider the impact of a defect or delayed panel. Prepare a low and high cost scenario where uncertainty is material. The customer should approve any change in seam position, material or delivery arrangement before the quotation is finalised.
Transport and installation handover
Ask how the printed material should be rolled or packed, whether it needs protection between surfaces and what handling interval applies. Follow the actual media and ink supplier’s guidance. Check the delivery route, vehicle capacity, unloading and storage at the site.
For panels, mark each package with the approved number and orientation and provide the panel map. Reconcile the number of pieces at dispatch and handover. For a single piece, confirm that the installation team can move and position it safely at the site.
Provide the installer with the agreed dimensions, material and finishing details. The installer or qualified engineer remains responsible for site-specific mounting and safety. Do not assume a printed graphic or a joining method is suitable for every structure or weather exposure.
Decision checklist
- Verify dimensions: confirm the visible area, finished size, trim and actual usable print width.
- Ask about seams: document customer acceptance, visible positions and critical content.
- Check the material: confirm printer, ink, finishing and roll-handling compatibility.
- Plan handling: compare loading, finishing, packing, transport and site access.
- Estimate both options: include media waste, labour, joining, reprints and external charges.
- Approve samples: review colour, scale, join appearance and finished dimensions.
- Confirm responsibilities: assign permits, structural assessment and installation to qualified parties.
- Record the choice: retain the customer approval, panel map, settings and job ticket.
If a critical dimension or structural requirement is unresolved, pause production. A late clarification can affect artwork, panel count, finishing and the final price. A controlled change process is safer and easier to reconcile than an undocumented substitution.
Common mistakes
Using nominal width as finished width: check the model’s printable area and finishing allowance.
Placing a seam through critical artwork: review the panel map with the customer and print a representative join when needed.
Ignoring colour variation: record the media, profile and settings and compare adjacent panels under agreed lighting.
Assuming a join is automatically strong: ask the responsible finisher and qualified installer to determine and assess the method for the actual structure.
Comparing only print cost: include finishing, handling, waste, packing, transport and installation.
Failing to label panels: provide a numbered map and reconcile every piece at handover.
Questions for the customer and installer
- What are the confirmed visible and finished dimensions?
- Are seams acceptable, and are there restricted locations?
- What media, finish and appearance have been approved?
- Who determines attachment, structural safety and site permissions?
- Can the completed piece or panels be safely transported and handled?
- What proof and inspection will be used for acceptance?
For a wider production workflow, read our large hoarding print planning guide and banner artwork and resolution guide.
Conclusion
Choose single-piece or joined-panel printing from the confirmed job, usable printer width and full production and installation plan. Agree appearance, finishing and responsibilities before printing, and use a representative sample when the seam or colour is important.
Reprints and production continuity
Before printing, decide how the team will identify and replace damaged output. Keep the approved artwork, panel map, material specification, profile and print mode with the job record. If one panel needs replacement, print a comparison sample against the retained reference, especially if the media lot or machine settings have changed.
A single-piece job also needs a reprint plan. Estimate the time and material required if the sheet is damaged during finishing or transport, and confirm whether another roll is available. The purpose is not to assume a failure will happen, but to avoid making a delivery promise that leaves no way to respond.
Where a large graphic is installed in stages, ask the installer how the pieces will be stored and protected between shifts. Record the approved orientation and handling method on the job ticket. If a package is opened for inspection, reconcile the panels again before site handover.
Change the plan only with approval
A late change from one piece to panels can alter seam position, artwork, material use, finishing, delivery and installation. A change in the other direction can alter handling and transport. Prepare a revised layout and quotation, then obtain customer and installer approval before production continues.
Keep earlier revisions separate from the final file and identify which panels were produced under each version. Do not combine old and new panels simply because they appear similar. A controlled comparison and documented approval protect both the printer and the customer.
At final inspection, compare the measured finished piece and panel count with the approved order. Record any accepted variation and provide the current layout to the party responsible for installation.
Frequently Asked Questions
Is a single-piece banner always better than joined panels?
No. It can reduce joins but may be harder to handle, transport or reprint. Compare appearance, finishing, site access, cost and customer requirements for the actual job.
Can a 16 ft printer produce every banner as one piece?
No. Check the model’s actual printable width, edge margins and finishing allowance. A larger or difficult-to-handle job may require panels or another method.
Are joined panels always weaker?
Performance depends on the media, joining method, finishing and installation. A qualified finisher and installer should assess the actual project rather than relying on a blanket claim.
Where should banner seams be placed?
Agree seam positions with the customer and installer. Keep critical text, faces and logos away from joins where practical, and approve a sample when appearance matters.
How much overlap should every banner panel have?
There is no universal overlap. The appropriate value depends on the media, joining method, installation and customer specification; consult the responsible finisher and installer.
Can a damaged panel be reprinted separately?
Often a panel can be replaced, but colour and alignment should be checked against the original. Keep the approved artwork, panel map, media and print settings.
Who determines safe hoarding installation?
Qualified installers or engineers must assess the actual structure, attachment, weather exposure and site conditions. Printer width or a particular join does not establish structural safety.
